When you watch the local news, the meteorologist can usually be seen in front of a map showing weather for that area. These maps typically show radar images, temperature, precipitation and so on. With Windows 10 and the Weather app you have these maps available to you at a click of a mouse.
To begin using the weather maps within the Weather App, click the Start button and scroll to and click on Weather. The Weather app opens. To open the Maps tab of the Weather app click on the Maps icon on the left of the Weather app.
The Maps tab of the Weather app is divided into six sections. These sections are accessible using the six links at the top of the app's window. Each section includes a timeline that, while you can pause, you are unable to scrub through.
By default, the section that you see first is the Radar Observation section. As the name indicates, you are shown the current radar observation with the precipitation highlighted. You also are shown three legends related to Rain, Rain & Snow, and Snow. Each legend indicates that the colors you see on the map correlate to the type of precipitation that you are being shown in the map. (See Figure 1.)
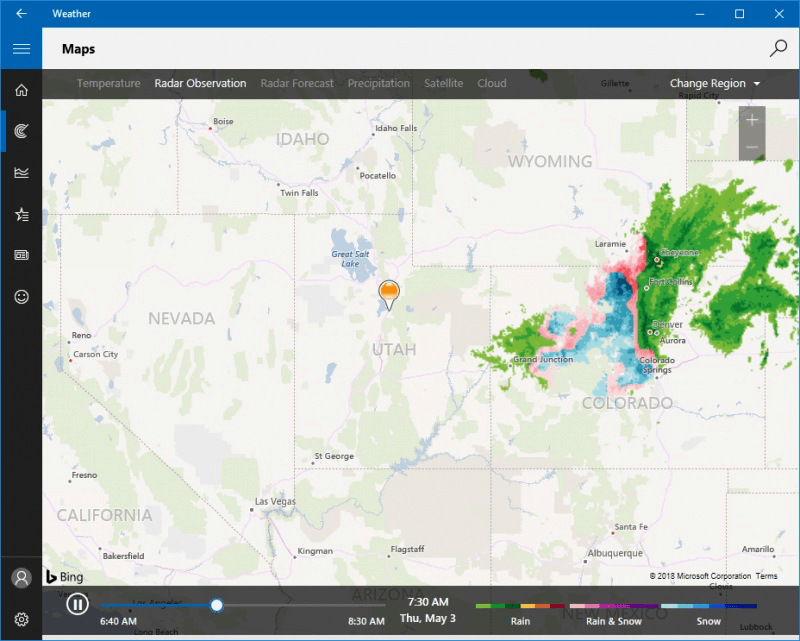
Figure 1. The Radar Observation section of the Maps tab of the Weather app.
If you want to see the forecasted radar observation you can click on the Radar Forecast link at the top of the app. Again, as the name suggests, the Radar Forecast section shows the projected forecast later as the day progresses. (See Figure 2.)
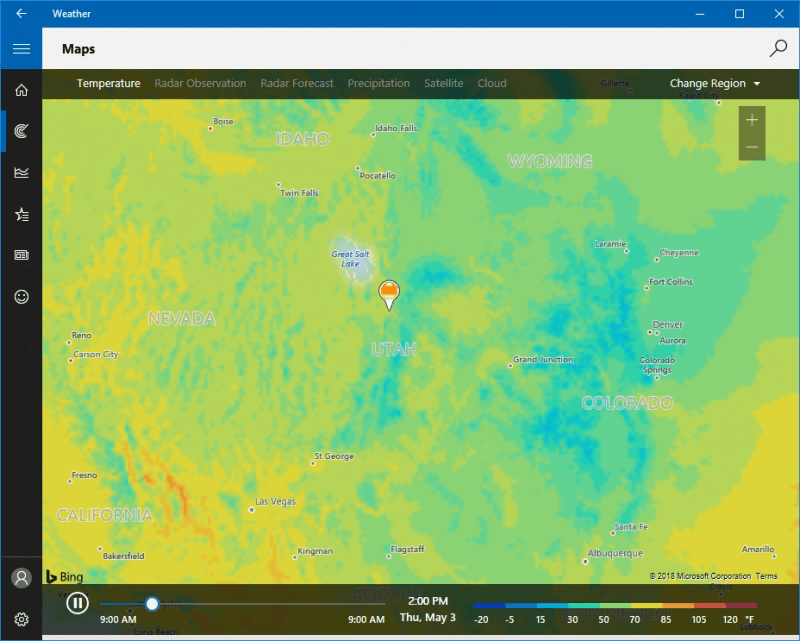
Figure 2. The Radar Forecast section of the Maps tab of the Weather app.
If you click on the Temperature link at the top of the app, the Weather app shows you the projected forecast for the temperature in your area for the next 24 hours. In addition to the timeline present in each section of the Maps tab, you are also shown a legend showing how the colors correlate to specific temperatures. (See Figure 3.)
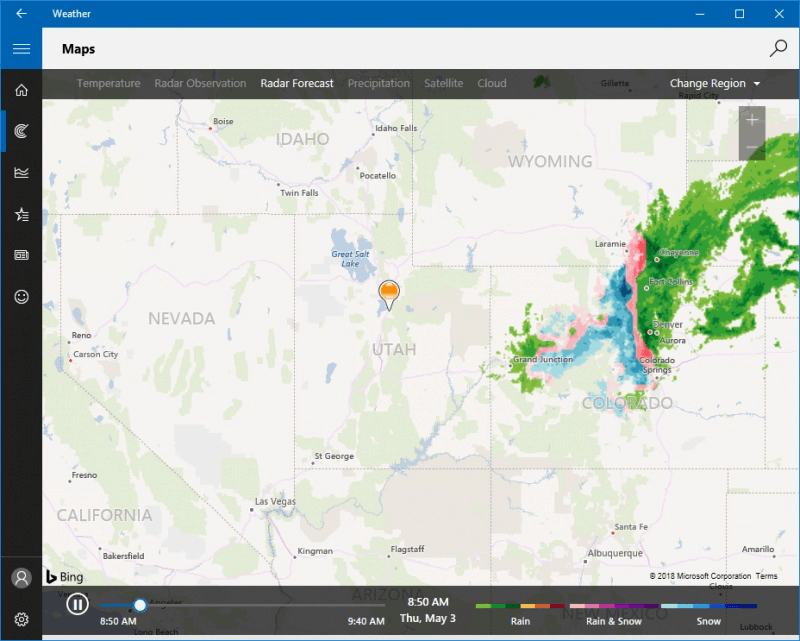
Figure 3. The Temperature section of the Maps tab of the Weather app.
Clicking on the Precipitation link opens the Precipitation forecast section of the Weather app. Similar to the Temperature section, this shows you the projected precipitation forecast for the next 24 hours. You are also given a legend showing the anticipated amount of precipitation per hour. (See Figure 4.)
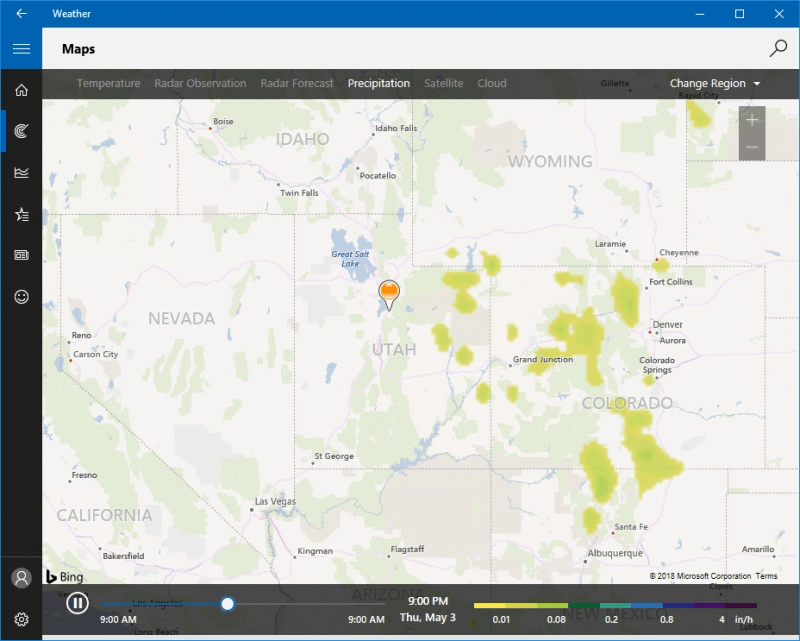
Figure 4. The Precipitation section of the Maps tab of the Weather app.
The Weather app allows you to see cloud coverage in your area. By clicking on the Satellite link, you are shown the Satellite section displaying the day's cloud coverage along with a pause-able timeline. (See Figure 5.)

Figure 5. The Satellite section of the Maps tab of the Weather app.
If you would like to see the forecasted cloud coverage for your area, you can click on the Cloud link at the top. This section shows you a projected estimation of cloud coverage for your area for the next 24 hours. (See Figure 6.)
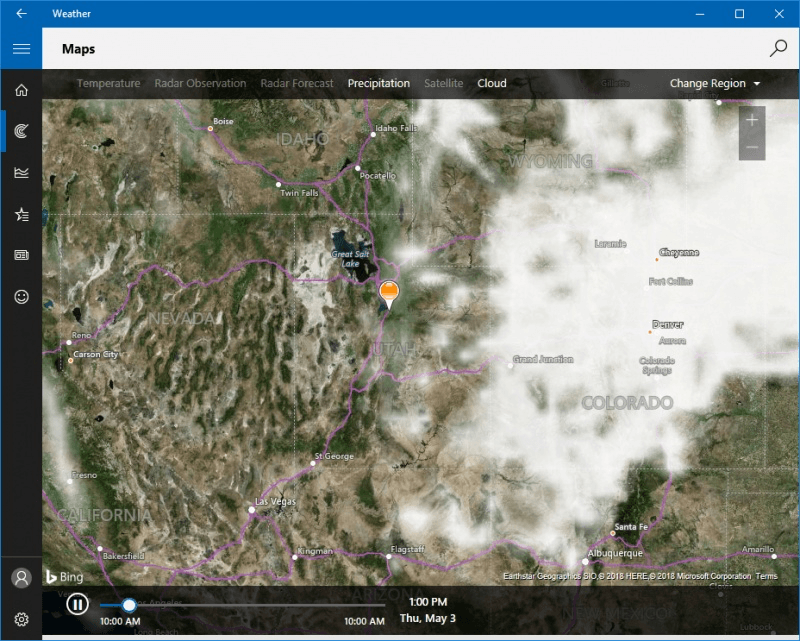
Figure 6. The Cloud section of the Maps tab of the Weather app.
With these six sections of the Weather app's Map tab, you can quickly and easily see visual representation of how the weather is interacting with your area. It can help you understand and gain insight into better planning of your outdoor activities.
![]() This tip (13524) applies to Windows 10.
This tip (13524) applies to Windows 10.
The next time you need to perform calculations at your computer, there's no need to fire up a big spreadsheet program or ...
Discover MoreHistorical Weather information can give you insight into what you can expect when it comes to temperature, rainfall, and ...
Discover MoreThere are a lot of reasons why you may want to capture screen shots. This tip shows how easy it is to do it.
Discover MoreThere are currently no comments for this tip. (Be the first to leave your comment—just use the simple form above!)
Copyright © 2026 Sharon Parq Associates, Inc.
Comments