For several versions of Windows now, the operating system has included a method of recording audio using your computer and a microphone. Windows 10 follows this tradition by making an all new app (Voice Recorder) available. Voice Recorder is ideal for recording lectures, cute things your kids or friends say, musical performances, and anything else for which you need audio.
To begin using Voice Recorder:
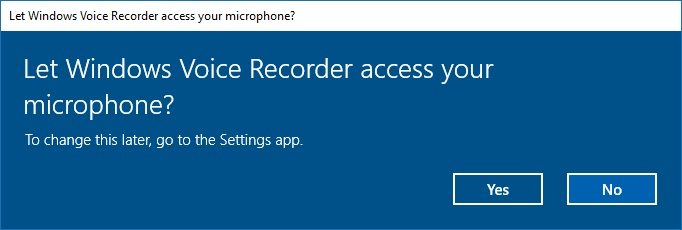
Figure 1. The Let Windows Voice Recorder Access Your Microphone dialog box.
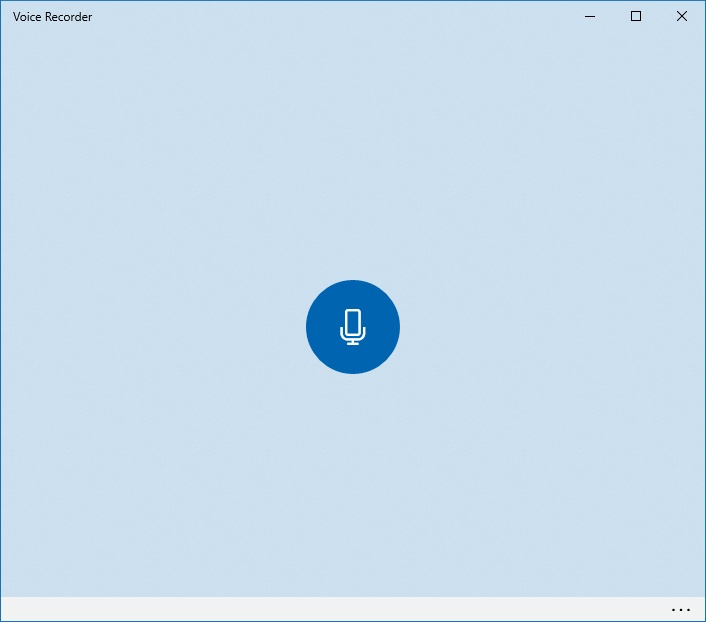
Figure 2. The Voice Recorder app's minimal interface.
After you start the recording you'll see a small timer clicking away as it records your audio. You can pause and resume your recording by using the Pause button. When you are finished, click the large Stop button.
While you're recording, you can press the flag icon and mark important audio time stamp points in your recordings, that you can use later to quickly jump through your recordings. (See Figure 3.)
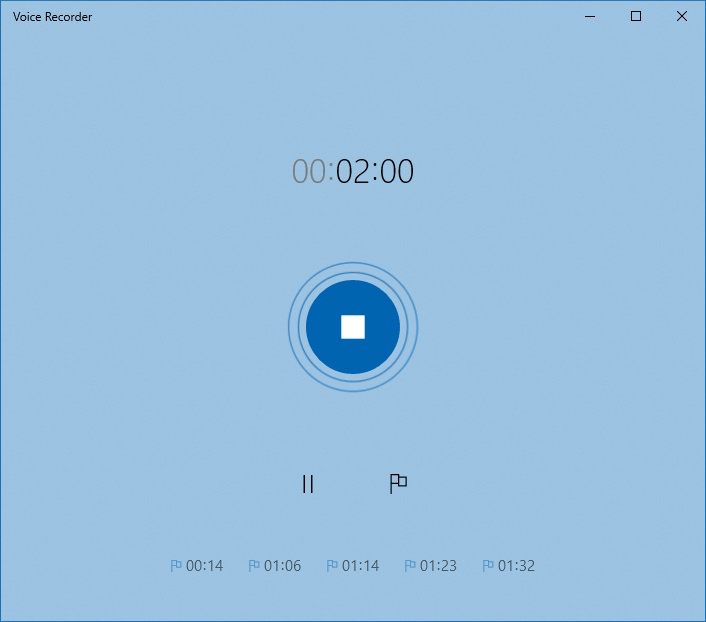
Figure 3. Time stamps added to recording.
At first, the interface for the Voice Recorder app is very simple. As you use the app, though, you will see the interface start to change. Each recording you make is added to the left of the window. By default, recordings are named Recording, Recording (2), Recording (3), and so on. You can rename your recordings by either selecting the recording on the left and clicking on the Rename button or right clicking on the recording and choosing Rename from the Context menu. Either method you choose, Windows displays a small dialog box for renaming your recording, enter the new name you want and click the Rename button. (See Figure 4.)
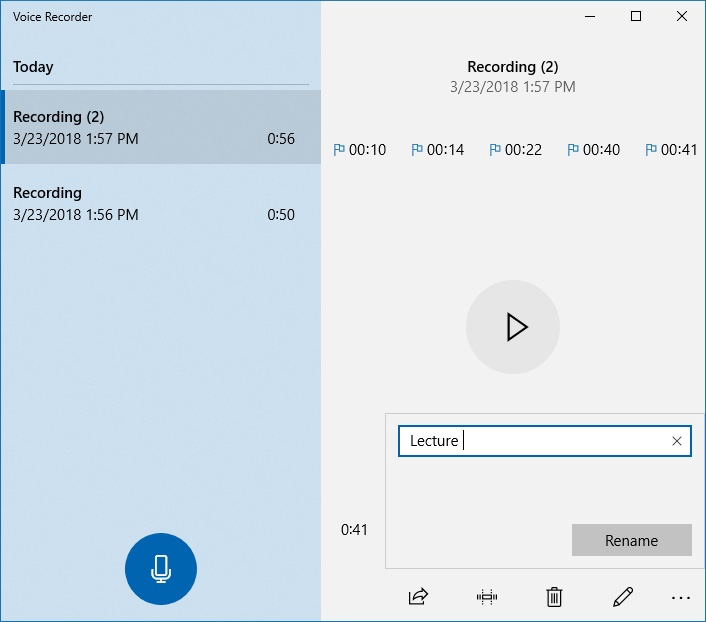
Figure 4. Renaming audio recordings in Voice Recorder.
Next time you find yourself needing to record some audio, launch Voice Recorder, hit the big blue button, and record anything you want. While the app may seem overly minimalistic at first, once you start recording, you'll find this app to be very helpful and a useful resource in your workflow.
![]() This tip (12257) applies to Windows 10.
This tip (12257) applies to Windows 10.
Historical Weather information can give you insight into what you can expect when it comes to temperature, rainfall, and ...
Discover MoreAs you go through the day or work on a project, you may find it helpful to write thoughts or inspirations down and have ...
Discover MoreKeeping track of the weather for various locations and staying on top of weather news can help you plan for activities ...
Discover MoreThere are currently no comments for this tip. (Be the first to leave your comment—just use the simple form above!)
Copyright © 2026 Sharon Parq Associates, Inc.
Comments