Windows 10 comes, by default, with several font options to choose from. With over 90 default fonts to possibly use, you may find that you need or would like to install and use a new font. There are several reasons for needing to install a new font onto your system. A common need when it comes to word processing or creating something new on your computer is choosing a specific font. With Windows 10, you can easily install new fonts by using the new drag and drop installation method. This can be done by following these simple steps:
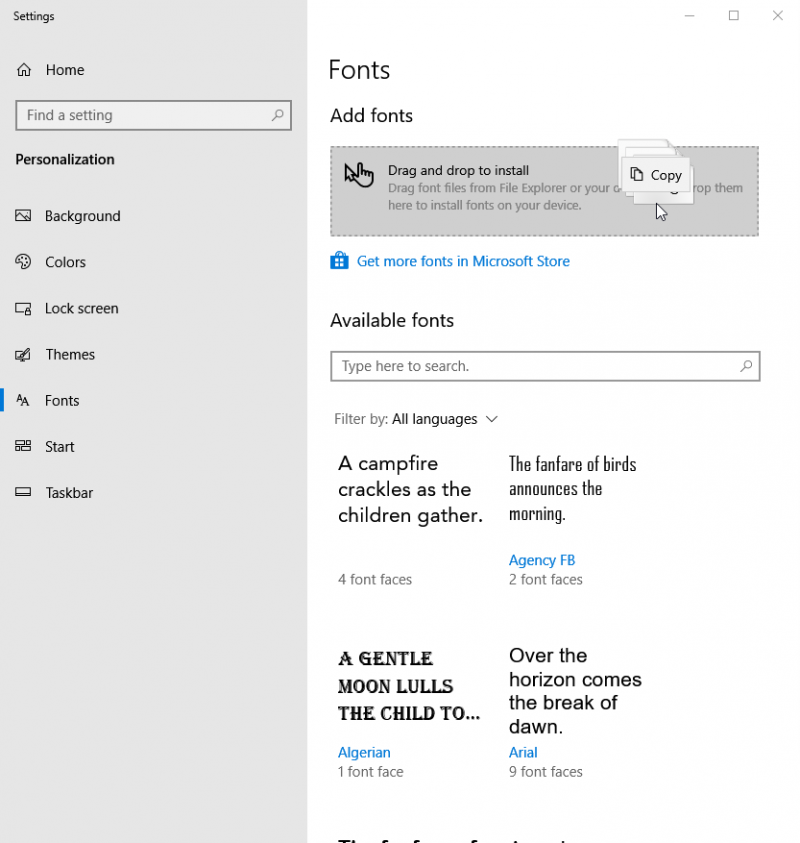
Figure 1. The Fonts section of the Settings dialog box.
With Windows 10, you can use any type of font you want as long as they are either OpenType (.otf) or TrueType (.ttf). But be sure to get your fonts from a reputable font/typography vendor. Microsoft has a list of registered typography vendors that can be found here. Also, keep in mind that while easy to do, you should not just get a copy of a font from a friend as you may be violating copyright law in doing so (depending on your country).
Now when you have a font you want to use and need to install you can do so by using this new drag-and-drop method. The drag-and-drop installation method allows you to easily and quickly install the desired fonts, and then get back to work faster.
![]() This tip (13673) applies to Windows 10.
This tip (13673) applies to Windows 10.
Think your system might be infected with a virus? How would you know if it was? Here are some quick indicators that your ...
Discover MoreYour computer is typically running scores of processes behind the scenes of the relatively few windows you may have open. ...
Discover MoreFlip 3D is an Aero feature that allows you to cycle through your active windows in three dimensions. Because they are ...
Discover MoreThere are currently no comments for this tip. (Be the first to leave your comment—just use the simple form above!)
Copyright © 2026 Sharon Parq Associates, Inc.
Comments