Taking Control of Your Storage Space
When it comes to storage space on our computers it is important to keep on top of how much space you have available. With the release of Windows 10 Version 1903, Windows now reserves 7GB of your hard drive space, meaning that keeping up on your available storage space is even more important. In the past this has been tricky, as there has not been a simple way of doing this built into the Windows operating system. Previously Windows provided Storage Sense, a great way to start tracking your storage space. With Version 1903, Windows updated the Storage Settings to allow you more options that help in managing your files and in freeing up space.
To access the storage settings on your computer (running Version 1903 or higher) follow these steps:
- Press the Windows Key and type (without quotes) "Storage Settings," and press Enter. This opens the Storage tab of the Settings window. (See Figure 1.)
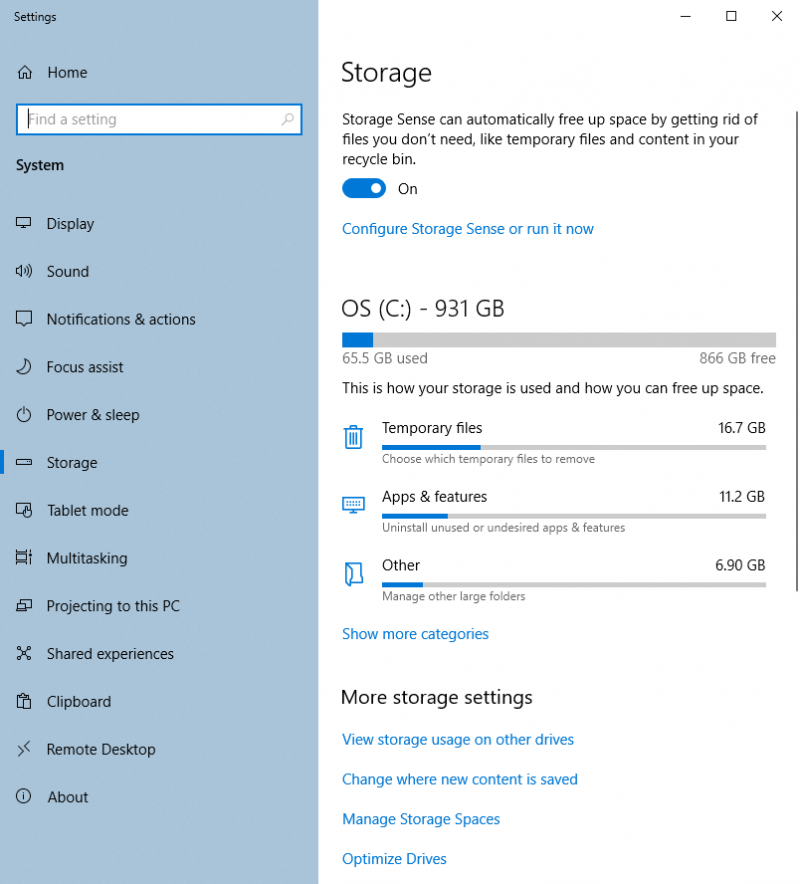
Figure 1. The updated Storage tab of the Settings windowl.
- Under your drive name, you will see the total amount of space available and how much space is in use. By default, Windows will show three categories of how your storage space is being used. Clicking on the Show More Categories link expands the categories list to show all the storage area breakdowns.
- Click on one of the categories listed, and Windows will change the Storage Tab to show a detailed list of how the category you selected breaks down. (See Figure 2.)
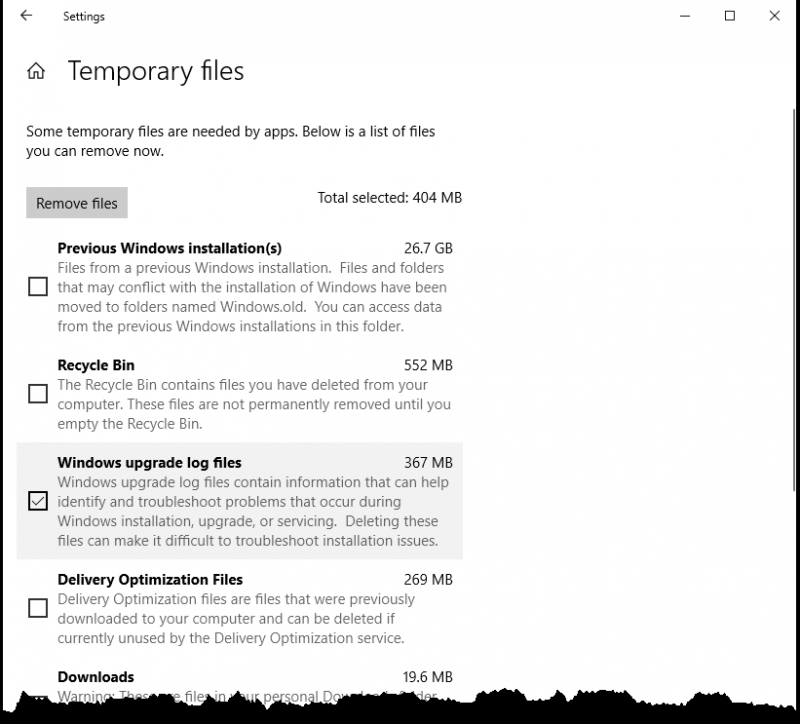
Figure 2. The Temporary Files section of the Storage tab of the Settings window.
- Click on an item you wish to remove from the detailed view list. As you click on an item you will see a cumulative total at the top of the list show how much space will be freed up by removing the files you have selected.
- Once you have selected all the items you want removed from that category you can click on Remove Files button. Windows will then remove those files, either by purging them or moving them to the recycle bin depending on the file type. If you back out of the section without clicking on the button, nothing will be removed.
By keeping on top of the files on your system, you will have the space you need for important files you want to keep.
 This tip (13635) applies to Windows 10.
Author Bio
Eric Wyatt
Eric Wyatt is a swell guy (or so his friends tell him). He is a formally trained designer and branding expert, bringing a wide range of skills to his Tips.Net articles. Learn more about Eric...
Search a Website Using the Run Dialog Box
The Run dialog box allows you to quickly run a search on a website that offers a search function. Performing web searches ...
Discover More
Be On Time with the Alarms & Clock App
In a busy world, with so much going on it's often important and necessary to track time. Fortunately, the Alarms & Clock ...
Discover More
Creating a QR Code for a Web Page
QR codes allow for data to be scanned quickly and actions to take place. Use Edge Chromium to create a QR code to open a ...
Discover More
Searching From the Start Menu
You can be more efficient if you get used to using the search functionality from the Start menu. This tip discusses that.
Discover More
Draw Where You Want to Go
When you need directions to just get to a certain general area, you can quickly use the Map app to get you there without ...
Discover More
Creating a System Restore Point
System restore points are created automatically at strategic times in the operation of your computer. You can also ...
Discover More
Comments