Renaming your computer is a simple task that can make your personal computer a bit more, well, personal. There are a couple of ways to do it:
Either method will take you to the System Properties dialog box. Make sure the Computer Name tab is displayed. (See Figure 1.)
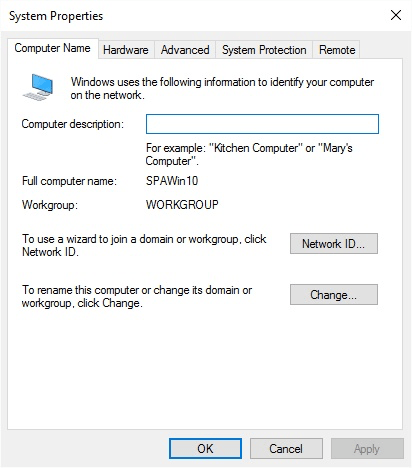
Figure 1. The Computer Name tab of the System Properties window.
The name given to your computer is shown to the right of the Full Computer Name label. To change the name of your computer, click the Change button. Windows displays the Computer Name/Domain Changes dialog box. (See Figure 2.)
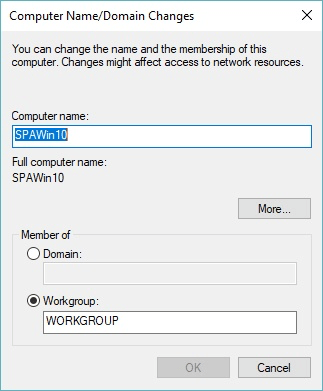
Figure 2. The Computer Name/Domain Changes window.
Your computer name is in the top textbox. To change it, delete what's there, enter the new name, and click OK. You will need to reboot your computer for the name to go into full effect.
Note that you may not have permission to change the name of a company computer. And even if you do, you likely don't have permission to change the record in the domain name server. To change the name of your computer on your company's network, you will probably need to get your network administrator involved.
![]()
![]()
![]() This tip (12147) applies to Windows 7, 8, and 10.
This tip (12147) applies to Windows 7, 8, and 10.
When you work on your computer late at night the glow from your computer monitor can affect your sleep. Why not setup ...
Discover MoreWindows installs updates automatically by default. If you want to review what updates have been installed, seeing the ...
Discover MoreDo you work with a lot of open windows at the same time? If so, you'll love this way to easily focus on only one of those ...
Discover MoreThere are currently no comments for this tip. (Be the first to leave your comment—just use the simple form above!)
Copyright © 2026 Sharon Parq Associates, Inc.

Comments