One great feature of Windows 10 is the ability to easily set up your Wi-Fi enabled computer as a hotspot so you can share your network with others. This capability was introduced a few years ago with the Windows 10 Anniversary Update which came out with relatively little fanfare.
To begin, click Start and Settings. This will take you to the Windows Settings. (See Figure 1.)
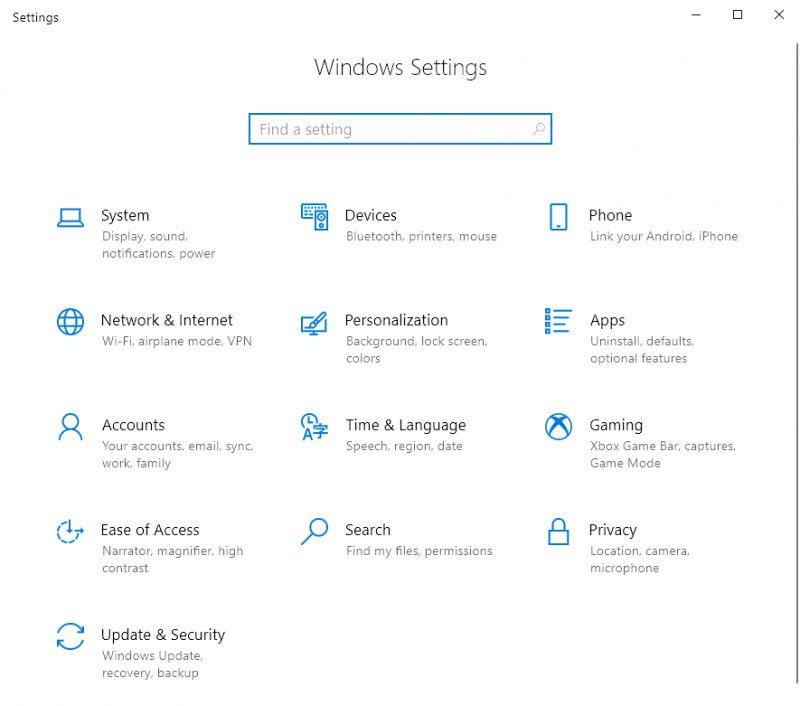
Figure 1. Windows Settings.
Click the Network & Internet icon. This brings up the Network window: (See Figure 2.)
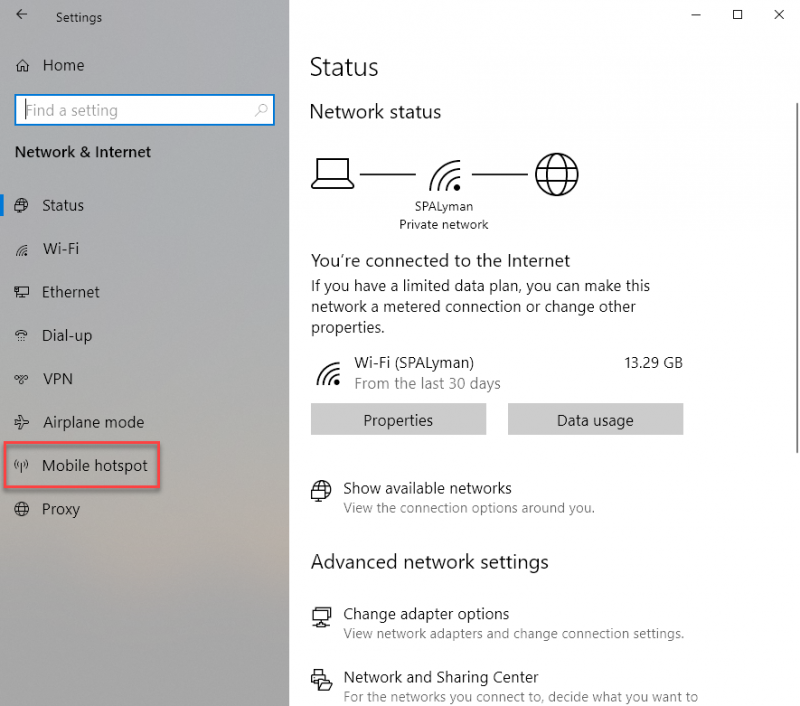
Figure 2. Network Window.
Clicking the "Mobile Hotspot" link on the left changes the right side of the window whose top looks like: (See Figure 3.)
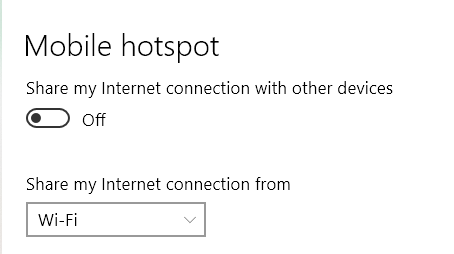
Figure 3. Turning on Mobile Hotspot.
By moving the slider from Off to On, you can start sharing your network connection with anyone in reach. What is not shown in the above figure is the network name and password, but anyone who wants to use your network will have to know these credentials. Also, if you don't like the default name and/or password, there's an Edit button you can click that will allow you to specify your own values for them.
![]() This tip (13487) applies to Windows 10.
This tip (13487) applies to Windows 10.
Regardless of the browser you use, there's a way to change its settings so that you can specify where it goes when you ...
Discover MoreWebsites have been tracking users' web traffic for a long time, keeping data on website visits and your surfing ...
Discover MoreLaunching websites typically require an open web browser. A hidden Windows 10 feature opens websites directly from the ...
Discover MoreThere are currently no comments for this tip. (Be the first to leave your comment—just use the simple form above!)
Copyright © 2026 Sharon Parq Associates, Inc.

Comments