If an old Windows program doesn't run in whatever version of Windows you are currently using, or if it runs poorly, you may want to try changing its compatibility settings. You can do this by using the Compatibility Wizard.
To start the wizard, begin by displaying the Control Panel. There, click the Programs category and finally click "Run Programs Made for Previous Versions of Windows." You'll shortly notice that the wizard starts. (See Figure 1.)
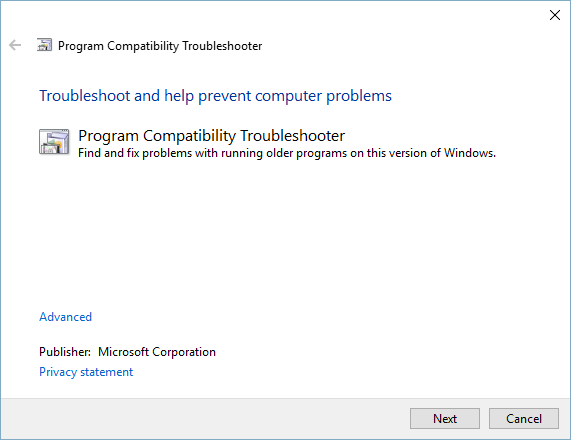
Figure 1. The first step of the Compatibility Wizard.
Note that the title at the top of the Compatibility Wizard window varies based on the version of Windows you are using. In Windows 7 the title is "Program Compatibility." In later versions of Windows, it is "Program Compatibility Troubleshooter."
Clicking the Next button causes the wizard to scan for programs that may have compatibility issues. Select the program you're having problems with and again click the Next button. The wizard gives you the opportunity to decide how to troubleshoot the problem. (See Figure 2.)
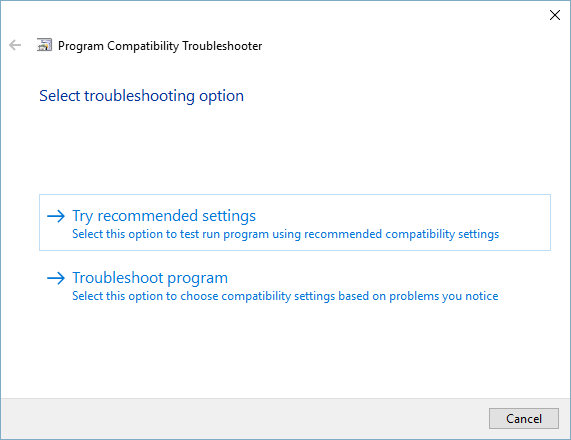
Figure 2. The third step of the Compatibility Wizard.
Click the Try Recommended Settings option to try running the program using the recommended compatibility settings. Based upon the particular program, the wizard applies certain settings and prompts you to start the program. (See Figure 3.)
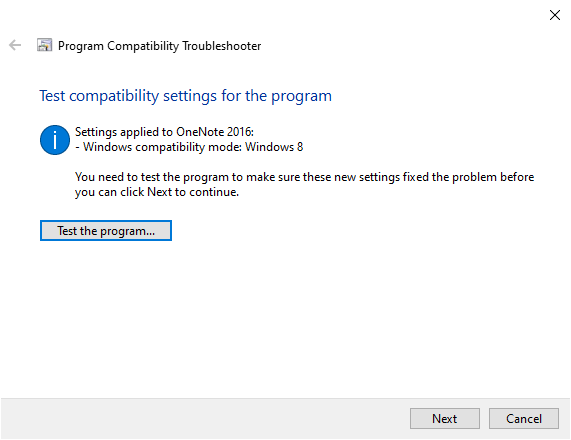
Figure 3. Checking for potential fixes in the Compatibility Wizard.
Click the Start the Program button (Windows 7) or Test the Program button (later versions of Windows) to run the program. Test it to see if it's working properly, then click the Next button. This takes you to the final screen of the wizard. (See Figure 4.)
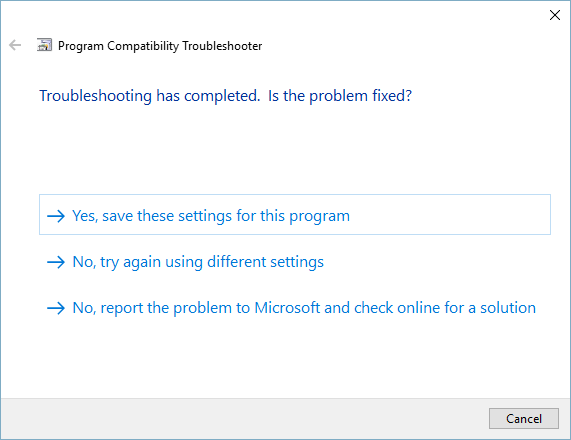
Figure 4. The Compatibility Wizard's final step.
If the program is working properly, click the top link of the final screen. If it's not working properly and you want to try it again with different compatibility settings, click the second link of the final screen. If it's not working properly and you want to search for a solution online, click the third link of the final screen. Depending upon what you click, the wizard will either exit or enter a troubleshooting dialog whereupon you can answer a variety of questions determined by what particular problems you're having. At the end, settings appropriate to the program will either have been established, or it's likely that the program simply cannot be made to run properly under your version of Windows.
![]()
![]()
![]() This tip (5852) applies to Windows 7, 8, and 10.
This tip (5852) applies to Windows 7, 8, and 10.
By default in Windows 10, when a folder or file is copied or duplicated within the same folder as the original, the ...
Discover MoreThe Start screen is a busy place in Windows. If it is too busy for your tastes, you can easily remove any of the tiles it ...
Discover MoreSome Windows features can be both time savers and privacy concerns at the same time. The Recent Places list and the Quick ...
Discover More2019-11-25 12:52:05
Allan
"To start the wizard, begin by displaying the Control Panel. There, click the Programs category and finally click "Run Programs Made for Previous Versions of Windows."
My W7 Control Panel does not have a 'Programs" category. I found that I must select 'Troubleshooting' to continue.
Copyright © 2026 Sharon Parq Associates, Inc.

Comments