Setting Signatures within Mail
Written by Eric Wyatt (last updated September 3, 2018)
Often when using email, it is helpful to add an email signature. An email signature is a block of information added to the bottom of any outgoing email. Typically email signatures are setup to provide information that the sender believes the recipient will benefit from having. In Mail adding an email signature is a simple process.
- With the Mail app open, click the Settings icon (it looks like a small gear) in the left-most column. The Mail app displays the Settings menu on the right side of the Mail app.
- Click on Signature in the Settings Menu. Mail displays the Email Signature window. (See Figure 1.)
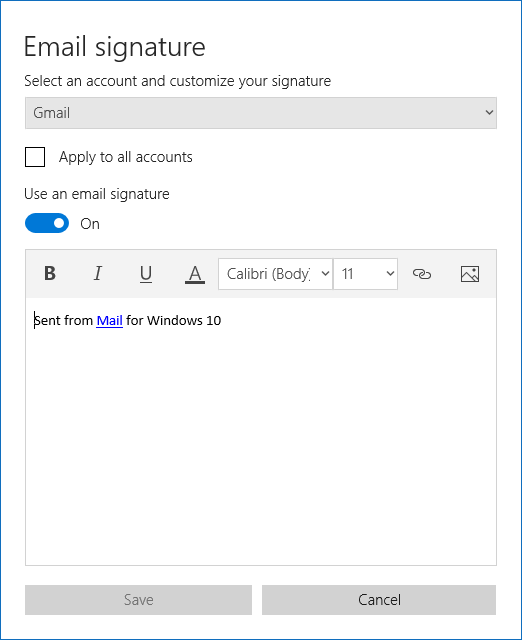
Figure 1. Mail app Email Signature window with default signature.
- Specify which account you want the signature used for. (This only has bearing if you are using multiple email accounts. If you want the signature used for all of your multiple accounts, then you can click the Apply to All Accounts check box.)
- Enter the information you want to include in your email signature. (See Figure 2.)
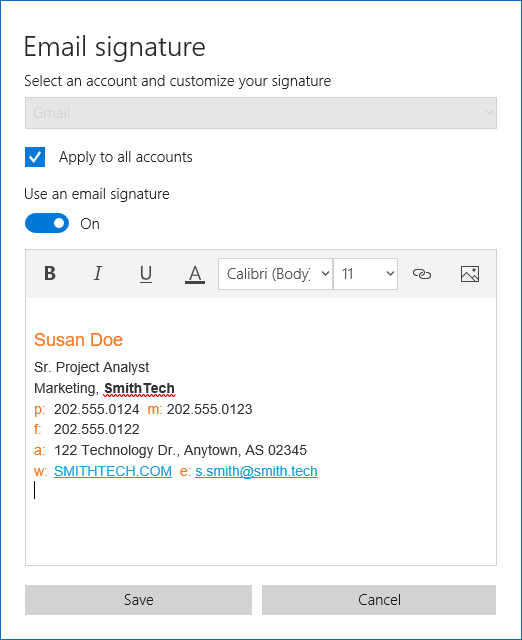
Figure 2. Mail app Email Signature window with new signature.
- Click Save.
Email signatures can include HTML elements, such as hyperlinks, formatting, and images. If you need to, you can use another program or online resource to create your email signature. If you use another program or online service, you can copy the information and paste it into the Email Signature window.
 This tip (1269) applies to Windows 10.
Author Bio
Eric Wyatt
Eric Wyatt is a swell guy (or so his friends tell him). He is a formally trained designer and branding expert, bringing a wide range of skills to his Tips.Net articles. Learn more about Eric...
Using Random Hardware Addresses
Random Hardware Addresses helps hide your computer from others tracking you on a Wi-Fi network. Turn Random Hardware ...
Discover More
A More Private Start Menu
If your computer is accessed by multiple people, you may be concerned about privacy. One area where you might want a bit ...
Discover More
Displaying Seconds in the System Tray Clock
Time is more than hours and minutes. How do you get the taskbar clock to show seconds?
Discover More
Weather Maps
Your local meteorologist has access to some handy weather maps. With Windows 10 and the Weather app, you have access to ...
Discover More
Tagging with Photos
Memories are an important part of our lives. Keeping track of those memories is important, too. The Photos app within ...
Discover More
Performing Simple Calculations Using the Calculator
The next time you need to perform calculations at your computer, there's no need to fire up a big spreadsheet program or ...
Discover More
Comments