Stopwatches are helpful in that they allow us to time how long a certain task or activity takes. The Alarms & Clock app in Windows 10 includes a stopwatch function that can help when you need to time certain activities. The last tab of the Alarm & Clock app is the Stopwatch tab. The Stopwatch tab is the most basic part of the Alarm & Clock app, but that doesn't mean it's not still helpful. (See Figure 1.)
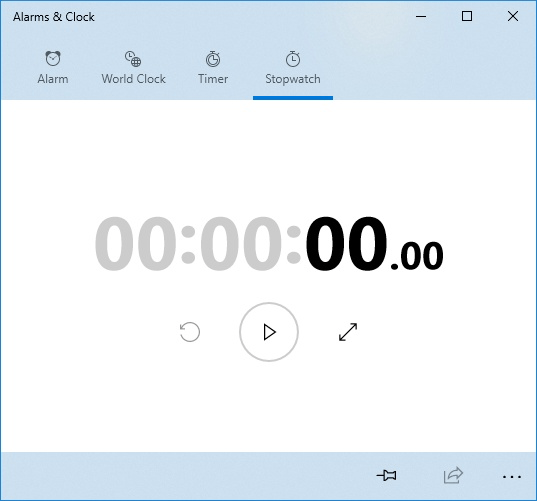
Figure 1. The Stopwatch tab of the Alarms & Clock app.
To start using the stopwatch, simply click on the Start button and immediately the stopwatch starts ticking. As the stopwatch is running you can click on the Lap/Start button (the flag icon, which is visible only while the stopwatch is running) up to 99 times. Each lap is added to the right or below the timer in the app window (depending on the size of the window) in chronological order. Similar to the Timer tab you can enlarge the stopwatch by pressing the Expand button. This enlarges the stopwatch to make it easier to view from across the room.
Pin the Stopwatch to the Start menu
You can pin the Stopwatch tab itself to the Start menu. Once pinned, when you press the tile in the Start menu it will open the Stopwatch tab of the Alarms & Clock app. To pin the Stopwatch to the Start menu, follow these steps:
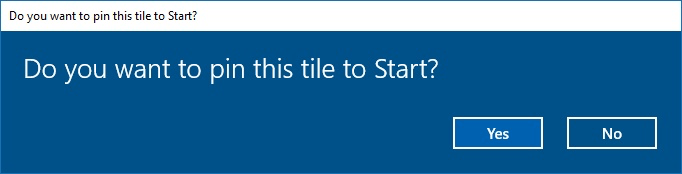
Figure 2. The Do You Want To Pin This Tile To Start dialog box.
When it comes time to track how long an activity takes you can easily rely on the Stopwatch tab of the Alarms & Clock app.
![]() This tip (13518) applies to Windows 10.
This tip (13518) applies to Windows 10.
Memories are an important part of our lives. Keeping track of those memories is important, too. The Photos app within ...
Discover MoreGetting a handle on the weather is something that man has been dreaming of since the dawn of time. While you might not be ...
Discover MoreThere are a lot of reasons why you may want to capture screen shots. This tip shows how easy it is to do it.
Discover MoreThere are currently no comments for this tip. (Be the first to leave your comment—just use the simple form above!)
Copyright © 2026 Sharon Parq Associates, Inc.
Comments