Keeping Time From Around the World

Written by Eric Wyatt (last updated May 3, 2021)

While we tend to know where we live, often we have family and friends that live in different parts of the country or even the world. Not only are we separated by miles but often time zones. Keeping track of the time zones can be tricky—do you add or subtract from your local time, do you account for Daylight Savings Time or not? With the Alarms & Clock app found in Windows 10, Windows offers a simple and easy way to keep track of the time for any location you need.

To keep track of time in various parts of the world Windows offers the World Clock portion of the Alarms & Clock app. To open the Alarms & Clock app, click the Start button and scroll to and click on Alarms & Clock. Windows displays the Alarms & Clock app. Then click on the World Clock tab. (See Figure 1.)

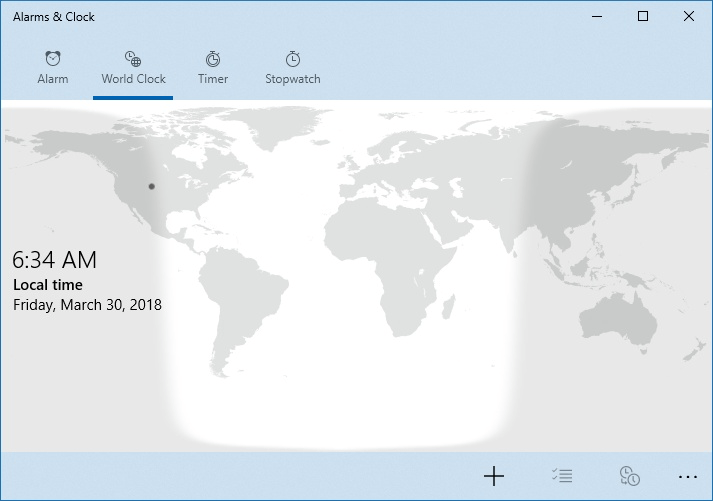
Figure 1. The World Clock tab of the Alarms & Clock app.

The World Clock tab allows you to see what the time is, as the name implies, throughout the world. By default, the World Clock tab has one clock created which shows the time and date for your location.

Where the World Clock tab comes in handy is that you can set up several clocks, each showing the time for the areas you designate. To add a new clock for your desired location, follow these steps:

  1. Click the Add New Clock button (the plus icon) in the bottom bar of the app. You will then see a search bar asking for you to enter your location. (See Figure 2.)
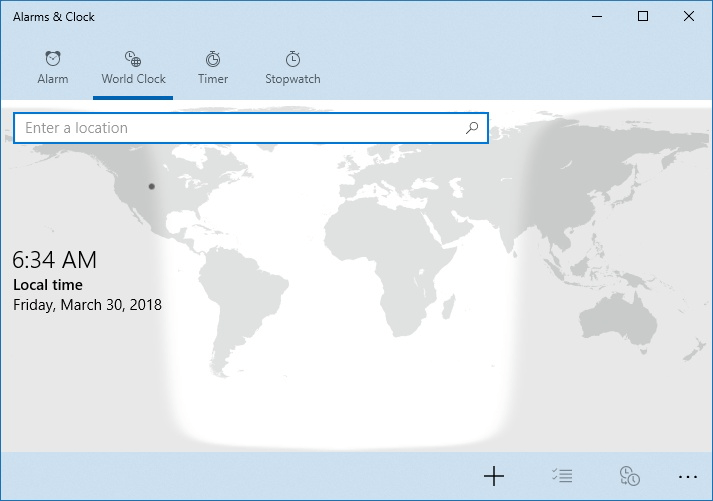
  2. Figure 2. The Enter Location search bar of the World Clock tab of Alarms & Clock app.

  3. Start typing the location you want; a dropdown list appears to help narrow your search. Tip: the search bar will not list every city in the world. If you can't find the specific town your looking for, try looking for the closest big city.
  4. Once you find the town you're looking for, press Enter and the clock is added to the window. The way this appears will vary depending on the size of the Alarms & Clock window. Your clocks are either displayed as tags attached to dots over the city, or as a list of clocks on the left.

Windows allows you to create up to 10 clocks. Once you have added the clocks you want, the World Clock tab allows you to do some additional things with the clocks you have created.

Rotating through time

  • Click on the Compare button (the two-clock icon). You will see a time bar/ruler open near the bottom of the window.
  • Click on the left or right arrows to see what the time would be in each city based on the time you select.

Pin a clock to the Start menu

  1. Right click on one of the clocks you added.
  2. Click Pin To Start from the resulting Context menu. You will be prompted with the Do You Want To Pin This Tile To Start dialog box.
  3. Click Yes. Windows adds the clock to the Start menu. (See Figure 3.)
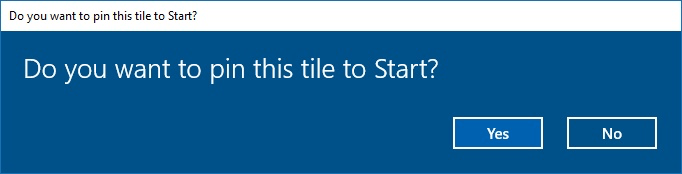
  4. Figure 3. The Do You Want To Pin This Tile To Start dialog box.

Now with the World Clock portion of the Alarms & Clock app you can easily keep track of any part of the world that you need too. Now the only question is where?

 This tip (13513) applies to Windows 10.

Author Bio

Eric Wyatt

Eric Wyatt is a swell guy (or so his friends tell him). He is a formally trained designer and branding expert, bringing a wide range of skills to his Tips.Net articles. ...

MORE FROM ERIC

Ransomware Defense

Ransomware attacks can cause your system and data to become inaccessible. These dangerous and potentially costly attacks ...

Discover More

Listening with One Ear

If you use a single speaker to listen to your computer audio, you may be missing out on some sounds. Two quick changes to ...

Discover More

Read Aloud with Magnifier

Sometimes for comprehension it works better to have something read out loud. Have what you are reading read out loud to ...

Discover More
More WindowsTips

Using the Voice Recorder

Windows 10 includes the new Voice Recorder app. Ideal for recording lectures, cute things your kids say, musical ...

Discover More

Tagging with Photos

Memories are an important part of our lives. Keeping track of those memories is important, too. The Photos app within ...

Discover More

Installing a Native Progressive Web App

Windows 10 with the Edge Chromium browser allows you to install Progressive Web Apps. These allow for fast installation ...

Discover More
Comments

If you would like to add an image to your comment (not an avatar, but an image to help in making the point of your comment), include the characters [{fig}] (all 7 characters, in the sequence shown) in your comment text. You’ll be prompted to upload your image when you submit the comment. Maximum image size is 6Mpixels. Images larger than 600px wide or 1000px tall will be reduced. Up to three images may be included in a comment. All images are subject to review. Commenting privileges may be curtailed if inappropriate images are posted.

What is 0 + 7?

There are currently no comments for this tip. (Be the first to leave your comment—just use the simple form above!)


Newest Tips