Over the years, a change has been taking place with regards to how computers show information on screen. How the information is shown and displayed on your screen is known as the UI or User Interface. How you interact with the UI is referred to as UX, which is short for User eXperience. One of the biggest changes has been the hiding of scroll bars, those bars on the sides of windows that inform you that there is more information in the window than what you can currently see. Often, the scroll bar will show up temporarily as you start to scroll, such as with the Start Menu, but then it disappears after a predetermined amount of time. This can be a bit aggravating if you're trying to scroll through a window by clicking and dragging on the scroll bar.
If you find that you would prefer to have a scroll bar visible by default, you can change a setting within Windows 10. To show scroll bars follow these quick steps:
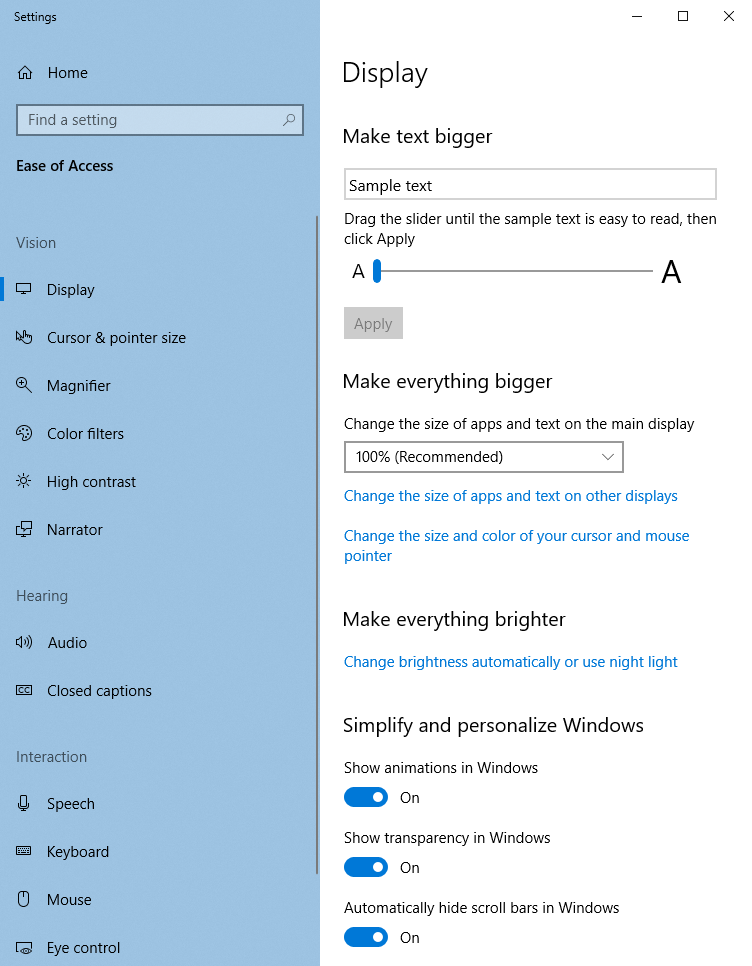
Figure 1. The Ease of Access Display Settings dialog box.
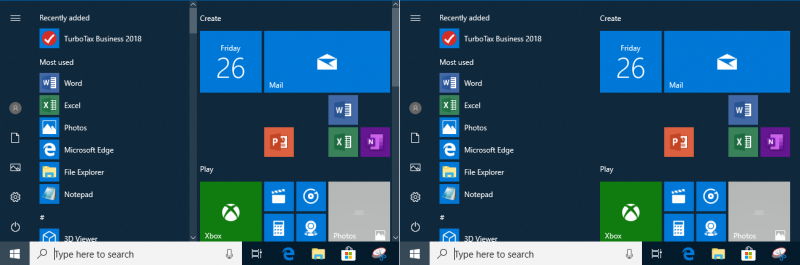
Figure 2. Start Menu with scroll bars (left) and without (right).
If you find that you want the scroll bars hidden again, simply repeat the steps you used above. This simple setting change can help you navigate through windows and dialog boxes faster or with more control.
![]() This tip (13626) applies to Windows 10.
This tip (13626) applies to Windows 10.
When you buy a new computer, it typically has some obscure name that doesn't accurately reflect your personality. Or ...
Discover MoreThe later updates to Windows 10 introduced blurred background images on the sign-in screen. If you prefer to have the ...
Discover MoreWhen you place an audio CD in you PC, Windows attempts to play the CD, by default. If you don't want Windows to behave in ...
Discover MoreThere are currently no comments for this tip. (Be the first to leave your comment—just use the simple form above!)
Copyright © 2026 Sharon Parq Associates, Inc.
Comments