Restoring Your System from a Restore Point
Sometimes, installing software or device drivers has an adverse impact on your system. Setting a Restore Point prior to an installation allows you to reset your system to its previous state in case you discover that installing the new software wasn't such a good idea. (How to set a Restore Point is covered in another tip.) Assuming you had set a Restore Point, you can revert your system back to its previous condition by doing a system restore.
To do a system restore follow these steps if you are using Windows 8:
- Move the mouse pointer into the very bottom-left corner of the screen and right-click. You should see a Context menu appear.
- Choose the System option. Windows displays the System area of the Control Panel. (See Figure 1.)
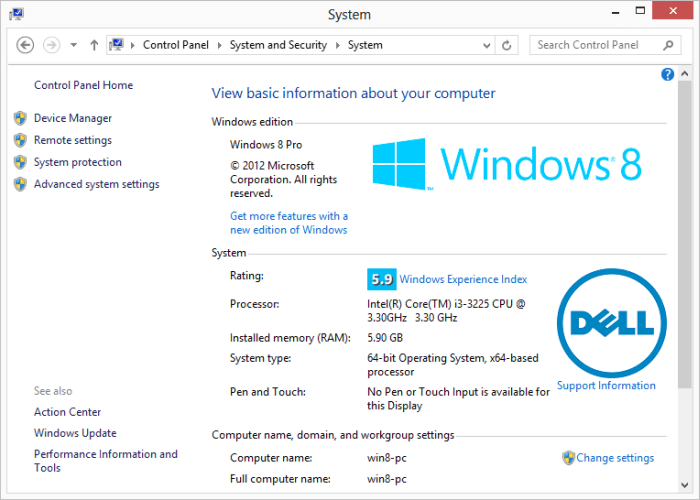
Figure 1. The System dialog box.
- Click the System Protection link at the left of the dialog box. Windows displays the System Protection tab of the System Properties dialog box. (See Figure 2.)

Figure 2. The System Protection tab of the System Properties dialog box.
- Click the System Restore button. You will then be taken through a wizard that allows you to select what Restore Point you wish to use and then perform the restore.
If you are using Windows 7 the steps are a bit different. (The biggest difference is how you get to the first dialog box.). Follow these steps:
- Click Start, right-click Computer, and select Properties from the resulting Context menu. Windows displays the System area of the Control Panel. (See Figure 3.)
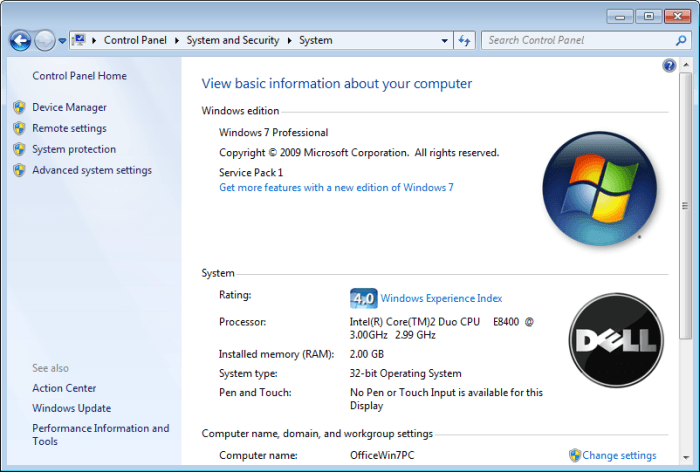
Figure 3. The System dialog box.
- Click the System Protection link at the left of the dialog box. Windows displays the System Protection tab of the System Properties dialog box. (See Figure 4.)
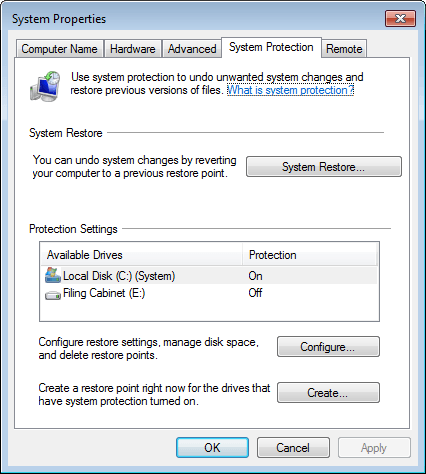
Figure 4. The System Protection tab of the System Properties dialog box.
- Click the System Restore button. You will then be taken through a wizard that allows you to select what Restore Point you wish to use and then perform the restore.

 This tip (12212) applies to Windows 7 and 8.
Author Bio
Barry Dysert
Barry has been a computer professional for over 35 years, working in different positions such as technical team leader, project manager, and software developer. He is currently a software engineer with an emphasis on developing custom applications under Microsoft Windows. When not working with Windows or writing Tips, Barry is an amateur writer. His first non-fiction book is titled "A Chronological Commentary of Revelation." Learn more about Barry...
Getting Rid of Hidden Thumbs.db Files
A hidden file that the system uses to speed performance of your viewing folders containing pictures is called Thumbs.db. ...
Discover More
Accessing a Network Drive
Being on a network is great because it allows you to share resources among the networked systems. Being able to access a ...
Discover More
Using Powercfg to Change the Active Power Scheme
You can easily change which power scheme is active by using the SetActive switch. This tip shows you how.
Discover More
What is Bluetooth?
Bluetooth is a popular technology that frees you from dealing with wires and cables, and it makes you a bit more mobile. ...
Discover More
Refreshing the Explorer Window
It's possible that the Windows Explorer window may occasionally get out of sync with the data it's displaying. You can ...
Discover More
Adjusting Speaker Volume
Adjusting your computer's speaker volume is a quick process. Windows gives you simple access to the overall volume level ...
Discover More

Comments