The Start menu can be customized as to what appears on the right side, whether items are displayed as links or menus, and how submenus behave when you hover over them.
Windows 7
To customize the Start Menu, right-click the Start button and click Properties. Windows displays the Taskbar and Start Menu Properties dialog box; the Start Menu tab should be displayed by default. (See Figure 1.)
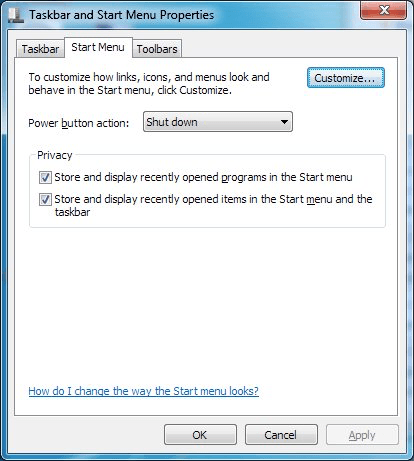
Figure 1. The Start Menu tab of the Taskbar and Start Menu Properties dialog box.
Click the Customize button, and Windows displays the Customize Start Menu dialog box. (See Figure 2.)
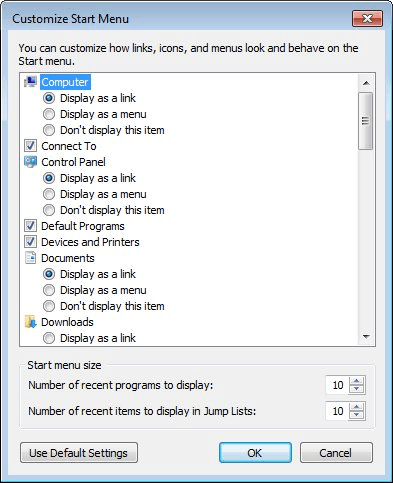
Figure 2. The Customize Start Menu dialog box.
You'll want to scroll down in the Customize Start Menu dialog box to see the extent of the changes that are possible. As you can see, you can indicate whether a particular item is shown on the menu by selecting or de-selecting the "Don't display this item" radio button. And for items that are displayed, you can indicate whether they should be displayed as a link (where if you simply hover over the link it will expand to reveal its contents) or as a menu (that you'd have to click to see more).
With some trial and error, you'll be able to determine what items you really want displayed, and how you want them to behave. When you're finished customizing, OK your way out. Your new Start menu will be waiting for you.
Windows 10Customizing the Start Menu is somewhat different in Windows 10. Follow these steps to customize the Start Menu to your liking:
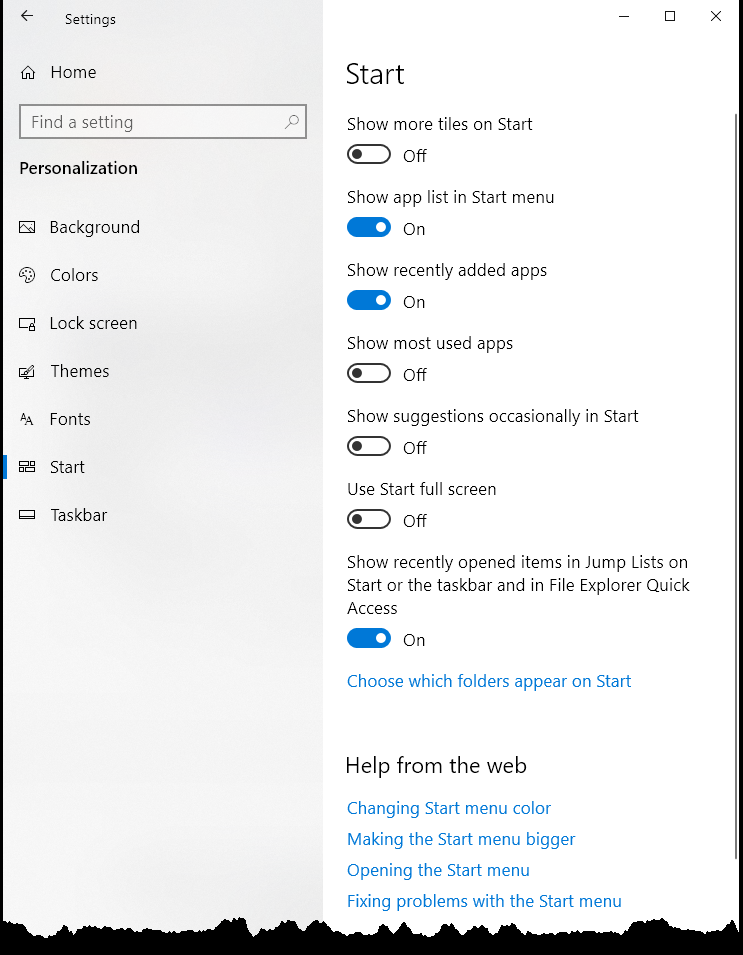
Figure 3. The Start settings of the Settings dialog box.
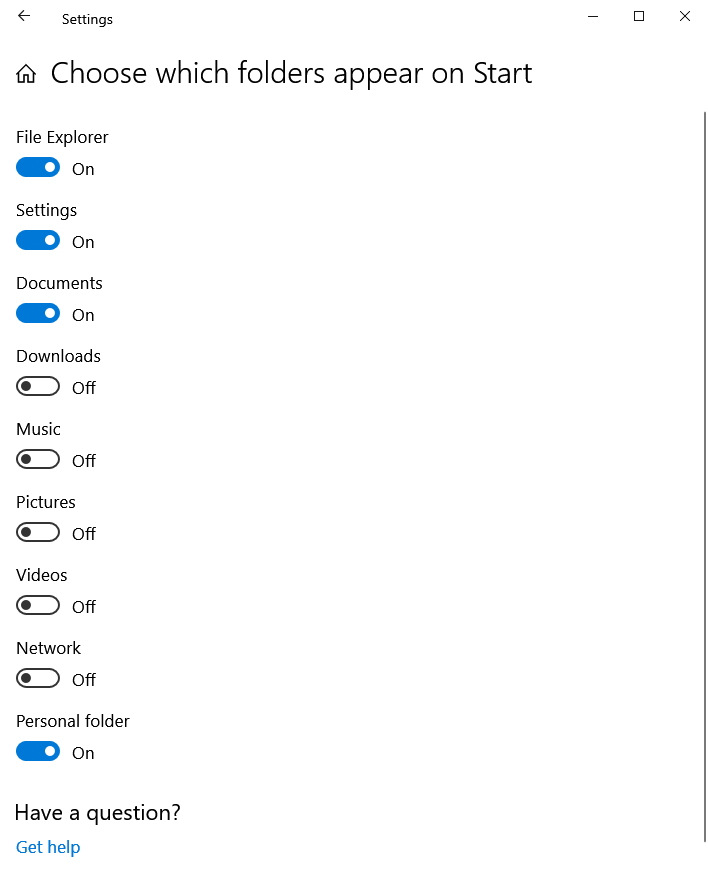
Figure 4. The Choose Which Folders Appear on Start settings of the Settings dialog box.
Now, regardless of the program you're in, you can quickly jump to the folder you want straight from the Start menu. If you find you no longer want a folder listed in the Start menu, repeat the process above and turn the folders off in step 3.
![]()
![]() This tip (11562) applies to Windows 7 and 10.
This tip (11562) applies to Windows 7 and 10.
Windows takes advantage of many different operating system components called services. Most of the Windows services are ...
Discover MoreWhen you place an audio CD in you PC, Windows attempts to play the CD, by default. If you don't want Windows to behave in ...
Discover MoreWindows 10 allows for a window to become active by simply hovering your mouse over it. Discover how to turn this setting ...
Discover More2020-10-10 18:24:14
MK
Hello -
I so appreciate the time and care you take in this newsletter! However, I am such a beginner I can't even understand most of the titles you offer! Today was the first time I understood something - It was about customizing what appears in settings. Do you have an offering of just the basics? When I see all that I do not [yet] know, I get anxious, even a little depressed.
Thank you,
Marikay
Copyright © 2026 Sharon Parq Associates, Inc.

Comments