If you ever had to perform a System Restore but then realized that you shouldn't have done the restore after all, Windows provides the capability of undoing the restore, thereby setting the system state back to the way it was prior to the restore.
To do this, click Start, right-click on Computer, and then click on Properties. On the screen that appears, click the System Protection, near the upper-left of the screen. Windows displays the System Protection tab of the System Properties dialog box. (See Figure 1.)
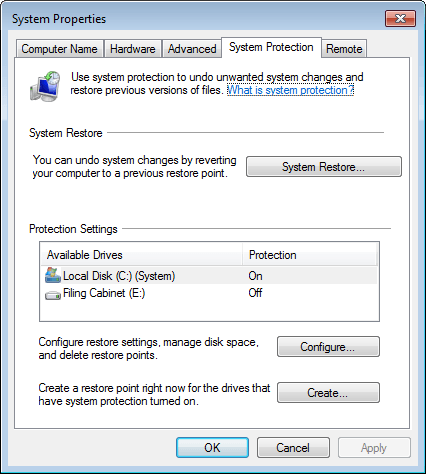
Figure 1. Preparing to undo a system restore.
Click the System Restore button just as if you were going to do a restore. Windows displays the System Restore dialog box, which is actually the first step of a wizard. (See Figure 2.)
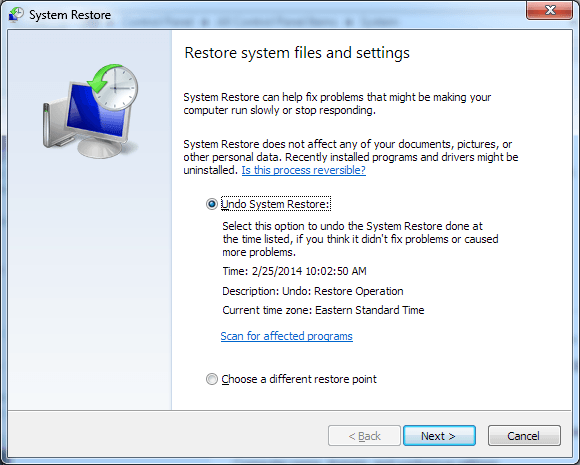
Figure 2. Undoing a system restore.
We now have the (pre-selected) option of undoing the restore we did at the time given. Assuming you want to go through with undoing the restore, leave this radio button selected and click Next. You'll then see the next step of the wizard, confirming that you want to undo the restore. Click Finish and Windows, being very cautious, asks you to confirm you really want to proceed. (See Figure 3.)
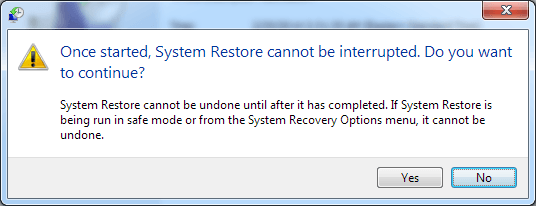
Figure 3. Proceeding with undoing the restore.
Clicking Yes on this final screen will start the undo process, which cannot be interrupted so be sure you've selected the right restore point, and that you're ready to have the process begin. Once the operation has completed and the system rebooted, it will now be in the state it was in prior to the original restore being applied.
![]() This tip (13076) applies to Windows 7.
This tip (13076) applies to Windows 7.
A system image is a snapshot of your system disk as of a certain point in time. Should the need arise, you can restore ...
Discover MoreKeeping track of your resources can help you avoid serious computer problems. Having an adequate amount of disk space is ...
Discover MoreThere are a few ways to set up a copy schedule in Robocopy by using its options. This tip explains how.
Discover MoreThere are currently no comments for this tip. (Be the first to leave your comment—just use the simple form above!)
Copyright © 2026 Sharon Parq Associates, Inc.

Comments