Changing the Hidden Attribute for a File
When you create a file in Windows, that file has certain attributes that are associated with it. Sometimes these attributes seem obvious—things like file size and file name come to mind. Other times the attributes are less obvious and more esoteric. Once such attribute controls whether the file is displayed, by default, in Explorer windows. It is called, appropriately enough, the Hidden attribute.
To change the hidden attribute, follow these steps:
- Display an Explorer window. (The easiest way is to press Win+E.)
- Navigate until you see the file you want to affect.
- Right-click on the file and choose Properties from the resulting Context menu. Windows displays the Properties dialog box; the General tab should be visible. (See Figure 1.)
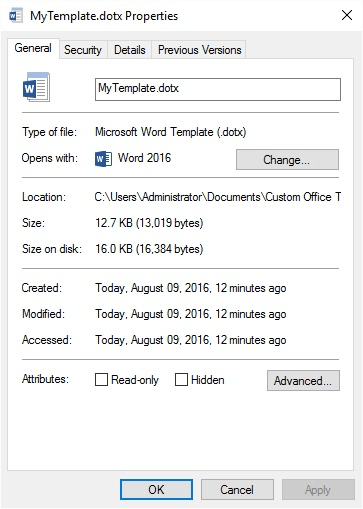
Figure 1. The Properties dialog box for a file.
- Use the Hidden checkbox (at the bottom of the dialog box) to specify whether the file should be hidden or not.
- Click OK.
When a file is hidden, it is not normally visible in the Explorer window. If you want to have hidden files included in what you see, follow these steps if you are using Windows 7 or Windows 10:
- Display the Control Panel by typing "Control Panel" (without the quotes) in the search box to the left of the task bar and press Enter if you are using Windows 10. If you are using Windows 7 click the Start menu and then click Control Panel.
- Click the Appearance and Personalization link.
- Click the Show Hidden Files and Folders link (under the File Explorer section). Windows displays the File Explorer Options dialog box. (See Figure 2.)
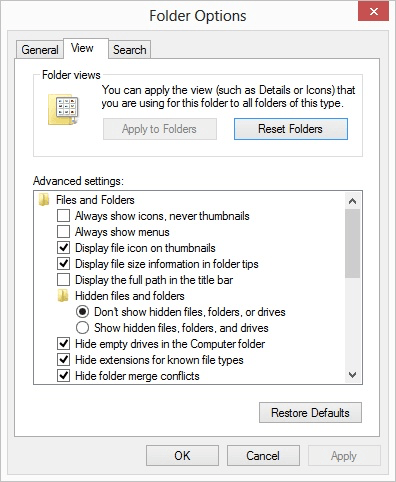
Figure 2. The File Explorer Options dialog box.
- Select the Show Hidden Files, Folders, and Drives radio button.
- Click OK.
With this setting made, all hidden files are displayed in all Explorer windows. If you are using Windows 10 you can also follow these steps:
- Press Win+E to display an Explorer window.
- At the top of the window, click the View tab.
- In the Show/Hide group (near the right side of the ribbon), make sure the Hidden Items check box is selected.

 This tip (13078) applies to Windows 7 and 10.
Author Bio
Allen Wyatt
With more than 50 non-fiction books and numerous magazine articles to his credit, Allen Wyatt is an internationally recognized author. He is president of Sharon Parq Associates, a computer and publishing services company. Learn more about Allen...
Aligning Cells when Importing from CSV
When you import information from a CSV text file, Excel formats the data according to its default settings. Wouldn't it ...
Discover More
Changing Cell Values while Printing
When printing mulitiple copies of the same worksheet, you may have a need to change something simple for each of the ...
Discover More
Setting a Precise Custom Paper Size
Word allows you to define your own custom paper sizes. It is possible, though, that those sizes may change on their own. ...
Discover More
Displaying the Number of Files or Folders within a Folder
You can easily determine how many files and folders there are within a folder by making quick use of Windows Explorer or ...
Discover More
Creating a System Image
A system image is a snapshot of your system disk as of a certain point in time. Should the need arise, you can restore ...
Discover More
Checking the Size of Apps
Need to know how much disk space is consumed by the small applications (apps) installed on your system? Windows makes it ...
Discover More
Comments