Rebuilding the Search Index
You may occasionally find yourself wanting to rebuild the search index (e.g., if it's very large and you remove a big chunk of indexes, or if it gets corrupt). To rebuild the search index, follow these steps:
- In the Search box, type "index" (without the quotes) and press Enter. Windows displays the Indexing Options dialog box. (See Figure 1.)
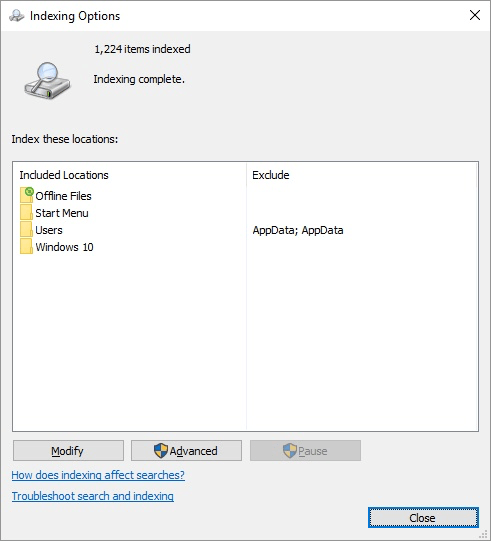
Figure 1. The Indexing Options dialog box.
- Click the Advanced button. Windows displays the Advanced Options dialog box.
- Make sure the Index Settings tab is displayed. (See Figure 2.)
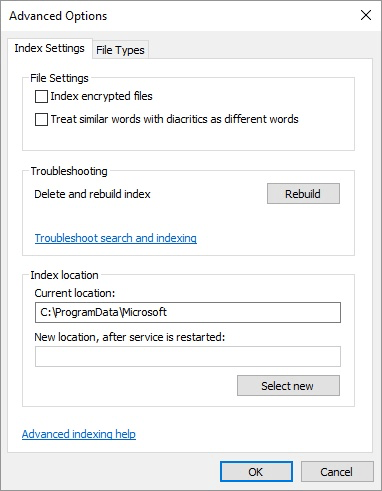
Figure 2. The Index Settings tab of the Advanced Options dialog box.
- Click the Rebuild button. Windows asks you if you are sure you want to perform the action.
- Click OK to start the rebuild.
- Close any open dialog boxes.
The work involved in rebuilding a search index is done behind the scenes and could take a while to complete. While Windows is rebuilding, you can work with other programs just fine, but you won't be able to do a search and get any meaningful results.
Author Bio
Barry Dysert
Barry has been a computer professional for over 35 years, working in different positions such as technical team leader, project manager, and software developer. He is currently a software engineer with an emphasis on developing custom applications under Microsoft Windows. When not working with Windows or writing Tips, Barry is an amateur writer. His first non-fiction book is titled "A Chronological Commentary of Revelation." Learn more about Barry...
Finding New Desktop Widgets
Although there are several widgets that come with Windows, a lot more are available if you're willing to do a little Web ...
Discover More
Running a Program as Administrator
Sometimes a program you're trying to run needs to run with elevated privileges. Assuming you have the authority to do ...
Discover More
Recovering a Forgotten Administrator Password
Forgetting your administrator password may be cause for panic because there is no supported way to discover it. Before ...
Discover More
Using Robocopy to Copy Entire Directories
It's simple to use Robocopy to copy entire directories. Dealing with directories is what it does best! This tip shows you ...
Discover More
Permanently Deleting a File
If you have a file that you're sure you want to permanently delete (instead of having it go to the Recycle Bin) it's an ...
Discover More
Backing Up Your Files
Performing regular backups of your system offers you peace of mind because you don't have to worry about data loss in the ...
Discover More

Comments