Creating a System Repair Disc
If you are using Windows 7, a system repair disc is a bootable CD or DVD that you've prepared beforehand so that you can start Windows in the event that you're having hard-drive problems that prevent you from booting normally. A repair disk is not a Windows installation disk, but rather it's a disk that contains the minimal amount of data required to get your system up to a point where you can attempt repairs.
To create a system repair disk, perform the following steps if you are using Windows 7:
- Go to Start | Control Panel and click the Backup Your Computer link. Windows displays the Backup and Restore portion of the Control Panel.
- Click the "Create a system repair disc" option at the left side of the screen. Windows prompts you to insert a blank, unformatted CD or DVD into the appropriate drive on your system. (See Figure 1.)
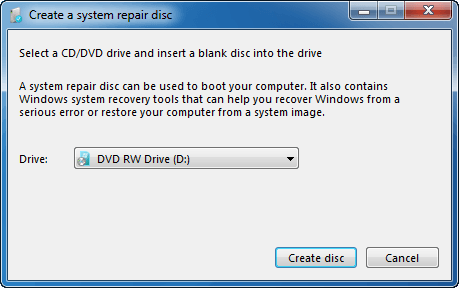
Figure 1. The Create a System Repair Disc dialog box.
- Insert the desired disc and then click the Create Disc button. Windows starts creating the repair disc, as requested. During the creation process, Windows keeps you informed as to what is happening. After several minutes you'll be informed that the disc is done and that you should label it. (See Figure 2.)
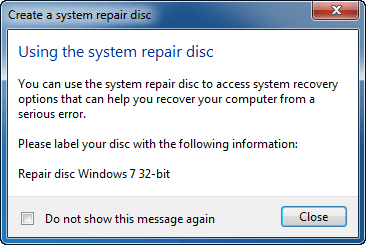
Figure 2. Your System Repair Disc is Completed.
- Click the Close button to dismiss the dialog box that appeared at the end of step 3.
- Click the OK button to dismiss the dialog box that appeared at the end of step 2.
- Remove your newly created disk from the drive, label it, and store it in a safe place.
If you are using Windows 8 or Windows 10, the entire concept of creating a system repair disc was replaced with creating what is called a "recovery drive." This feature allows information on a hard drive—including a recovery partition, if one exists—to be copied or backed up to an external hard drive. This drive can then be used to help troubleshoot your PC if, for some reason, you can't boot to your regular drive.
To create a recovery drive, follow these steps in Windows 8 or Windows 10:
- Using the Search box, start typing "recovery drive," without the quote marks. (In Windows 8 you display the Search box by pressing Win+C to display the Charms area and then clicking the Search tool. In Windows 10 the Search box is visible near the bottom-left area of the screen.) Click on Recovery Drive from the displayed results. Windows starts the Recovery Drive program. (See Figure 3.)
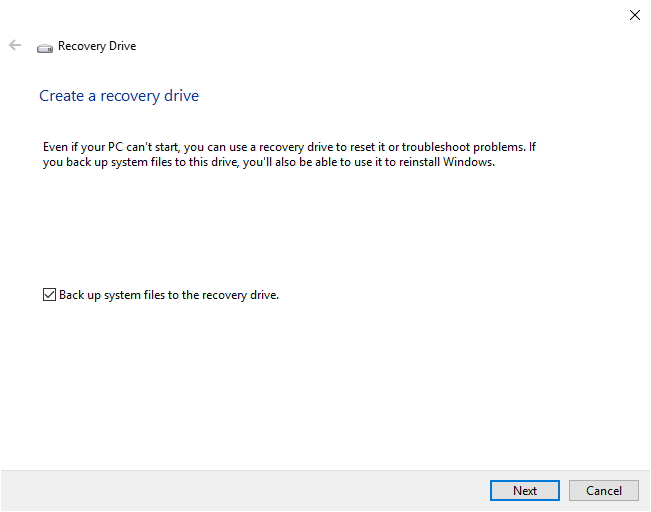
Figure 3. The Recovery Drive program.
- Click the Next button. Windows examines your drive to gauge space requirements, and then prompts you to connect a flash drive big enough to hold the recovery information.
- Connect the flash drive to your computer and Recovery Drive indicates what drives you have available for the recovery information.
- Select the drive you want to use and then click Next. Recovery Drive indicates that everything on the selected drive will be deleted.
- Click the Create button to save the recovery information to the selected drive.
Creating a recovery drive can take a while, depending on how much information you have on your drive and what type of USB drive you are using. When done, Recovery Drive may also offer you the opportunity to delete the recovery partition from your hard drive. This may free up some space on your hard drive, but it removes one additional potential "safety point" when it comes to your system and your data.
Author Bio
Barry Dysert
Barry has been a computer professional for over 35 years, working in different positions such as technical team leader, project manager, and software developer. He is currently a software engineer with an emphasis on developing custom applications under Microsoft Windows. When not working with Windows or writing Tips, Barry is an amateur writer. His first non-fiction book is titled "A Chronological Commentary of Revelation." Learn more about Barry...
Changing the Size of the Taskbar
The Taskbar is the "heart" of managing your work in Windows. Fortunately, it can be sized to your heart's content. This ...
Discover More
Understanding the Videos Folder
The Videos folder is one of several system libraries created in Windows by default. This library is specifically ...
Discover More
Understanding ISO Images
ISO images are great for archival and portability. An ISO image is a file on your hard drive that represents an optical ...
Discover More

Comments