Jump lists were a great addition introduced in Windows 7, and they're still there in Windows 10. They are enabled by default so, for example, if you've been editing Microsoft Word documents, you can go to Start, right-click on your Word program, and you'll see a list of files you've recently edited.
You can have jump lists enabled or disabled to suit your desires. To do this, go to Start | Settings and click Personalization. On the left side of the resulting window, click Start. Scroll down to the bottom and you'll see an on/off slider for jump lists: (See Figure 1.)
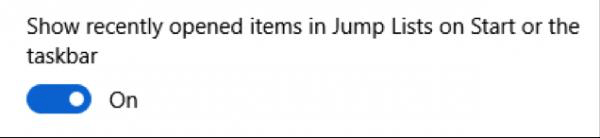
Figure 1. Turning jump lists on and off.
With this setting turned On, you'll see Jump Lists when you right-click an application from the Start menu, when you right-click an open application on the Taskbar, and also in Quick Access in File Explorer. If you turn it Off, Jump Lists will not appear.
![]()
![]()
![]() This tip (1554) applies to Windows 7, 8, and 10.
This tip (1554) applies to Windows 7, 8, and 10.
You can improve your efficiency at launching applications by using the Start Screen. This tip shows you how to pin items ...
Discover MoreThe Windows Task Manager is a useful utility that provides information about what's running on your system. You can also ...
Discover MoreIt's possible that the Windows Explorer window may occasionally get out of sync with the data it's displaying. You can ...
Discover MoreThere are currently no comments for this tip. (Be the first to leave your comment—just use the simple form above!)
Copyright © 2026 Sharon Parq Associates, Inc.

Comments