A restore point allows you to restore the system to a previous state should something go wrong with a key system change that's been made. Restore points are automatically created by Windows before any of the following events:
Restore points are managed by using the System Protection feature of Windows. To manually create a restore point, start System Protection by using Windows' built-in search capabilities to look for "system protection," without the quote marks. In the search results you should see a result for "create a restore point." Select this result and Windows displays the System Protection tab of the System Properties dialog box. (See Figure 1.)
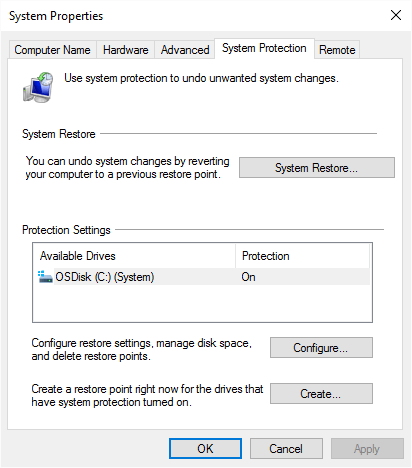
Figure 1. The System Protection tab of the System Properties dialog box.
You can create a restore point for any disk that has protection turned on. (You can turn protection for a drive on or off by selecting that drive and clicking the Configure button.) To create a restore point for the drives that have system protection turned on, select the drive you want to use and click the Create button shown. You will then be prompted to enter a name for the restore point, and when you click Create after entering the name, the restore point will be created.
Restore points can also be created on a user-defined schedule. In fact, the default behavior of Windows is to periodically create a restore point by using the Task Scheduler. To modify this schedule, use Windows' search capabilities to locate and start the Task Scheduler. Once started, expand the tree under "Task Scheduler Library" and scroll down to Microsoft | Windows | System Restore. (See Figure 2.)
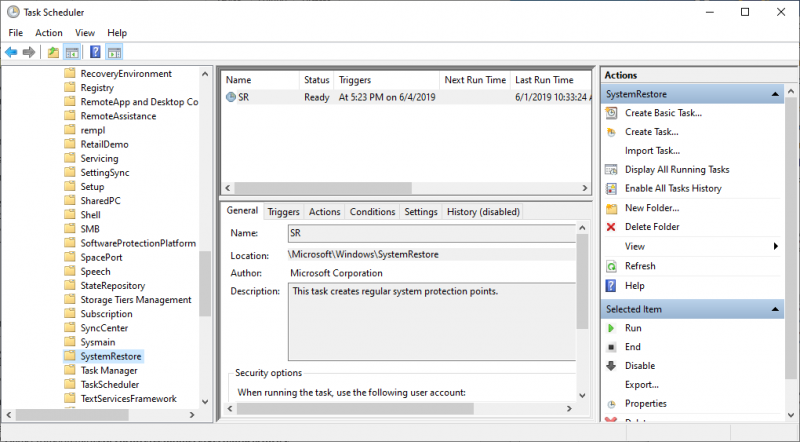
Figure 2. Task Scheduler's System Restore task.
The name of the task is "SR." Right-click the task and choose Properties from the resulting Context menu. If you look at the Triggers tab in the Properties dialog box, you can click the Edit button and modify the task schedule to better suit your needs. Note, however, that by design, System Restore creates a scheduled restore point only if no other restore points have been created in the last 7 days. When you're finished editing the schedule, OK your way out.
![]()
![]()
![]() This tip (11294) applies to Windows 7, 8, and 10.
This tip (11294) applies to Windows 7, 8, and 10.
One of the big new features of Windows 10 is the ability to create new virtual desktops. This tip tells you about them.
Discover MoreOne of the many functions of the Windows Task Manager is to allow you to control processes running on your system. If you ...
Discover MoreOften when we are using our computers, we need to remember certain steps that we take, either for ourselves or to show ...
Discover MoreThere are currently no comments for this tip. (Be the first to leave your comment—just use the simple form above!)
Copyright © 2026 Sharon Parq Associates, Inc.

Comments