There are many times when the need arises to take a screen shot of something on your computer. Whether it's to share something on your screen with a friend or coworker, or perhaps you are writing an article about how to do a particular task using Windows. Windows has allowed for screen capture of certain items for some time now, and Windows 10 continues that ability. Now, though, Windows 10 allows for a quicker way to get that screen shot you need. Enabling a simple setting allows you to trigger a screen shot with the press of one single button. Follow these simple steps to enable easy screen captures.
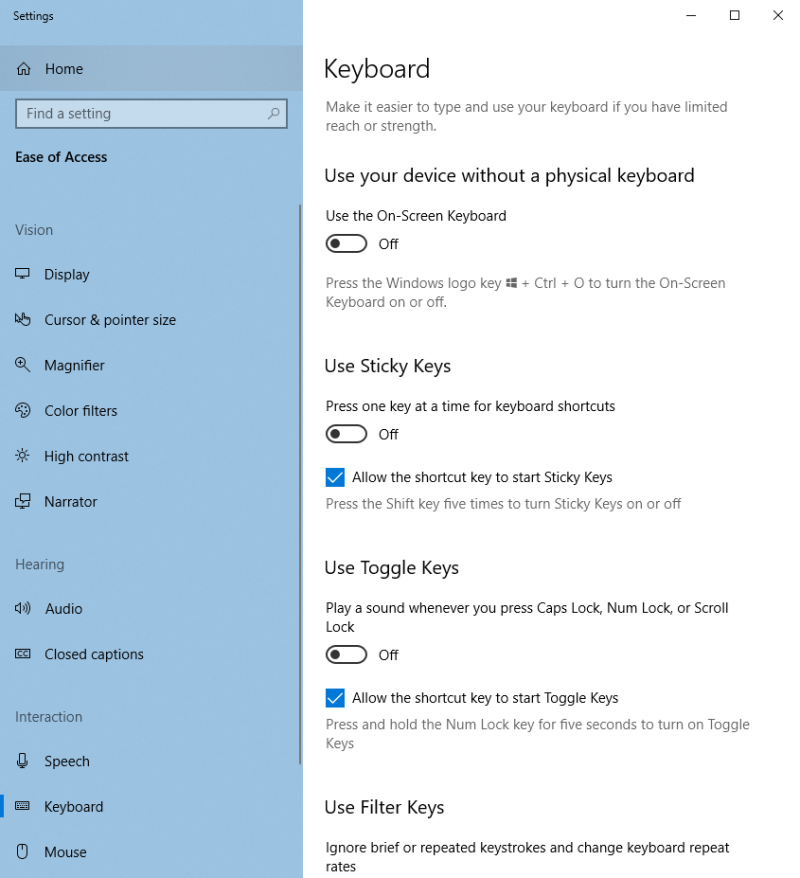
Figure 1. The Ease of Access section of the Settings dialog box.
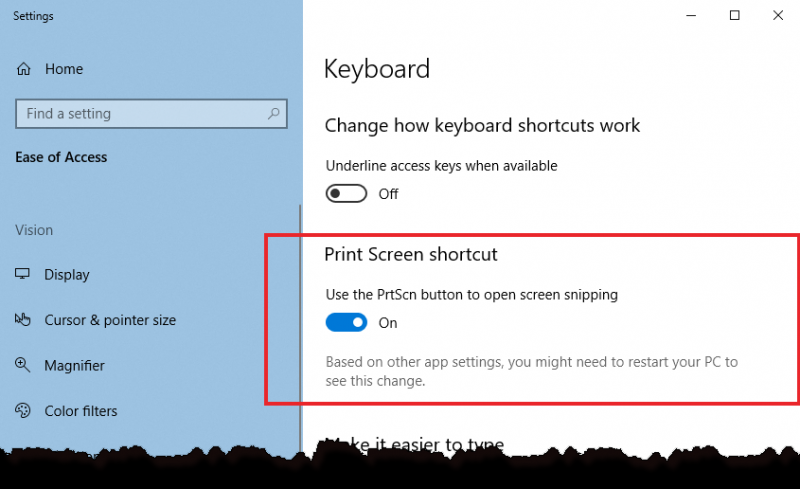
Figure 2. The Print Screen Shortcut setting of the Ease of Access section of the Settings dialog box.
Note: Your computer may require (depending on other settings you may have selected) for you to restart for this setting to take effect.
Now when you press the PrtScn (Print Screen) button on your keyboard, Windows immediately switches to screen capture mode. As you move your mouse around your screen you will see that it dims your screen and highlights certain portions of the screen, indicating what you can take a screen shot of. You can capture a portion of a window, a full window, or full screen shot. (See Figure 3.)
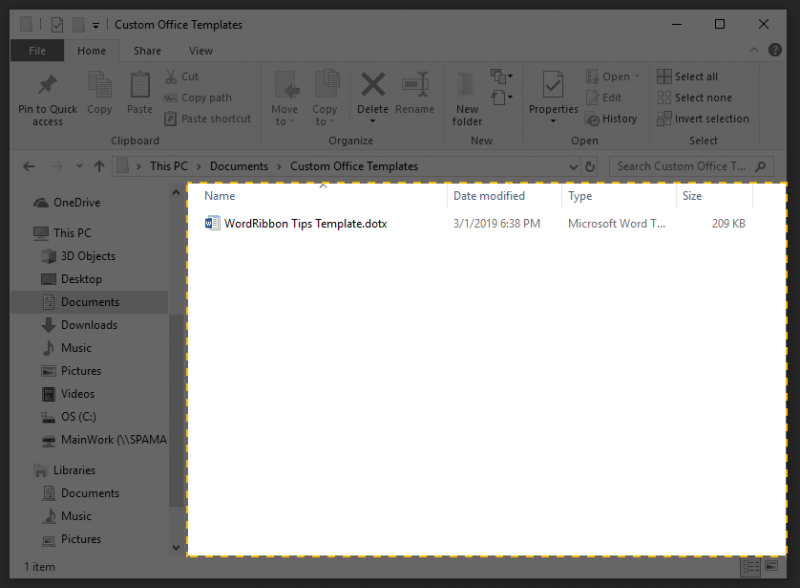
Figure 3. Windows highlighting an area you can capture.
After you click on the area you want captured Windows opens the screen shot in the Snipping Tool program. Within the Snipping Tool program, you can easily annotate it and share it with someone via email or save it to your computer.
Thanks to activating this simple setting it has never been easier to take screen shots on your Windows computer. Now you can quickly share those shots with the people you need.
![]() This tip (6074) applies to Windows 10.
This tip (6074) applies to Windows 10.
There may be times when you need to get back to your desktop by eliminating the "clutter" of all your open windows. ...
Discover MoreReducing the transitions between the keyboard and the mouse is a practice that can improve efficiency. Toward that end, ...
Discover MoreAt times, it is helpful to work quicker to get things done faster. Windows 10 offers several new shortcuts to help you ...
Discover More2021-09-21 20:23:47
If a link (URL) exists in an Excel Favorites Folder or Subfolder and I want a copy of that specific link also in a different Folder(s) or Subfolder(s), there is no simple 'Copy & Paste.' I get an 'Edit Favorite' not an 'Add Favorite.' and the original link is MOVED to the new Folder(s) or Subfolder(s) not COPIED.
The only workaround I found is using the Clipboard and the Windows Key (⌘)+ V to save (copy) the actual original URL addr, then go to the Folder(s) or Subfolder(s) I want and ADD a new Favorite by creating any Favorite name I want and then Copy & Paste the original URL from the Clipboard using ⌘+V.
Is there a simpler method?
2019-08-15 09:39:02
Richard Curtis
Previous versions of Windows 10 contain the Snipping Tool, which is a snip to use. Mark an area to grab and it's on the clipboard. Optionally save it for later use.
2019-03-18 18:27:31
Tony
This tip is for Windows 10 Version 1809 and above.
2019-03-18 13:38:14
Will
The tool described here does not exist on my version - 1803 build 17134.648. Also, I cannot access the keyboard tool as described here. If I omit "keyboard" I can get the tool that has the keyboard option in the left hand column though as I scroll through its options from there, the "print screen shortcut" does not exit.
The "Snipping Tool" (accessed by start button, typing snip... brings it up) app works very well. I wonder if this is the same tool.
2019-03-18 13:12:20
Allan
I've tried many Print Screen Apps, by far the best one, in my opinion, is the Gadwin Print Screen App. It's FREE and does great things. Works on all Windows versions.
It can be downloaded here.
https://downloads.tomsguide.com/PrintScreen-Gadwin,0301-3829.html
2019-03-18 12:15:46
Eric Wyatt
Doug, Thats unfortunate, what build of Windows 10 are you using?
2019-03-18 07:14:19
Doug Johnson
The Quick Screen Capture procedure described above does not work on my version of Windows 10
Copyright © 2026 Sharon Parq Associates, Inc.
Comments