Display magnification means different things to different people. For example, if you're working in an application (e.g., Microsoft Excel or Microsoft Word) you can magnify what you're looking at by using the zoom controls in the lower right corner of the window. Or if you're working in certain browsers (e.g., Internet Explorer or Google Chrome), hold the Ctrl key and use the mouse's scroll wheel to change the magnification of the page.
It's also possible to magnify the display (in total or in part) in case you're having trouble making out most of the things on the monitor itself. To do this, use the search capabilities of Windows to look for "magnifier" (without the quote marks), and then press Enter. After a small delay, a small dim magnifying glass appears on the screen. (See Figure 1.)

Figure 1. Windows magnifier.
When the magnifier is active, a rectangular loupe appears and follows your mouse, magnifying everything that you move your mouse to.
The magnifier is somewhat configurable. For example, if you move your mouse to the magnifying glass itself, a chevron appears (small, right-pointing characters) in the middle of the magnifying glass. By clicking the chevron, you enter configuration mode. In configuration mode you can perform things like changing the zoom factor; indicating whether you want your magnified view to be of the full screen, a moveable lens, or docked; and changing the size of the lens.
To exit the magnifier, move your mouse to the magnifying glass, click the chevron, and then close the window by clicking the red "X" like you would any other program.
If you are using Windows 10, there are a couple of ways you can turn on the magnifier. You can use the search capabilities of Windows to look for "magnifier" (without the quote marks), and then press Enter. An even easier method to access the magnifier is to press the Windows logo key while at the same time pressing the + key Windows displays a small dialog box from which you can use the controls to zoom to the desired setting. (See Figure 2.)
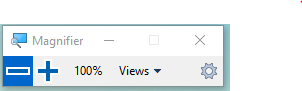
Figure 2. The Magnifier dialog box.
You can use the controls in the dialog box to zoom in and out and indicate whether you want your magnified view to be of the full screen, a moveable lens, or docked. As in earlier versions of Windows, the magnifier can easily be configured to your needs. Press the Options icon (looks like a gear) at the bottom right corner of the Magnifier dialog box. Windows displays the Magnifier section of the Settings window. (See Figure 3.)
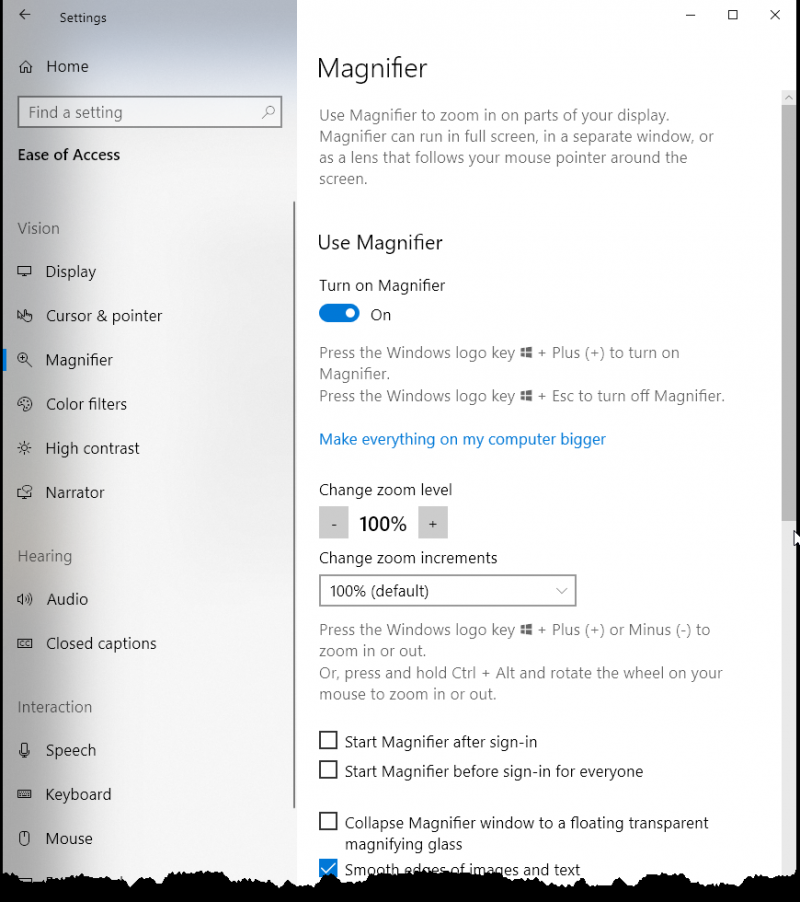
Figure 3. The Magnifier section of the Settings window.
Some of the configuration options include changing the zoom level and zoom increments. You may need to scroll down to see more configuration options. It will be helpful to experiment with the various settings to see what works best for you.
To exit the magnifier, click the red "X" in the Magnifier dialog box or press the Windows logo key+Esc.
![]()
![]()
![]() This tip (11550) applies to Windows 7, 8, and 10.
This tip (11550) applies to Windows 7, 8, and 10.
For people who find it difficult to use a mechanical keyboard, the on-screen keyboard may provide an acceptable ...
Discover MoreSticky Keys is an accessibility feature designed for people who have trouble holding down two or more keys ...
Discover MoreThe Narrator is an accessibility feature designed for people who have trouble reading text that's on the screen. Turning ...
Discover MoreThere are currently no comments for this tip. (Be the first to leave your comment—just use the simple form above!)
Copyright © 2025 Sharon Parq Associates, Inc.

Comments