Windows Media Player is a fairly sophisticated program with a lot of functionality. One of the functions you can perform is the changing of the skins it uses. There are many free skins available, and the "official" skins can be downloaded by going through Media Player itself.
To change skins, launch Windows Media Player and go to View | Skin Chooser. Media Player displays the skins available on your system. (See Figure 1.)
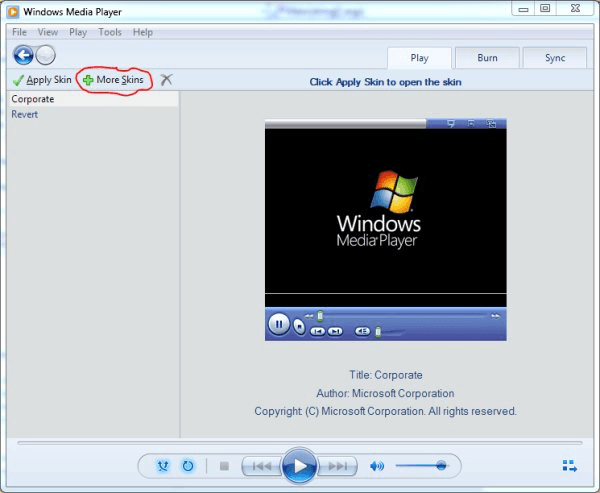
Figure 1. Windows Media Player skin chooser.
Click the More Skins button and your Internet browser will take you to Microsoft's site that holds many skins. You can browse this site for something you like and download it from within your browser. Skins have a file type of ".wmz" and Media Player looks for them in the "Program Files\Windows Media Player\Skins" folder.
After you've gotten your new skin, Media Player will recognize it and display it as an available skin. (It will appear at the left side of the skin chooser area in Media Player.) To use the new skin, click its name and then click the Apply Skin button. From that point forward you can use Media Player with the new skin.
![]() This tip (12679) applies to Windows 7.
This tip (12679) applies to Windows 7.
Ripping songs from audio CDs is fairly simple, but the actual process varies from application to application.
Discover MoreMost people like to keep their Windows Media Player organized. One way to maintain it is to keep track of the various ...
Discover MoreAuto Playlists are a nice feature of Windows Media Player. Once set up, as more media gets added to your library the auto ...
Discover MoreThere are currently no comments for this tip. (Be the first to leave your comment—just use the simple form above!)
Copyright © 2026 Sharon Parq Associates, Inc.

Comments