Windows 10 has a feature that is often overlooked by many, perhaps because of the feature's name, or it could be some other unknown reason entirely. This feature, Xbox Game Bar, is a handy tool that can step up your screen-capture game. The addition of the "Xbox" in the name may cause one to dismiss the feature, especially if they are not a gamer. The Xbox Game Bar was indeed intended to tie into the Xbox ecosystem, allowing you to find and connect with teammates, chatting, and sharing content. The truth is, this relatively new Windows 10 addition, can be used outside of the Xbox ecosystem, can help you out in different ways.
Before you get started with the Xbox Game Bar it might be a good idea to get familiar with some of the settings; I will cover using the Xbox Game Bar in another article. When we open the settings for Xbox Game Bar we will have four settings areas—Xbox Game Bar, Captures, Game Mode, and Xbox Networking. This article looks at these four areas and what they mean.
Xbox Game Bar
To open the settings for Xbox Game Bar, press theÊWindowsÊkey and type (without quotes) "Capture Settings" and pressÊEnter. This opens the Gaming section of the Settings window, focused on the Xbox Game Bar section. (See Figure 1.)
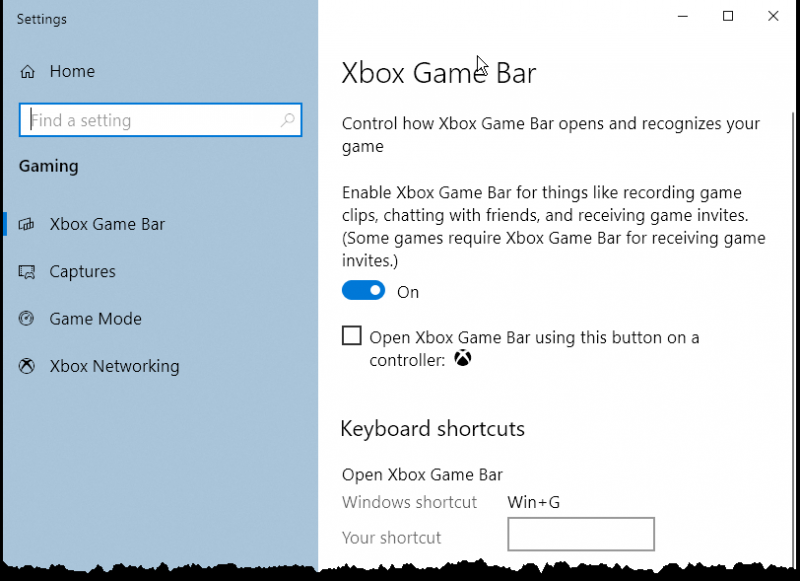
Figure 1. Xbox Game Bar portion of the Gaming section of the Settings window.
To begin using Xbox Game Bar you need to turn it on by clicking the "On" toggle. Below the toggle you will see the option for creating your own keyboard shortcuts. It is recommended that you keep the standard shortcut, as changing them may remove the shortcut from being used for another process. The main keyboard shortcut to remember is the Win+G combination; this launches the Xbox Game Bar at any time.
After you have set the settings you desire for the Xbox Game Bar section, you may want to look at the other settings while you have the Settings window open.
Captures
Click on the Captures option at the left side of the Settings window. This replaces the right portion of the Settings window with the Captures settings options. (See Figure 2.)
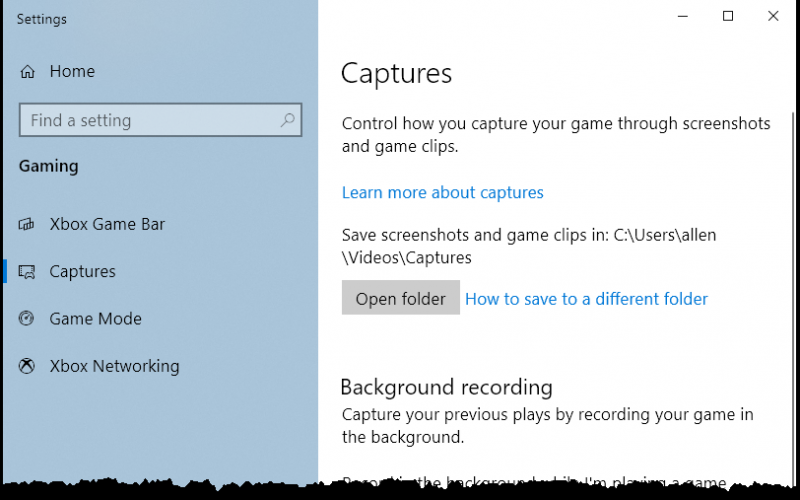
Figure 2. Captures portion of the Gaming section of the Settings window.
This section allows you to specify various aspects pertaining to how Xbox Game Bar will handle captures. Since Xbox Game Bar allows you to capture video and audio, you will see options for these. Some of these options include settings for Background Recording, Audio, and Video. (These settings will be covered in another article.)
Game Mode
The next section down is the Game Mode section, found by clicking on "Game Mode" at the left side of the Settings window. This opens the Game Mode section in the right portion of the Settings window. (See Figure 3.)
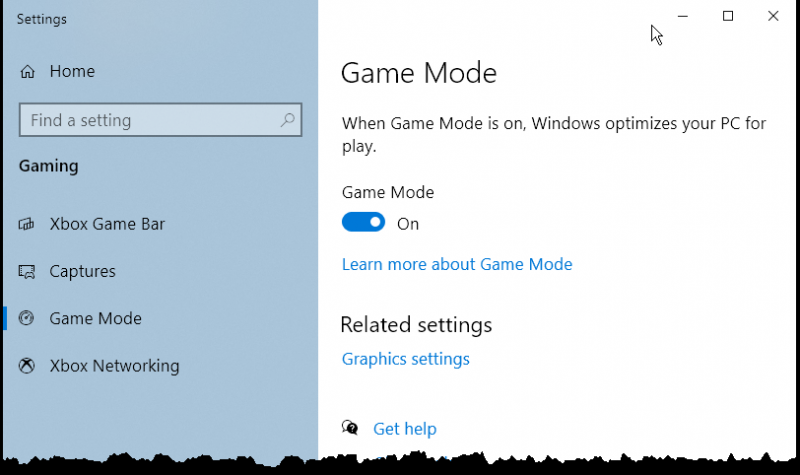
Figure 3. Game Mode portion of the Gaming section of the Settings window.
The main setting in the Game Mode section is to turn "Game Mode" on or off. By default, Game Mode is turned on. When Game Mode is enabled ("On"), Windows postpone driver installs or restart notifications. It also optimizes your machine for more stable and consistent frame rates, important if you were playing graphic-heavy games.
Xbox Networking
The final section is the Xbox Networking section. You can view this section by clicking the last option in the area at the left side of the Settings window. (See Figure 4.)
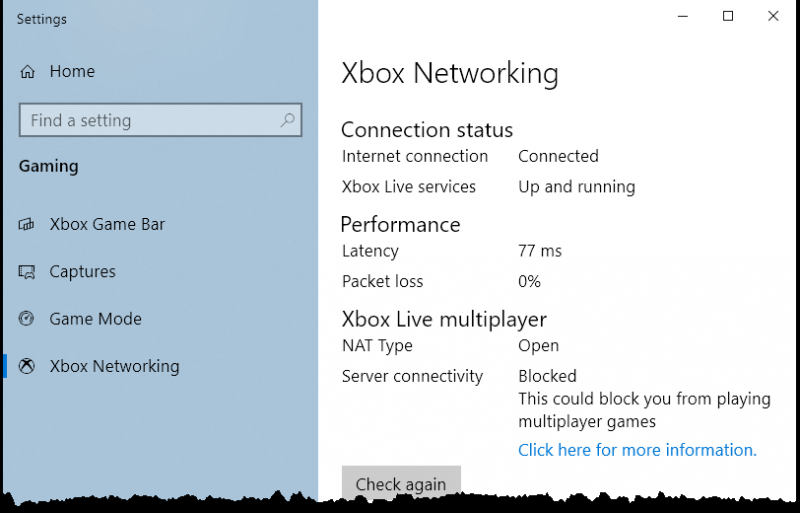
Figure 4. Xbox Networking portion of the Gaming section of the Settings window.
This provides more of a status related to your connection with the Xbox servers. This information is important to understanding the health of your connection to the servers if you are connecting for gaming purposes.
With an understanding of the Xbox Game Bar settings you will be able to begin using this feature for either gaming or non-gaming needs.
![]() This tip (9980) applies to Windows 10.
This tip (9980) applies to Windows 10.
The Xbox Game Bar is a feature that often goes unnoticed by non-gamers. Let's go over launching and default settings for ...
Discover MoreScroll bars are helpful in showing that there is more information to be seen. By default, Windows 10 hides scroll bars, ...
Discover MoreWindows adds its own bells and whistles to what you see on your desktop. One of those flourishes is a drop-shadow added ...
Discover MoreThere are currently no comments for this tip. (Be the first to leave your comment—just use the simple form above!)
Copyright © 2026 Sharon Parq Associates, Inc.
Comments