Improving Text Sharpness with ClearType
Windows includes support for a Microsoft technology called ClearType. According to Microsoft sources, this technology "improves the readability of text" on devices that utilize LCD screens, such as laptops, Tablets, and flat-panel monitors. The technology doesn't represent a different type of font format, but a different way to render existing fonts on certain types of monitors. In fact, Microsoft states that the technology can make screen text look almost as sharp and clear as those printed on paper.
To find out if you would benefit from using ClearType, all you need to do is use the Windows ClearType Text Tuner. This wizard steps you through a series of steps that help you figure out what adjustments are best for displaying text on your device. To use the ClearType Text Tuner on a Windows 10 system, follow these steps:
- Type "Adjust ClearType Text" (without the quotes) in the Search box and press enter. Windows displays the ClearType Text Tuner window. (See Figure 1.)
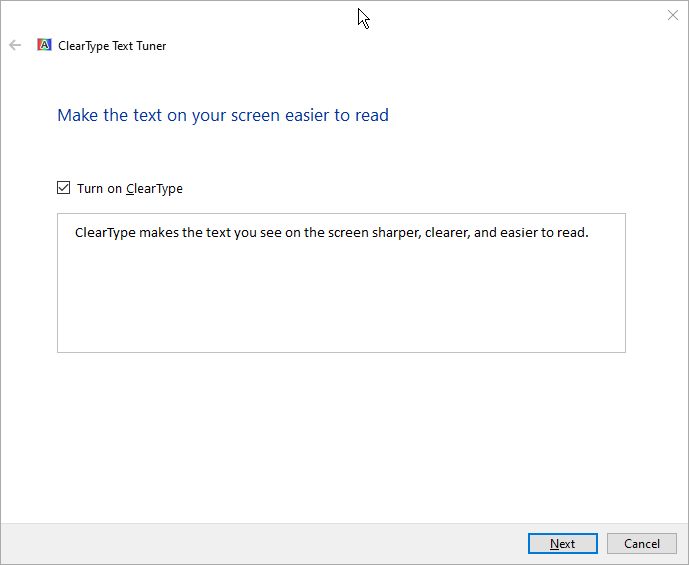
Figure 1. The ClearType Text Tuner.
- Make sure the Turn On ClearType checkbox is selected. (It should be selected by default.)
- Click Next. Your monitor is checked to make sure it is set to its native resolution. If it is not, you may be directed to make some changes.
- Click Next. You start a series of five steps that are akin to letting the optometrist know which eyeglass lenses give you the best vision. (See Figure 2.)

Figure 2. Picking which text is clearer.
- Pick the text that looks best to you at each of the five steps. You'll need to click Next after each selection. (These steps are all completely subjective; it is up to you which samples look best.) When done, the wizard displays a screen to let you know it is finished. (See Figure 3.)
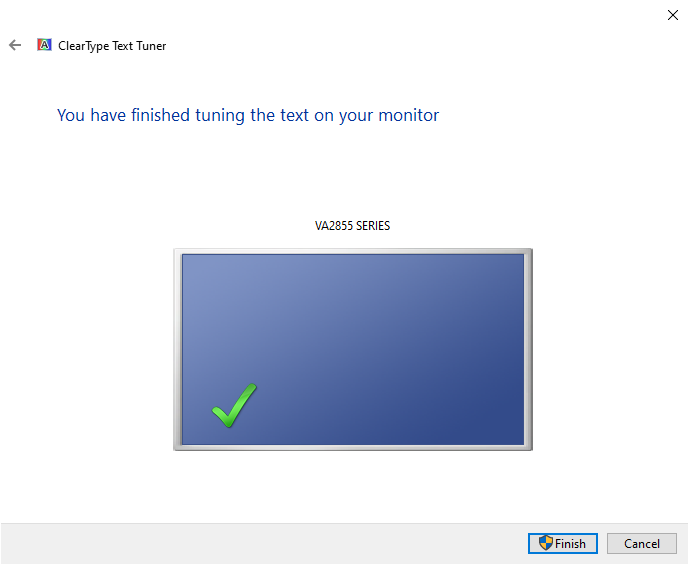
Figure 3. Done tuning text.
- Click Finish to dismiss the ClearType Text Tuner.
To use the ClearType Text Tuner on an earlier version of Windows, follow these steps:
- Display the Control Panel.
- Click the Hardware and Sound link.
- Click the Display link.
- Click Adjust ClearType Text, at the left side of the screen. Windows starts the ClearType Text Tuner.
- Make sure the Turn On ClearType checkbox is selected. (It should be selected by default.)
- Click Next. Your monitor is checked to make sure it is set to its native resolution. If it is not, you may be directed to make some changes.
- Click Next. You start a series of four steps that are akin to letting the optometrist know which eyeglass lenses give you the best vision.
- Pick the text that looks best to you at each of the four steps. You'll need to click Next after each selection. (These steps are all completely subjective; it is up to you which samples look best.) When done, the wizard displays a screen to let you know it is finished.
- Click Finish to dismiss the ClearType Text Tuner.
Author Bio
Allen Wyatt
With more than 50 non-fiction books and numerous magazine articles to his credit, Allen Wyatt is an internationally recognized author. He is president of Sharon Parq Associates, a computer and publishing services company. Learn more about Allen...
Creating a Quick Letter
Word provides a handy wizard that is helpful in creating basic letters quickly and easily. This tip discusses the Letter ...
Discover More
Transposing Table Contents
When you transpose information, it is essentially "rotated" in a direction. If you transpose the information in a table, ...
Discover More
Transposing Two Paragraphs
Need to swap two adjacent paragraphs? Your editing arsenal can include a command to do this if you use the macro in this tip.
Discover More
Keeping the Scroll Bar
Scroll bars are helpful in showing that there is more information to be seen. By default, Windows 10 hides scroll bars, ...
Discover More
Grouping Tiles on the Start Screen
The Start screen can serve as your launching pad for whatever programs you desire. You can move tiles around on the Start ...
Discover More
Enabling and Disabling Windows Features
Want to make sure that Windows is trim and fit, using only those features you routinely use? Here's how to enable or ...
Discover More
Comments