Toggl is a great little utility for those of us who want to keep an accurate record of times spent on our projects. You can use the Internet version and/or the desktop version. (They appear to use the same database, and launching Toggl is slow enough to indicate it's going out to find its server.) Nevertheless, I use the desktop version so that I don't have to keep yet another browser window open.
Before we get ahead of ourselves, the first thing you have to do is create a free Toggl account at https://toggl.com/. You do your configuration tasks there, and then when you launch Toggl on your desktop it behaves the way you set it up. When I launch Toggl I see a sparse, simple screen. (See Figure 1.)
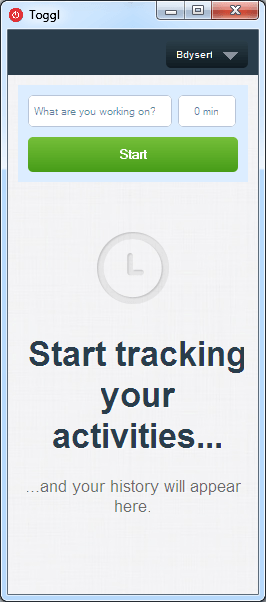
Figure 1. Toggl's control screen.
I can immediately enter the project task I'm about to work on and click Start. For example, say I'm about to work on a task called "Main Screen development." I enter that text in the text box and click Start. The timer then starts. (See Figure 2.)

Figure 2. Using Toggl to track my time.
Note that you could enter a project and/or a tag (which may be useful if you create reports). So let's say I work on my task for a while but then switch to another task for some reason. I click the Stop button, enter my new task's name, and click Start again. (See Figure 3.)
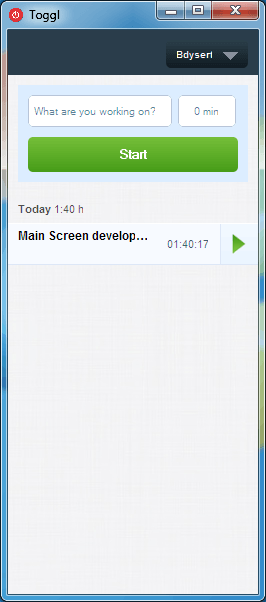
Figure 3. After stopping my first task.
After clicking Stop, Toggl remembers the project on which I just worked.
So I just enter my new task and click Start again, which starts the timer running (from 0) for this new task. If I later return to my "Main Screen development" task, I stop the new task and click the green right-arrow beside the "Main Screen development" task and the timer for that task picks up where it left off.
Toggl is a free download:
https://toggl.com/
You can, if you choose, get a more full-featured version of the software if you are willing to pay a monthly fee. In addition, the company has mobile apps for Toggl that work with a variety of devices. Full information is available at the website.
![]()
![]()
![]() This tip (13018) applies to Windows 7, 8, and 10.
This tip (13018) applies to Windows 7, 8, and 10.
By using the alarm capabilities of Windows, you can make sure you never miss another important time again. This tip shows ...
Discover MoreNeed to find out which files are hogging the most space on your hard drives? The WizTree utility can analyze your drives ...
Discover MoreAre you frustrated by your desktop icons moving around whenever you change your screen resolution or use Remote Desktop? ...
Discover More2017-05-01 14:36:48
MW
For users of Microsoft Outlook, you can also easily use the built in Journal app to track your time. It also has a start and stop timer that you can engage with a click, a built in 'task' list and you can use Categories to flag the project name or if you prefer just type it in on the record.
You can modify the Journal Entry item view to meet your needs and save it as a template.
Each month I create a new Journal folder for each project, and then within that folder click to open a new 'time card' every time I want to record my time on a task. At the end of the month (or week depending on how you report your time) I can print out that folder's tasks in a table view to show all of the tasks and individual hours I worked on each. I finally print that table to a PDF and include it as backup for my billings.
It takes little time to set up the initial journal record view and folder, but I find it to be a ready and simple time card recorder.
See a screen shot {fig}
Copyright © 2025 Sharon Parq Associates, Inc.

Comments