Easy Transfer is a Windows utility that lets you copy items from one computer to another or to an external hard drive. It can even assist you in upgrading a computer to a newer version of Windows. The items that can be copied include user accounts, documents, music, pictures, email, Internet favorites, videos, and more.
Easy Transfer operates like a wizard. To start it, click the Start button, type "Easy Transfer" (without the quotes), and press Enter. The Easy Transfer welcome screen appears. (See Figure 1.)

Figure 1. The Easy Transfer welcome screen.
Clicking Next takes you to a screen where you can specify where you want to transfer whatever it is you are transferring. (See Figure 2.)
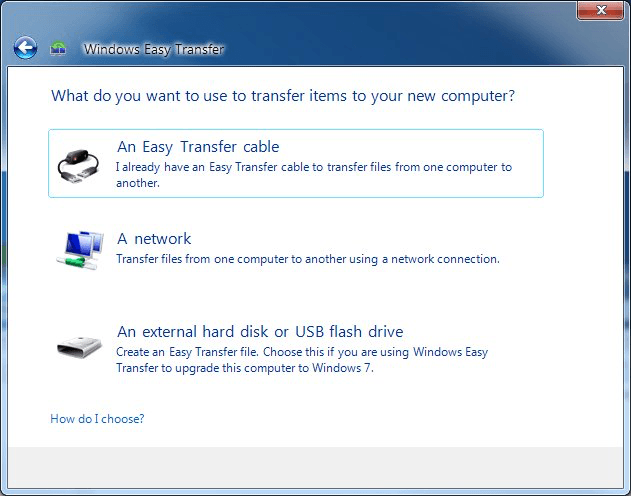
Figure 2. Picking where to transfer your items.
The option you choose here depends on what you want to do and the hardware that's available. If you have an Easy Transfer cable, you'd pick the first option. (An Easy Transfer cable is used to transfer items directly from one computer to another.) If you want to transfer your items over a network, you pick the second option. If you want to copy your items to an external hard disk, or if you're using Easy Transfer to upgrade your operating system, you'd pick the third option.
Regardless of what you're doing, you are asked to identify which is the "old" computer. This is the computer from which you want to export the items. You are also asked to identify which is the "new" computer. This is the computer to which you want your items imported. If you are using Easy Transfer to upgrade a computer to Windows 7, the "old" computer is a reference to your older version of Windows, and the "new" computer is a reference to the newer version of Windows.
It is beyond the scope of this tip to describe all of the various scenarios handled by the Easy Transfer wizard, so we'll choose to copy our items to an external hard drive as an example. When this option is chosen, the wizard advances to the next screen and immediately begins to calculate all the files and settings that can be transferred. After a short time you'll see a screen that shows all the available items. (See Figure 3.)
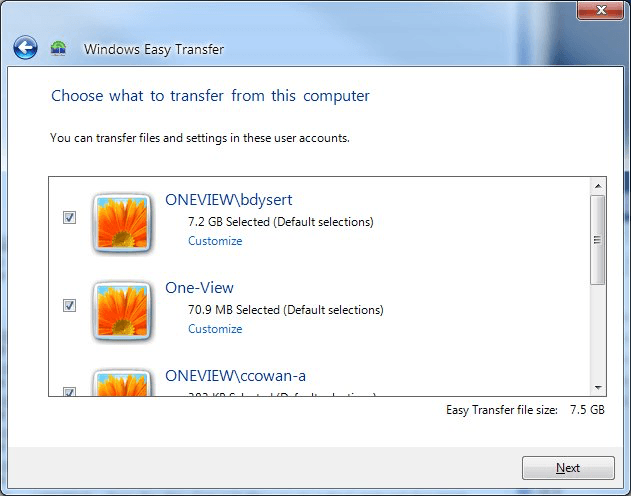
Figure 3. Picking which items to transfer.
If there are certain accounts or items you don't want transferred, just deselect the checkbox beside that item and it won't be included in the transfer. When you click the Next button, you are prompted to specify a password for the Easy Transfer file. The password is optional, so if you're not concerned about someone intervening and copying your file, you can leave the password boxes blank and just click the Save button. (See Figure 4.)
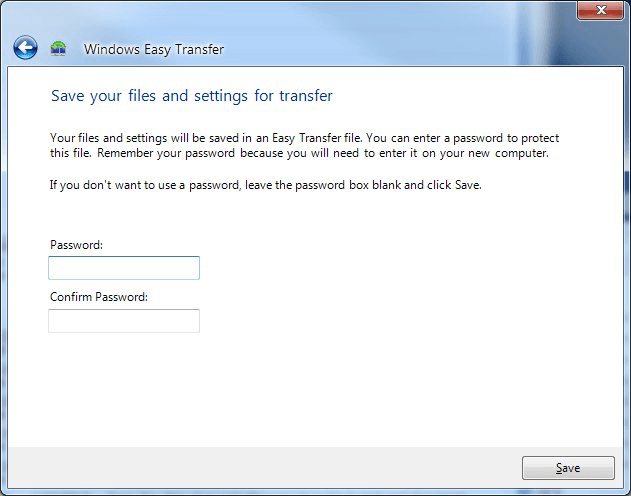
Figure 4. Entering an optional password.
After clicking Save, you are prompted for the file name and location where you want your Easy Transfer file to be saved to. Choose the location and file name, and click Save. At this point, Easy Transfer begins copying the items to the Easy Transfer file. It can take a long time, depending on what you chose to transfer, so be patient.
![]() This tip (12556) applies to Windows 7.
This tip (12556) applies to Windows 7.
Robocopy is a robust file copy utility built into Windows. The various switches built into the program provide very ...
Discover MoreRobocopy can work on files according to each file's attributes. This tip shows you how to use Robocopy to only copy files ...
Discover MoreYou can improve your efficiency at navigating the file system by using the Quick Access view. This tip shows you how to ...
Discover More2017-11-13 12:32:58
Paul Hanson
I agree with Kallie Petrick - never knew this existed!
Curious if anyone has tried this utility to transfer a folder from one external hard drive (B:) to a second external hard drive (G:) that are both connected to a single PC?
2015-10-08 08:28:47
Shanker
Very Useful Tip. Thanks!
2015-09-29 05:42:46
Thanks Barry.
Had never heard that this is available with Windows OS.
2015-09-28 08:39:08
Kalle Petrick
Wow! So who knew? A truly obscure utility. THanks for the good tip.
Copyright © 2026 Sharon Parq Associates, Inc.

Comments