Windows can work with a wide assortment of printers, and over time you may change the number and type of printers that have been connected to your system. At some point you may want to delete a printer driver—you may no longer have the printer or it may no longer be accessible from your system. You can delete a printer from Windows 10 by following these steps:
- Display the Control Panel.
- Click on View Devices and Printers under the Hardware and Sound heading. You may have to scroll down a bit to find the Printers section. (See Figure 1.)
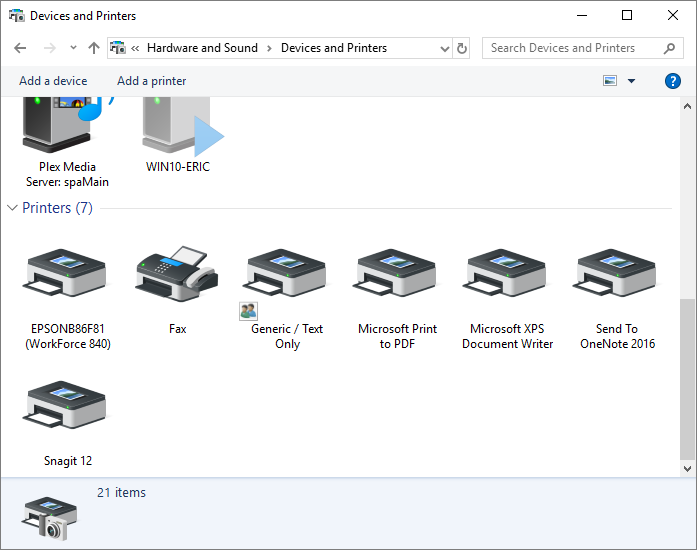
Figure 1. The Devices and Printers screen.
- Right-click on the printer you want to remove. Windows displays a Context menu.
- Choose Remove Device from the Context menu. Windows asks you to confirm your request.
- Click Yes. The printer is removed from Devices and Printers screen.
If you are using Windows 8, the beginning steps are a bit different:
- Display the Control Panel.
- Click the Hardware and Sound category link.
- Click the Devices and Printers category link. Windows displays the Devices and Printers screen.
- Right-click on the printer you want to delete. Windows displays a Context menu.
- Choose Remove Device from the Context menu. Windows asks you to confirm your request.
- Click Yes. The printer is removed from the Devices and Printers screen.
- If you are using Windows 7, follow these steps:
- Click Start and then click Devices and Printers. Windows 7 displays the Devices and Printers screen.
- Right-click on the printer you want to remove. Windows 7 displays a Context menu.
- Choose Remove Device from the Context menu. Windows 7 asks you to confirm that you really want to remove the printer.
- Click Yes. The printer is removed from the Devices and Printers screen.
Author Bio
Allen Wyatt
With more than 50 non-fiction books and numerous magazine articles to his credit, Allen Wyatt is an internationally recognized author. He is president of Sharon Parq Associates, a computer and publishing services company. Learn more about Allen...
Counting Document Lines
Need to know how many lines are in your document? Word provides a quick and easy way you can determine the information.
Discover More
Changing the Ribbon Font Size
Changing the size at which your document is displayed is easy. What, though, of the elements that make up the Word ...
Discover More
Controlling Chart Gridlines
Gridlines are often added to charts to help improve the readability of the chart itself. Here's how you can control ...
Discover More
Quick Photo Printing
Windows 10 allows for quick and easy printing of your photos at standard photo sizes. You can start printing your photos ...
Discover More
Specifying the Default Printer
Windows allows you to define many printers that can be used with your system. Chances are good that one of those printers ...
Discover More
Limiting when Others Can Use Your Shared Printer
Sharing resources on a network can be a great help to everyone. However, you might not want to always make your printer ...
Discover More
Comments