In Windows, every file has an associated security profile that determines who is allowed access to the file, and what kind of access (e.g., read or write) a user is entitled to. If you are an administrator or have Control access to the file, you can change the file's permissions, thereby allowing or denying certain types of access to the file.
To see a file's permissions, right-click on the file and choose Properties. Windows displays the Properties dialog box, in which you should display the Security tab. (See Figure 1.)
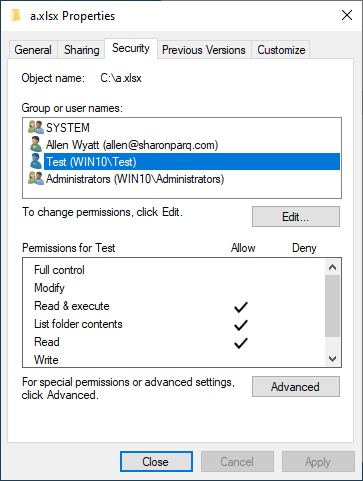
Figure 1. Permissions of
This particular screen shot shows that for user "Test", they have Read & execute, List Folder Contents, and Read access to the file "a.xlsx". To deny that user access to "a.xlsx", click the Edit button, and again select user Test. You then have the option to change the permissions. (See Figure 2.)

Figure 2. Editing permissions of
Using the controls in the Permissions dialog box you can modify what the selected user or group can do with the file. For instance, if you want to stop the Test user from opening the a.xlsx file, all you need to do is click the checkboxes in the Deny column for both Read & Execute and Read. When you apply the changes, any subsequent attempts by the Test user to open the file result in an error message. (See Figure 3.)
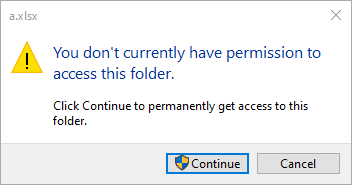
Figure 3. User Test's denial of access to
![]()
![]()
![]() This tip (5827) applies to Windows 7, 8, and 10.
This tip (5827) applies to Windows 7, 8, and 10.
Windows has a powerful search utility that allows you to search for files that may be scattered across separate folders ...
Discover MoreA hidden file that the system uses to speed performance of your viewing folders containing pictures is called Thumbs.db. ...
Discover MorePerforming regular backups of your system offers you peace of mind because you don't have to worry about data loss in the ...
Discover MoreThere are currently no comments for this tip. (Be the first to leave your comment—just use the simple form above!)
Copyright © 2025 Sharon Parq Associates, Inc.

Comments