The Windows Control Panel is quite often the path to follow when doing a variety of system-level activities. There are a few different views to the Control Panel, though, and this sometimes leads to confusion. For example, you may be reading a tip that says to click on the "System and Security" link, but you don't see such a link when you look at the Control Panel. The problem may be that you're looking at a different view.
Changing Control Panel views is simple and harmless. The default view for the Control Panel is known as the Category view; this is what you see when you look at the Control Panel on a newly installed copy of Windows. (See Figure 1.)
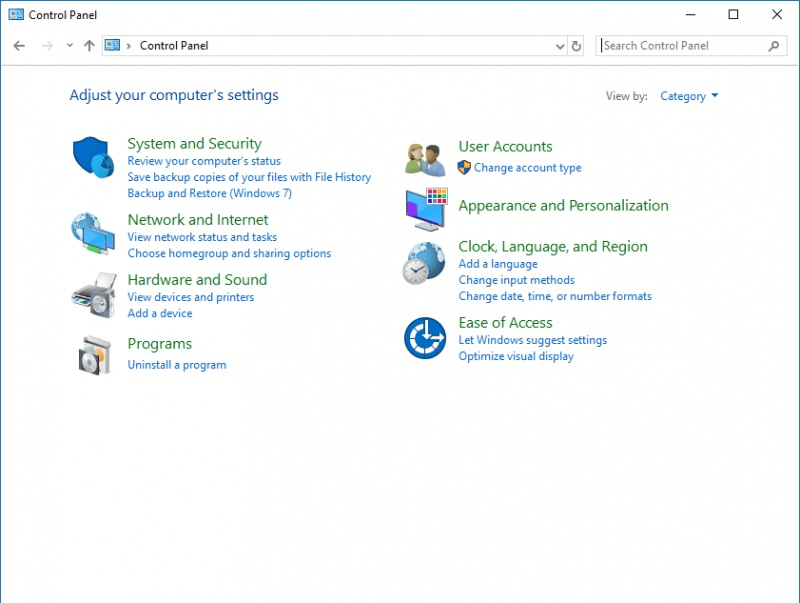
Figure 1. The Control Panel's Category view.
To change the view, use the View By drop-down list near the upper-right corner of the screen. When you click on it, you'll see that you have three choices: Category, Large Icons, and Small Icons. The icon-based views are very similar to the way that the Control Panel looked several versions of Windows ago. (All the way back to Windows XP.) For instance, choosing Small Icons displays each tool in the Control Panel as a small icon, in alphabetical order. (See Figure 2.)
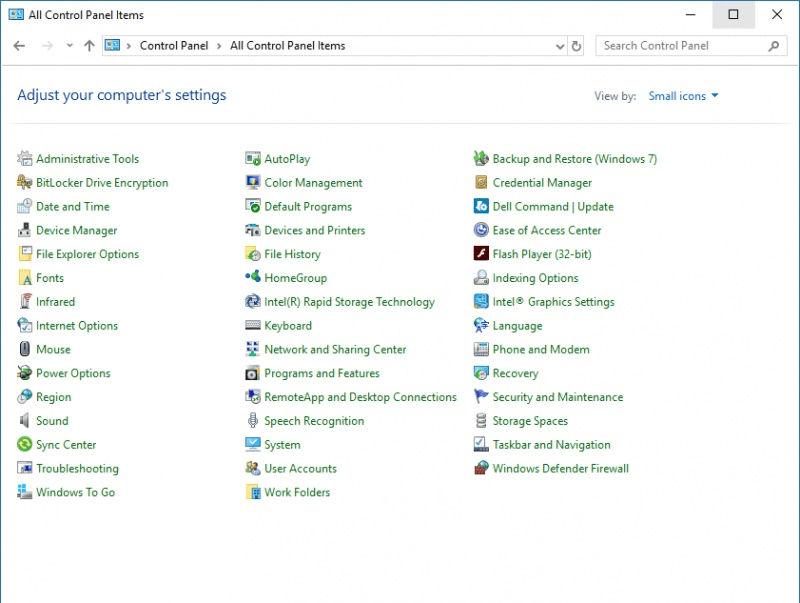
Figure 2. The Small Icons view of the Control Panel.
When you select a different view, the change takes place immediately and is thereafter used as the default view until you change it again. When you've selected the view you want, just close the window by clicking the "X".
![]()
![]()
![]() This tip (13225) applies to Windows 7, 8, and 10.
This tip (13225) applies to Windows 7, 8, and 10.
Windows has a lot of features designed to make your computing experience easy on the eyes. Some of these features have to ...
Discover MoreSometimes a document you're working on needs a font different from what comes with Windows. In such a case, a simple Web ...
Discover MoreThere are programs (processes) running in your system all the time. You can view a list of these processes using the Task ...
Discover MoreThere are currently no comments for this tip. (Be the first to leave your comment—just use the simple form above!)
Copyright © 2026 Sharon Parq Associates, Inc.

Comments