Deleting Additional Clocks
After you've added an additional clock or two in Windows, you may no longer have need for them. You can easily delete any additional clocks without affecting the system clock maintained in your system for Windows. Here's how you do it in Windows 10:
- Click on the Start button in the bottom left corner. This will open the Start screen.
- Click on the Settings button (it looks like a small gear). Windows displays the Settings dialog box.
- Click on the Time & Language option, which modifies what you see in the Settings dialog box. (See Figure 1.)

Figure 1. The Date & Time screen of the Settings dialog box.
- Click on Add Clocks for Different Time Zones. Windows displays the Date and Time dialog box.
- Make sure the Additional Clocks tab is displayed. (See Figure 2.)
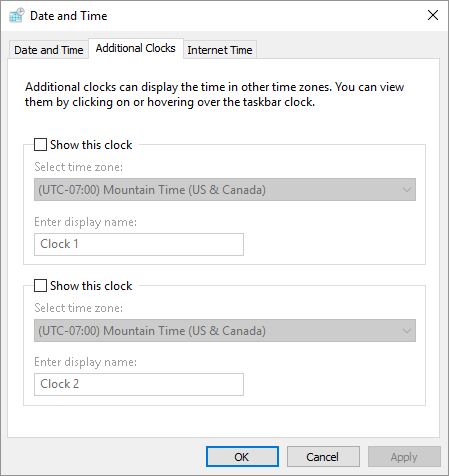
Figure 2. The Additional Clocks tab of the Date and Time dialog box.
- Clear the Show this Clock check box that corresponds with the additional clock you want to delete.
- Click OK to close the Date and Time Settings dialog box.
Follow these steps if you are using Windows 7 or Windows 8:
- Click once on the date and time in the Notifications area at the right side of the Taskbar. Windows displays a calendar and clock.
- Click the Change Date and Time Settings link. Windows displays the Date and Time dialog box.
- Make sure the Additional Clocks tab is displayed.
- Clear the Show this Clock check box that corresponds with the additional clock you want to delete.
- Click OK to close the Date and Time Settings dialog box.
That's it! The additional clock no longer appears when you click the date and time in the Notification area of the Taskbar.
Author Bio
Allen Wyatt
With more than 50 non-fiction books and numerous magazine articles to his credit, Allen Wyatt is an internationally recognized author. He is president of Sharon Parq Associates, a computer and publishing services company. Learn more about Allen...
Numbering Equations
If you want to number the equations in your document, it's easy to do using the SEQ field. The tricky part is making sure ...
Discover More
Conditional Formatting with Data Imported from Access
If you want to apply a conditional format to data imported into Excel from Access, you may run into some difficulties ...
Discover More
ScreenTips without Hyperlinks
ScreenTips can be a helpful feature in some documents but adding them also means you need to add a hyperlink. Here's a ...
Discover More
More Clocks to Track Time
As you work you may need to keep track of the time in various locations or time zones. Add additional clocks to the clock ...
Discover More
Specifying a Time Server for Windows to Use
Windows can utilize resources on the Internet to make sure that your computer's internal clock is working at the right ...
Discover More
Changing Your System Date and Time
Need to change the date and time maintained by Windows? It's easy to do using the steps in this tip.
Discover More
Comments