Creating a Custom Power Management Plan
Written by Allen Wyatt (last updated February 11, 2019)
Most modern computers allow Windows to control both the computer itself (including the hard drive) and the display monitor. These components can be set to automatically "turn off" after varying amounts of inactivity. If the pre-defined power management plans in Windows don't meet your needs, you can create your own custom plan. Follow these steps:
- Display the Control Panel.
- At the left side of the screen click the Hardware and Sound heading. Windows displays the Hardware and Sound screen.
- Under the category of Power Options, click the Change Power-Saving Settings option. Windows displays the Power Options screen. (See Figure 1.)
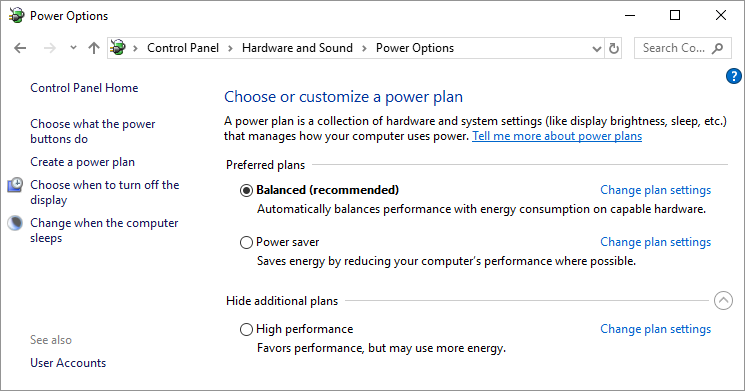
Figure 1. The Power Options screen.
- At the left side of the screen click Create a Power Plan. Windows displays the Create a Power Plan screen. (See Figure 2.)
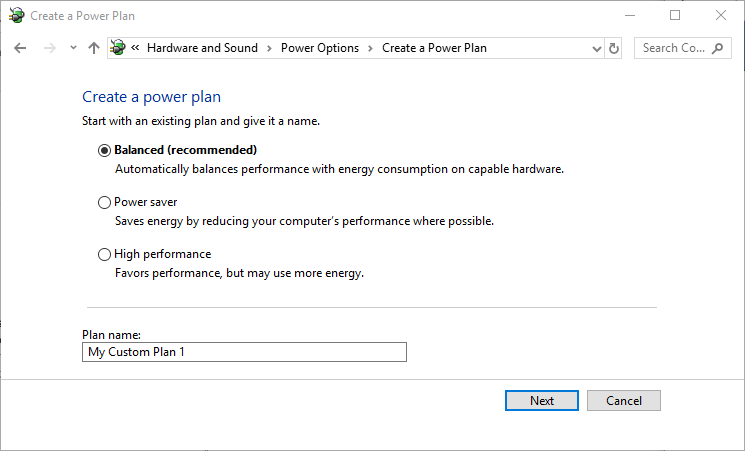
Figure 2. The Create a Power Plan screen.
- Pick one of the existing power management plans (Balanced, Power Saver, or High Performance) as the starting point for your new power plan.
- Specify a name for your power plan.
- Click Next. Windows displays the Edit Plan Settings screen. (See Figure 3.)
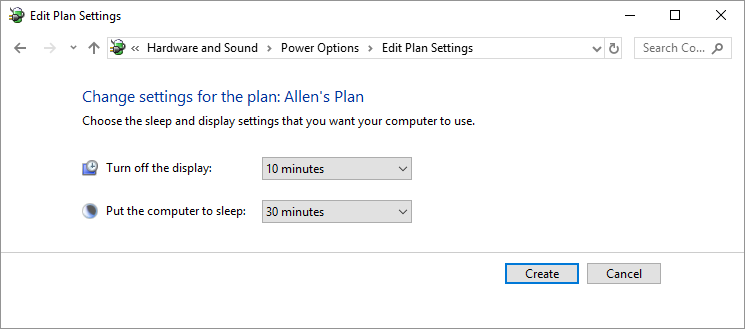
Figure 3. The Edit Plan Settings screen.
- Use the controls on the screen to specify when Windows should turn off the display and put the computer to sleep. (Remember that the times represent periods of activity, so 10 minutes means that the device is turned off when you stop using the computer for 10 minutes.)
- Click Create.
Author Bio
Allen Wyatt
With more than 50 non-fiction books and numerous magazine articles to his credit, Allen Wyatt is an internationally recognized author. He is president of Sharon Parq Associates, a computer and publishing services company. Learn more about Allen...
Copying Formulas using a Pattern
Copying formulas from one cell to another is quite intuitive in Excel—unless you want the copied formulas to follow ...
Discover More
Drawing Borders
Adding borders around cells is a common formatting task. You can make the task more intuitive by actually drawing the ...
Discover More
Adding a Horizontal Watermark with a PostScript Printer
In Windows, printer drivers translate formatting into a printer control language, like PostScript, that the printer ...
Discover More
Choosing How to Use Multiple Monitors
Do you have multiple monitors (or a projector) hooked up to your system? Here's how to utilize that second display device ...
Discover More
Finding a Device Driver's Version
Device drivers are used to allow a hardware device to communicate effectively with Windows. You might need to know a ...
Discover More
Disabling a Laptop's Touchpad
If you never use your laptop's touchpad, you may want to disable it so that you don't accidentally effect unintentional ...
Discover More
Comments