When you first install Windows, it tries to cram as much info on the screen as it can at one time. This might make it difficult for you to see things, though. Fortunately, Windows allows you to adjust the size of what it displays.
If you are using Windows 7 or 8, follow these steps:
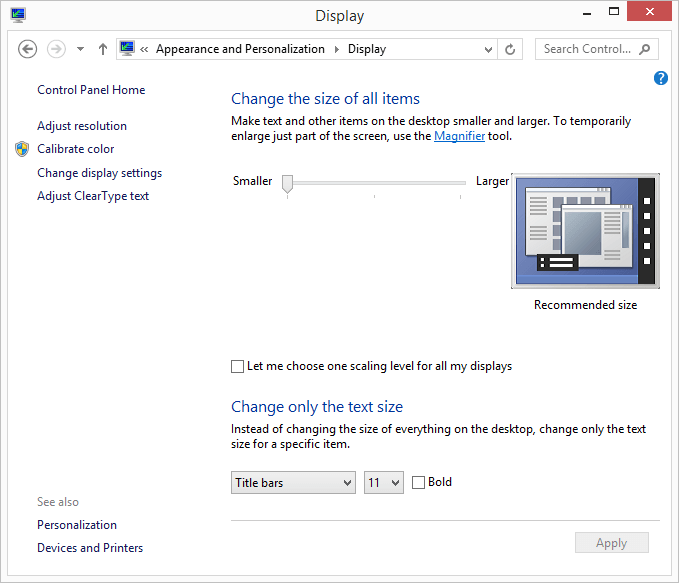
Figure 1. Setting display options in Windows 8.
You may have noticed that the slider control only gives you three levels at which items can be displayed. If you are using Windows 10 you have quite a bit more flexibility. Follow these steps:
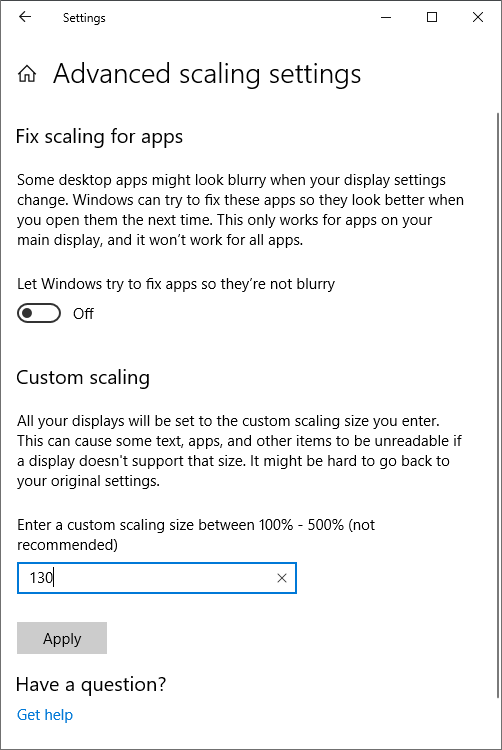
Figure 2. The Advanced Scaling Settings dialog box.
You can then enter a custom scaling size between 100% and 500% in the box under the Custom Scaling heading. Even though Windows says, "not recommended," I've experienced no ill effects in using this feature of Windows.
When you've typed in the magnification level you want, click Apply to actually change the settings. Windows informs you that you need to log out and back in for the changes to take effect; you can choose to do so at this point or at a later time.
![]()
![]()
![]() This tip (2489) applies to Windows 7, 8, and 10.
This tip (2489) applies to Windows 7, 8, and 10.
There are occasions when you may want to know whether you're running the 32-bit or 64-bit version of Windows. This tip ...
Discover MoreWindows Aero, first introduced with Windows Vista, provides a nice visual experience when working on your computer. And ...
Discover MoreJump lists are great productivity enhancers to Windows 7. By using jump lists, you can easily access frequently used ...
Discover MoreThere are currently no comments for this tip. (Be the first to leave your comment—just use the simple form above!)
Copyright © 2026 Sharon Parq Associates, Inc.
Comments