The newer class of video monitors are amazing, offering resolution and clarity unheard of only a few years ago. One of the problems with high-resolution monitors, though, is that everything on the monitor looks smaller. This might not be a problem for some items, but it can be a real problem for fonts. What used to be readable may, at a higher resolution, be fuzzy or downright impossible to read.
Fortunately, Windows allows you to adjust the size of the font used to display text on your screen. All you need to do is follow these steps if you are using Windows 8 or earlier versions of Windows 10:
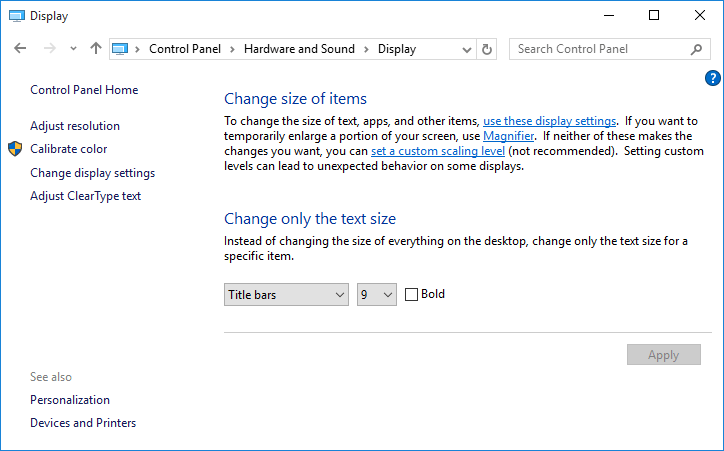
Figure 1. The Display settings in the Control Panel.
In Windows 7 you don't have as much flexibility. You can follow the same steps (1 through 3), but you won't find a Change Only the Text Size section. Instead, you can adjust the size of all screen elements, including text. Windows 7 provides 3 settings; you should pick the one that provides the best balance between size and usability.
Depending on the settings you change, you may need to log out of Windows and log back in so you can see the effects of the change.
The configuration settings described in this tip affect the font size used by Windows, not the font size used by programs running under Windows. If you want to adjust font size in those programs (such as Word, Excel, or other desktop applications), you'll need to make adjustments within those applications, as well.
Microsoft removed the option to adjust the size of fonts in the Create update of Windows 10. You don't have as much flexibility after this update as with prior versions of Windows 10. Follow these steps if you are using a later version of Windows 10:
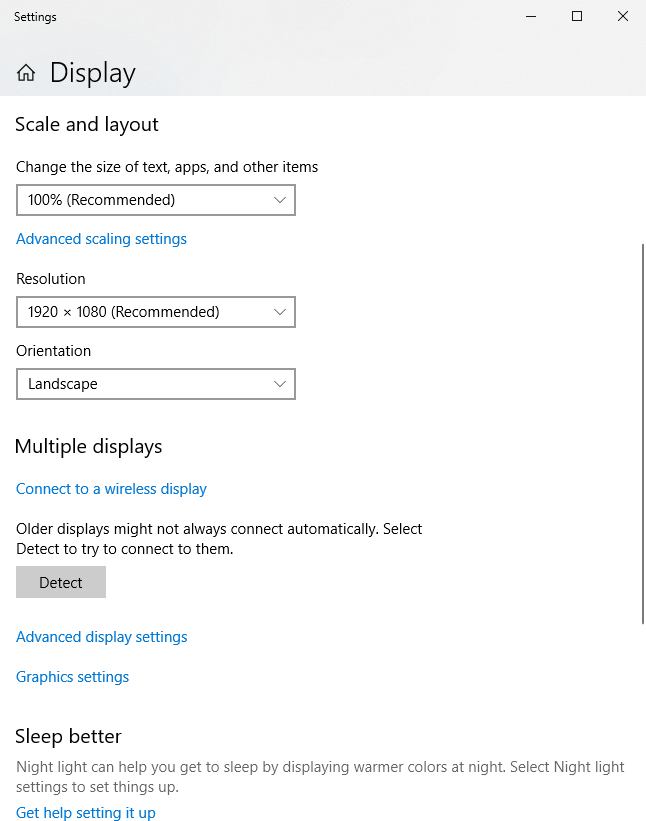
Figure 2. The Display section of the Settings dialog box.
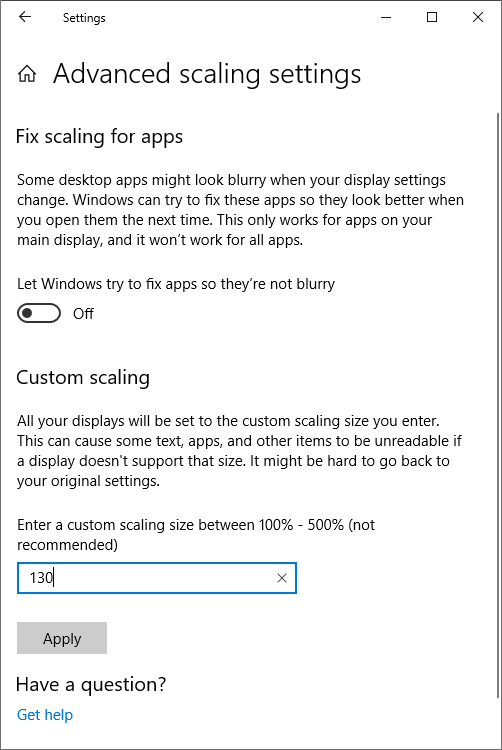
Figure 3. The Advanced Scaling Settings section of the Settings dialog box.
![]()
![]()
![]() This tip (165) applies to Windows 7, 8, and 10.
This tip (165) applies to Windows 7, 8, and 10.
Having problems getting Windows to start properly? You can try to track down what is causing the problem by using the ...
Discover MoreThe orientation of your screen is not limited to the default orientation when you connect it to your computer. You can ...
Discover MoreYour computer's camera allows you to connect with people in engaging ways. Whether used to login to your computer or for ...
Discover More2019-08-20 07:33:59
If I want to see text larger on internet or on any of my apps I just press'Control' key and use the scroll er button on the mouse.
'Ctrl' scroll back = smaller, 'Ctrl' scroll forward = larger, then scroll the oppisite way to put it back the way it was.
2019-08-19 15:45:21
Bill
For a temporary change for readability, Windows 7 (at least) allows you to hit CTRL-+ (as many times as you like) to enlarge the screen content, and CTRL-- to reduce it. There is a reset Zoom Level button in the address bar, or reset with CTRL-O.
Copyright © 2026 Sharon Parq Associates, Inc.
Comments