Windows often does things to try to be helpful. One of these things is to automatically download and apply updates when Microsoft releases them. If you'd rather maintain control on when updates are downloaded and applied, you can change this feature.
Press Win+R and type (without quotes) "gpedit.msc" and press Enter. Windows displays the Local Group Policy Editor window. (See Figure 1.)

Figure 1. Local Group Policy Editor main window.
In the left pane, navigate to "Computer Configuration \ Administrative Templates \ Windows Components \ Windows Update". Now your screen looks like this: (See Figure 2.)
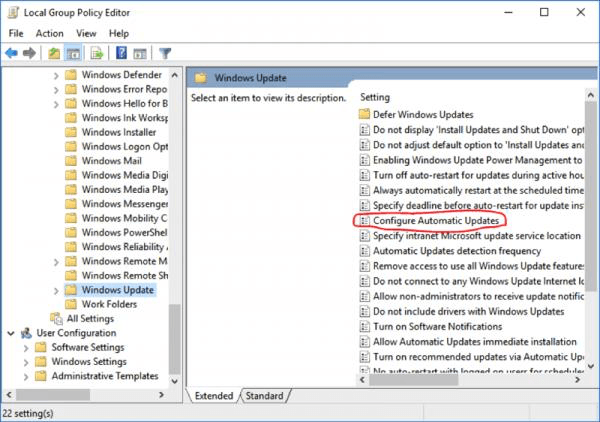
Figure 2. Windows Update options.
Double-click "Configure Automatic Updates" (circled above), and you'll be presented with this screen: (See Figure 3.)
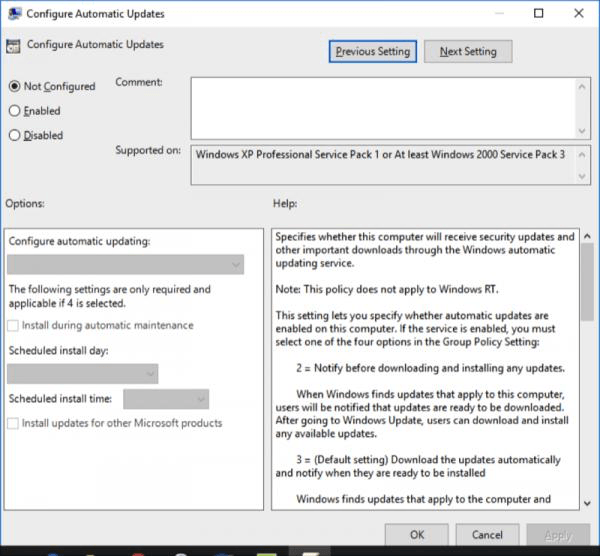
Figure 3. Configuring automatic updates.
Notice that by default this item is "Not configured", which means you'll automatically receive Windows updates when they're released. To change this behavior, click the radio button labeled "Enabled." When you do, the drop-down lists under "Options" become active, and you can then select the option that suits you. (See Figure 4.)
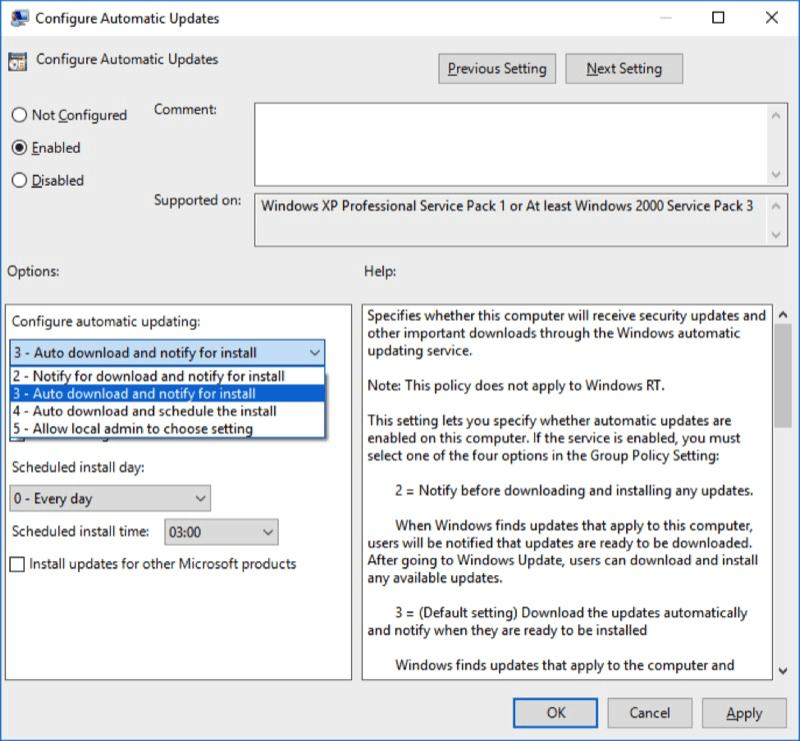
Figure 4. Enabling automatic updates.
Once set, click OK and close the background widow. Your downloads and installations will now behave as you have indicated.
![]() This tip (55) applies to Windows 10.
This tip (55) applies to Windows 10.
The Start menu in Windows 10 allows for you to customize what appears there, such as tiles and recently used apps. You ...
Discover MoreDoes your screen's motion appear choppy or less than smooth? You can improve the smoothness of motion on your screen by ...
Discover MoreWindows will load apps at startup, which can impact performance. Quickly deactivate startup items that can affect the ...
Discover MoreThere are currently no comments for this tip. (Be the first to leave your comment—just use the simple form above!)
Copyright © 2026 Sharon Parq Associates, Inc.

Comments