Creating a Custom Power Management Plan
Written by Allen Wyatt (last updated February 11, 2019)
Most modern computers allow Windows to control both the computer itself (including the hard drive) and the display monitor. These components can be set to automatically "turn off" after varying amounts of inactivity. If the pre-defined power management plans in Windows don't meet your needs, you can create your own custom plan. Follow these steps:
- Display the Control Panel.
- At the left side of the screen click the Hardware and Sound heading. Windows displays the Hardware and Sound screen.
- Under the category of Power Options, click the Change Power-Saving Settings option. Windows displays the Power Options screen. (See Figure 1.)
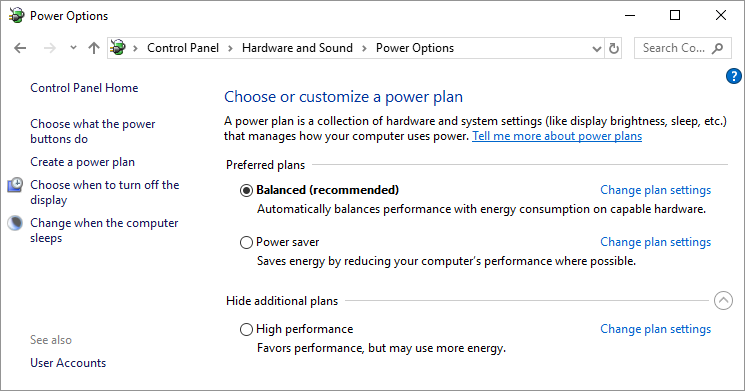
Figure 1. The Power Options screen.
- At the left side of the screen click Create a Power Plan. Windows displays the Create a Power Plan screen. (See Figure 2.)
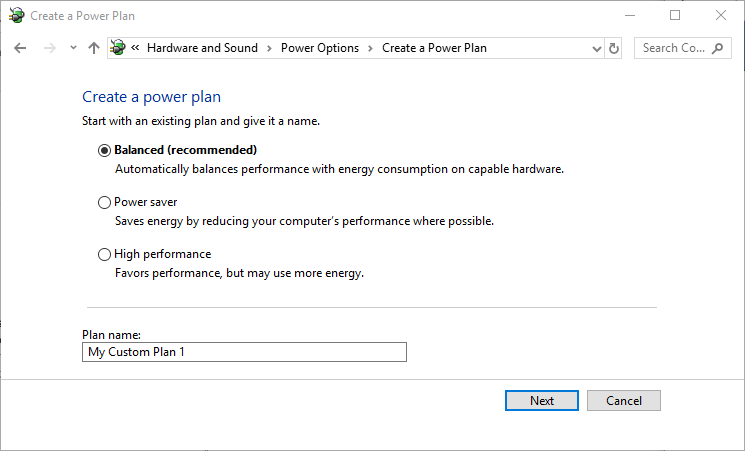
Figure 2. The Create a Power Plan screen.
- Pick one of the existing power management plans (Balanced, Power Saver, or High Performance) as the starting point for your new power plan.
- Specify a name for your power plan.
- Click Next. Windows displays the Edit Plan Settings screen. (See Figure 3.)
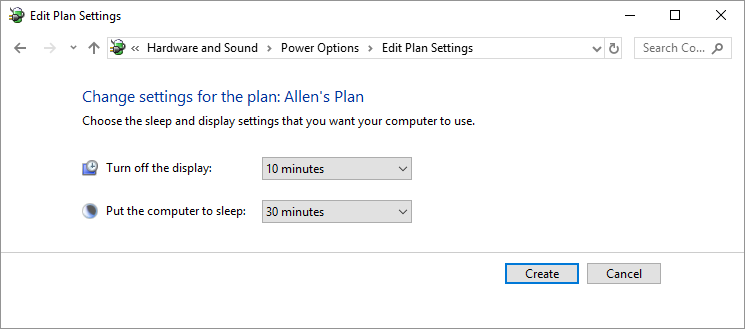
Figure 3. The Edit Plan Settings screen.
- Use the controls on the screen to specify when Windows should turn off the display and put the computer to sleep. (Remember that the times represent periods of activity, so 10 minutes means that the device is turned off when you stop using the computer for 10 minutes.)
- Click Create.
Author Bio
Allen Wyatt
With more than 50 non-fiction books and numerous magazine articles to his credit, Allen Wyatt is an internationally recognized author. He is president of Sharon Parq Associates, a computer and publishing services company. Learn more about Allen...
Checking for an Entry in a Cell
You may be looking for a way to have a formula determine if a particular cell has anything in it. Here's how you can find ...
Discover More
Viewing Multiple Pages
If you have a large monitor, you can view more than one page at a time in Word. This is very handy when you want to ...
Discover More
Adding a Macro to the Quick Access Toolbar
The Quick Access Toolbar is a great place to put anything for which you want quick access. (Duh!) Here's how you can add ...
Discover More
Connecting a Bluetooth Device
If you're the proud owner of a Bluetooth device, you probably want to get right to connecting it to your computer. This ...
Discover More
Using Powercfg to List Your Existing Power Schemes
Windows allows you to define different power schemes that control how your computer uses power. This tip shows you how to ...
Discover More
Specifying How Clicking Works
Do you want to fundamentally change how Windows responds to mouse clicking? You can do so by following the steps outlined ...
Discover More
Comments