Choosing a Power Management Plan
It's obvious that your computer uses power; it has to in order to operate properly. You can, however, minimize the amount of power your computer uses by changing Windows' power settings. You can access those settings in this manner:
- Display the Control Panel.
- At the left side of the screen click the Hardware and Sound heading. Windows displays the Hardware and Sound screen.
- Under the category of Power Options, click the Change Power-Saving Settings option. Windows displays the Power Options screen. (See Figure 1.)
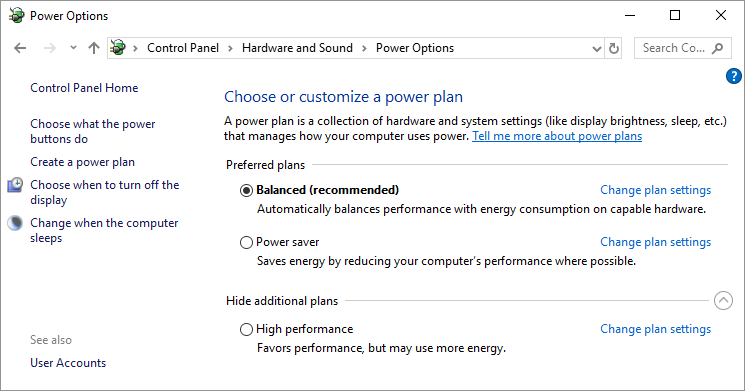
Figure 1. The Power Options screen.
- Pick one of the power management plans available on the screen.
Most modern computers allow Windows to control both the computer itself (including the hard drive) and the display monitor. These components can be set to automatically "turn off" after varying amounts of inactivity. Windows offers three power management plans that you can select in step 4:
- Balanced. This is typically the plan recommended for desktop systems. It turns off the display monitor after 10 minutes and puts the computer to sleep after 30.
- Power Saver. This plan works great for laptop and mobile systems. It turns the display off after 5 minutes and puts the computer to sleep after 15.
- High Performance. This plan is designed for systems that may require a lot of unattended computational time, where you don't really want the computer to pause what it is working on. It turns off the display monitor after 20 minutes and never puts the computer to sleep.

 This tip (10716) applies to Windows 7 and 10.
Author Bio
Allen Wyatt
With more than 50 non-fiction books and numerous magazine articles to his credit, Allen Wyatt is an internationally recognized author. He is president of Sharon Parq Associates, a computer and publishing services company. Learn more about Allen...
Protecting Print Settings
Need to have your print settings always be a certain way? Tired of resetting the settings after others use the workbook ...
Discover More
Printing Selected Worksheets
When you accumulate quite a few workbooks in a folder, you might need to print out selected worksheets from all of the ...
Discover More
Reversed Bolding
If you paste information from one document into another, you may be surprised at the results. If your text changes from ...
Discover More
Disabling a Laptop's Touchpad
If you never use your laptop's touchpad, you may want to disable it so that you don't accidentally effect unintentional ...
Discover More
Windows 11 Processor Requirements
Windows 11 has different processor requirements than Windows 10. How do you know if your processor will work with Windows 11?
Discover More
Using Powercfg to Change a Setting in the Current Power Scheme
The Powercfg utility allows you to control how power is used on your system. This tip shows you how to use this ...
Discover More
Comments