Changing the Mouse Pointer
Most of us don't think too much about the mouse pointer, but Windows uses individual cursor files to specify the various pointers it uses. (Depending on which version of Windows you are using, there are 15 - 17 individual pointers that can be used, each reflecting a different condition such as "busy," "text select," resizing, or even "unavailable.") In addition, Windows "packages" a collection of cursor files into what is called a "scheme."
Windows allows you to specify which pointer scheme should be used and, further, to modify the individual cursor files, if desired. Just follow these steps:
- Display the Control Panel.
- Click the Hardware and Sound link.
- Click the Mouse link (under the Devices and Printers heading). Windows displays the Mouse Properties dialog box.
- Make sure the Pointers tab is displayed. (See Figure 1.)
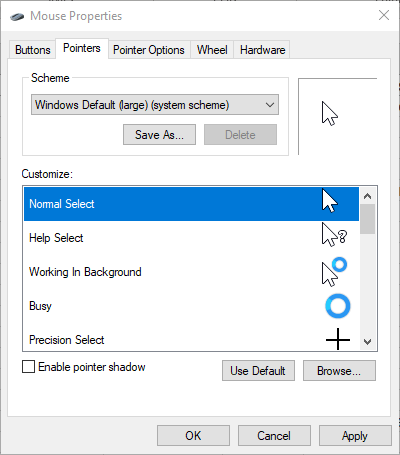
Figure 1. The Pointers tab of the Mouse Properties dialog box.
- Use the Scheme drop-down list to specify how you generally want the mouse pointer to look. (Pick a few different ones so you can get an idea of what pointers are in each scheme.)
- If desired, double-click on any of the individual cursors in the Customize list. Windows displays the Browse dialog box so you can locate and select a cursor file defining how that particular mouse pointer should look.
- When you are done making changes, click OK. Your changes take effect immediately.
Author Bio
Allen Wyatt
With more than 50 non-fiction books and numerous magazine articles to his credit, Allen Wyatt is an internationally recognized author. He is president of Sharon Parq Associates, a computer and publishing services company. Learn more about Allen...
Problems Opening Documents from Explorer
Windows Explorer is a great way to browse through the files available on your system. If you see a document file you want ...
Discover More
Viewing Your Document Full-Screen
Want to see the absolute most of your document that you can? Then you need to become familiar with the full-screen ...
Discover More
Concatenating Ranges of Cells
Putting the contents of two cells together is easy. Putting together the contents of lots of cells is more involved, as ...
Discover More
Settings Compared to Control Panel
Windows 10 has moved a lot of the settings previously found in Control Panel to the Settings app. How is the settings app ...
Discover More
Recording Video with the Xbox Game Bar
You can use Xbox Game Bar to record videos of applications running on your system. Let's see how to capture a video of ...
Discover More
Using Random Hardware Addresses
Random Hardware Addresses helps hide your computer from others tracking you on a Wi-Fi network. Turn Random Hardware ...
Discover More
Comments