Most modern computers allow Windows to control both the computer itself (including the hard drive) and the display monitor. These components can be set to automatically "turn off" after varying amounts of inactivity. Windows even allows you to create your own custom power management plans. At some point, however, you may want to get rid of a custom plan that you no longer need. Follow these steps:
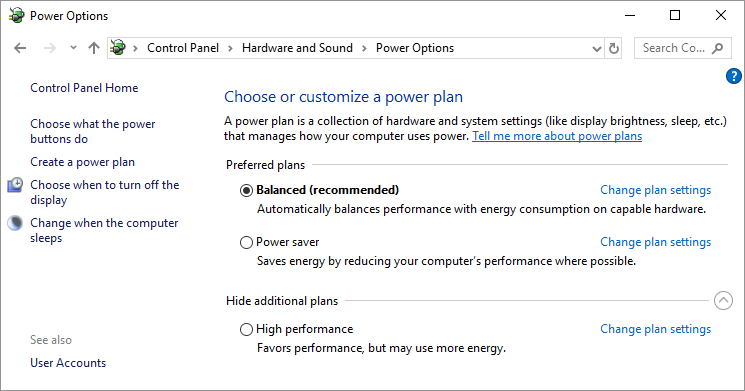
Figure 1. The Power Options screen.
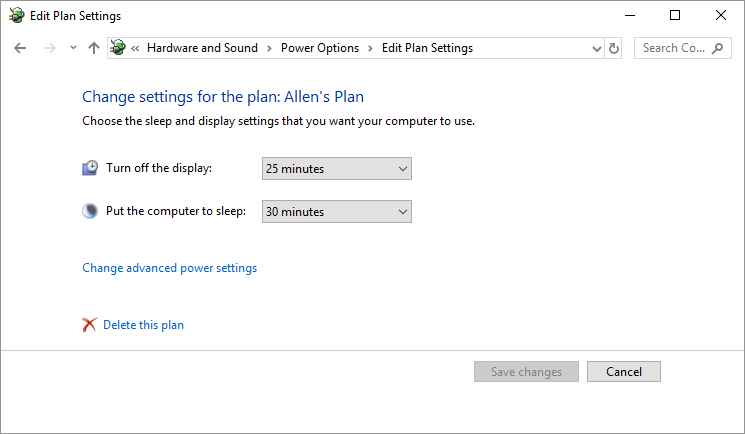
Figure 2. The Edit Plan Settings screen.
Remember that you can only delete custom power management plans—those you've added to Windows. You cannot delete the built-in power management plans (Balanced, High Performance, Power Saver, or any created by your computer manufacturer).
![]()
![]()
![]() This tip (10718) applies to Windows 7, 8, and 10.
This tip (10718) applies to Windows 7, 8, and 10.
Want to easily improve the security of your old data? Here's an addition to the venerable format command that can help.
Discover MoreGot a second monitor or projector you want to use with your Windows system? Here's how easy it is to take advantage of ...
Discover MoreThe Powercfg utility allows you to control how power is used on your system. This tip shows you how to use the ...
Discover More2019-02-18 22:45:21
John Simkins
Allen:
Your details for the topic "Deleting a Power Management Plan" (10718) are too different from what I am seeing here on my PC, running Win7 Home Premium SP1 64Kb, to follow the steps. Does this particular topic not apply to my Win7? Thanks.
Copyright © 2026 Sharon Parq Associates, Inc.
Comments