If your computer is set up in a communal environment with other people, such as in your home or office, you run the risk of an account being used at a time it's not supposed to be. Whether its children, a spouse, or co-worker, for whatever reason you may want to establish clear times that accounts cannot be used.
If you're thinking you could use parental controls to help establish limits, you could be correct, possibly. Parental controls only work with Microsoft Accounts, not with local accounts. So, unless you want to set everyone up with a Microsoft Account, does this mean you're out of luck? No! Fortunately, you can still set time limits on any local account on your computer, all thanks to the Command Prompt. (And it is surprisingly easy and quick to setup.)
Start by pressing the Windows key and typing (without quotes) "CMD." Do not press Enter yet; Windows should show you a few options on the screen. You need to run Command Prompt as an Administrator. Either right-click on the Command Prompt search result and choose "Run As Administrator" or press Ctrl+Shift+Enter. Regardless of the approach, Command Prompt launches in Admin mode. You will be able to tell it is in Admin mode if the resulting Command prompt window shows "\Windows\system32>" as the prompt. (See Figure 1.)
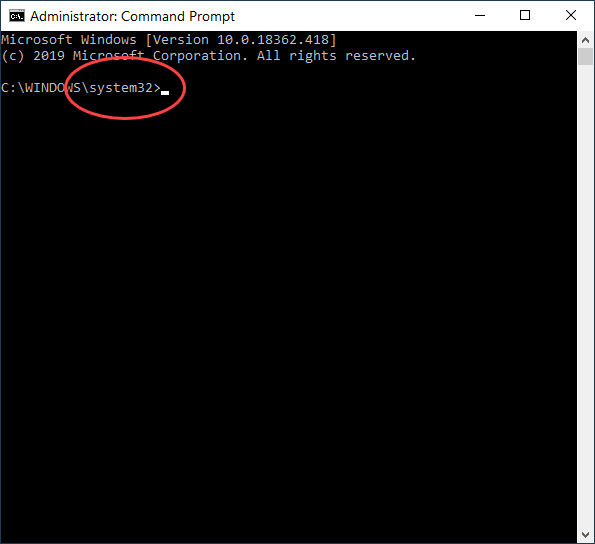
Figure 1. Command Prompt showing that it is being run in Admin mode.
Now you can type the actual command you need:
net user USERNAME /times:DAYS,TIMES
In this command, replace USERNAME with the user account name you wish to set limits for. Replace DAYS and TIMES with the day and time the user is allowed to use the computer. To enter the DAYS, use the representative values of M, T, W, Th, F, Sa or Su. After DAYS enter the time using 24-hour formatting. So, setting the time for 12:00-21:00 would allow the computer to only be accessible from noon to 9:00pm. Here is an example of setting the Guest account to be available only on Saturday from noon until 9:00 pm:
net user Guest /times:Sa,12:00-21:00
Once you press ENTER, you'll get a notification that "The command completed successfully," provided everything was entered correctly. (See Figure 2.)
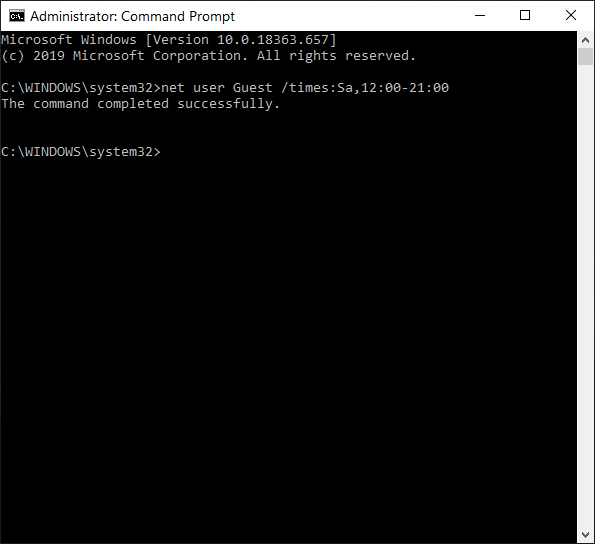
Figure 2. Command Prompt showing the Guest account set to a specific time limit.
When setting up account time limits the account will not be accessible outside of the time you specified. If you choose to have the account be accessible at different times during the week you can do so by specifying the time as already discussed, then separating the times using a semicolon. So, if you want the computer available Monday through Friday from 3:00 pm to 8:00 pm, and then from 8:00 am to 5:00 pm on Saturday you would enter the following:
net user Guest /times:M-F,15:00-20:00;Sa,8:00-17:00
There are a few things to remember as you set up your schedules. First, times must be in whole-hour increments. Also, if you leave the time area blank the user account will never be able to log in.
To turn off the time limits you do so by using the following command, after running CMD in administrator mode:
net user USERNAME /time:all
Time limits can help ensure your computer is only being used at times that work best for you and your environment.
![]() This tip (13745) applies to Windows 10.
This tip (13745) applies to Windows 10.
Sometimes you can be more effective in a command window, and other times you can be more effective using File Explorer. ...
Discover MoreSome commands require the use of the command prompt window. How you display that essential window in Windows 8 can be a ...
Discover MoreSorting data is a common task even of end users. Fortunately, The Windows command line provides us with a Sort utility so ...
Discover MoreThere are currently no comments for this tip. (Be the first to leave your comment—just use the simple form above!)
Copyright © 2025 Sharon Parq Associates, Inc.
Comments