Creating a Custom Power Management Plan
Written by Allen Wyatt (last updated February 11, 2019)
Most modern computers allow Windows to control both the computer itself (including the hard drive) and the display monitor. These components can be set to automatically "turn off" after varying amounts of inactivity. If the pre-defined power management plans in Windows don't meet your needs, you can create your own custom plan. Follow these steps:
- Display the Control Panel.
- At the left side of the screen click the Hardware and Sound heading. Windows displays the Hardware and Sound screen.
- Under the category of Power Options, click the Change Power-Saving Settings option. Windows displays the Power Options screen. (See Figure 1.)
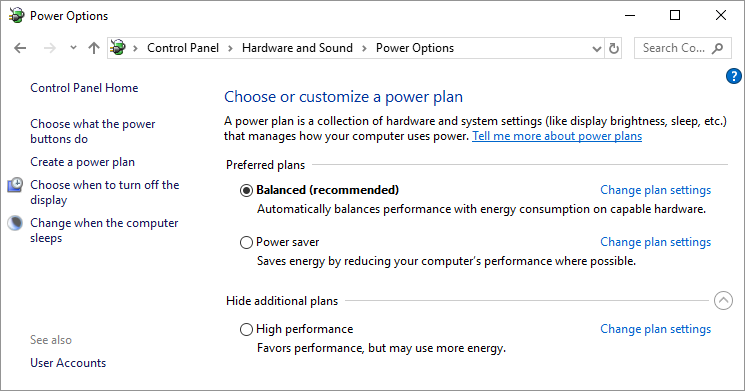
Figure 1. The Power Options screen.
- At the left side of the screen click Create a Power Plan. Windows displays the Create a Power Plan screen. (See Figure 2.)
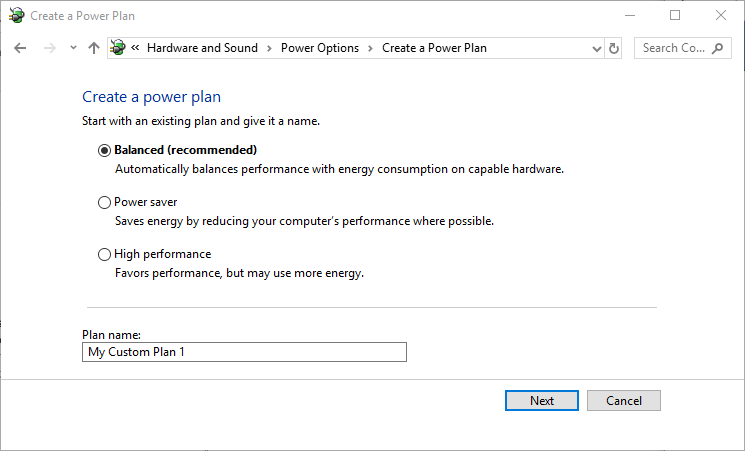
Figure 2. The Create a Power Plan screen.
- Pick one of the existing power management plans (Balanced, Power Saver, or High Performance) as the starting point for your new power plan.
- Specify a name for your power plan.
- Click Next. Windows displays the Edit Plan Settings screen. (See Figure 3.)
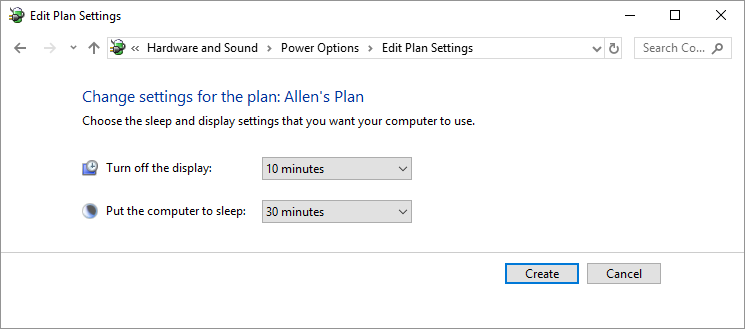
Figure 3. The Edit Plan Settings screen.
- Use the controls on the screen to specify when Windows should turn off the display and put the computer to sleep. (Remember that the times represent periods of activity, so 10 minutes means that the device is turned off when you stop using the computer for 10 minutes.)
- Click Create.
Author Bio
Allen Wyatt
With more than 50 non-fiction books and numerous magazine articles to his credit, Allen Wyatt is an internationally recognized author. He is president of Sharon Parq Associates, a computer and publishing services company. Learn more about Allen...
Selecting a Paper Size
Most of the time we print on whatever is a standard paper size for our area, such as letter size or A4 paper. However, ...
Discover More
Special Differences when Searching
Word includes two different search engines. Which search engine you choose to use will dictate what Word shows as ...
Discover More
Jumping to a Table Row
Need to jump to a particular row in a table? Word provides an easy way to jump to all sorts of things, but it doesn't ...
Discover More
Connecting a Bluetooth Speaker
Bluetooth speakers allow you to play your computer's audio wirelessly. Connecting a Bluetooth speaker to a ...
Discover More
Disabling Automatic Driver Installation
Whenever you plug something into your computer, Windows dutifully tries to find and install the driver for your new ...
Discover More
Formatting a USB Drive with Disk Manager
Windows 10 provides multiple ways to format a USB drive. Discover how to use Disk Manager to easily format a USB drive.
Discover More
Comments