Frank is doing some contract work for a new company, and they want him to use some specialized fonts in the items he produces. He's a bit unclear, however, on how to add fonts to Windows and, more importantly, how to get rid of them once the work is completed.
A font is a family of characters sharing a common design. This design includes characteristics like typeface, size, and style. Each typeface is given a name; for example, common font names are Arial, Times New Roman, and Helvetica. A font's size is given in both height (as measured in points, where a point is 1/72 inch) and width (as measured in pitch, such as 10 or 12 characters per inch). There are fixed-pitch fonts, which means that every character has the same width (one such font is Courier), and there are proportional fonts (such as Times New Roman), which means that the width of a character depends upon the character's shape (so the letter "W" would be wider than the letter "i". Finally, the style is an attribute such as bold or italic.
Windows comes with over 100 fonts and you can preview them by displaying the Control Panel and then clicking Appearance and Personalization | Fonts. Most word processing applications, such as Microsoft Word, allow you to choose different fonts within a document. Even with so many fonts installed by default, however, there may come a time when you need a different one. Fortunately, Windows allows you to add new fonts as needed.
In Frank's case, it is most likely that the company he is working for will provide fonts to him on a disc or via e-mail. There are also many font libraries freely available on the Web. If you do a Web search for "font library" you'll discover many of these sites. Once you download a font (which is usually packed in a .ZIP file), you can install it by unzipping the files, right clicking the extracted .TTF file, and choosing Install from the resulting Context menu. Once installed, the font is immediately available for use.
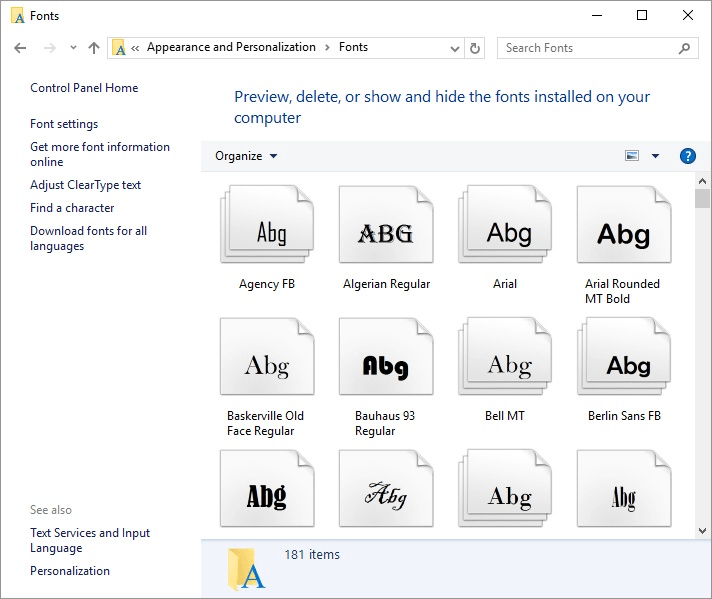
Although there's rarely a reason to, you can delete fonts from your system as well. Again go to the Control Panel and click Appearance and Personalization | Fonts. The Fonts window shows all the fonts available on your system. (See Figure 1.)

Figure 1. The Fonts window.
From here, you can either scroll down or type the font's name in the Search box to find the font you wish to delete. Once you find it, click it so it's selected and then either click Delete from the secondary menu (the one that appears when you select the font by clicking it).
![]()
![]()
![]() This tip (12062) applies to Windows 7, 8, and 10.
This tip (12062) applies to Windows 7, 8, and 10.
The Control Panel is the heart of Windows. It allows you to change how Windows operates and how it communicates with the ...
Discover MoreWindows makes it easy to manage the fonts installed on your system. One of the lesser-known options is one that allows ...
Discover MoreThe Control Panel is (or has been) the heart and soul of controlling Windows. How you display the control panel, however, ...
Discover More2024-03-22 23:13:43
JulianGiulio
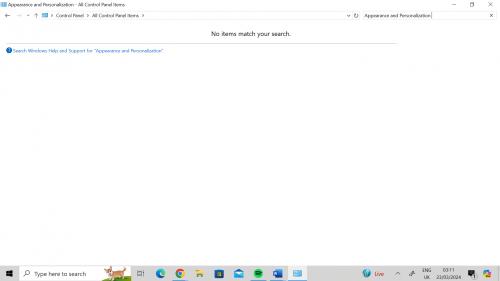
There's no Appearance and Personalization in My Control Panel with font.
I want to delete FOREVER from any laptop I have Time New Roman -and Liberation Serif, both of which randomly claim my writing after it is 'set' in another font.
This is not merely a ridiculus MS Word glitch but I also find them so hideous!
(see Figure 1 below)

Figure 1.
2023-10-20 17:10:47
V
Barry, it doesn't work! I've deleted numerous fonts in appearence and personalization but when I check the font menu on a word doc all the fonts I deleted are still there. What I want to do is not have fonts I don't need and to not have to scroll through tons of fonts to get to the ones I want. MS does not make this simple thing easy and I can't think why.
Thanks,
V
2022-04-19 14:27:09
Don
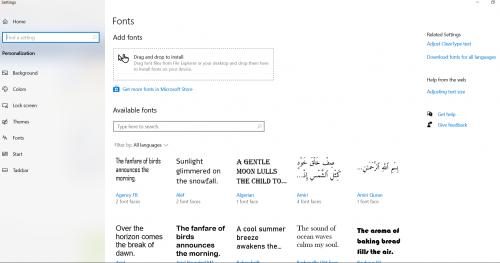
not applicable in Windows 10 for Office 365
(see Figure 1 below)

Figure 1. Font settings
Copyright © 2026 Sharon Parq Associates, Inc.
Comments