You've probably heard stories of people losing files because of accidental deletion, a computer virus, or a system crash. Inevitably, the first advice offered to the victim is to restore the lost files from a backup. Unfortunately, the story usually ends with the victim confessing to not having made any backups.
Performing regular system backups should be considered an essential system management task. That way, should you ever need to recover files, it's just a matter of restoring them from the backup. Backups can be done manually or automatically. (Performing a manual backup is covered under another tip.) If you are using Windows 7, go to Start | Control Panel and click the Back Up Your Computer link under the System and Security heading. You can also use Backup and Restore (Windows 7) on a Windows 8 or Windows 10 system. Go to Start | Control Panel and click Backup and Restore (Windows 7) under the System & Security heading. Once you have your Windows Backup set up, Windows displays the Backup and Restore dialog box. (See Figure 1.)
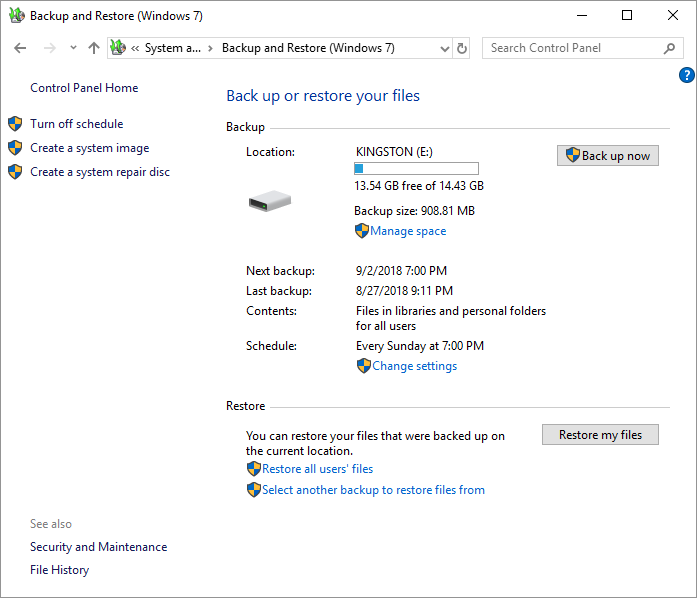
Figure 1. The Backup and Restore dialog box.
You first need to indicate where you want your backup to reside. Click the Change Settings link near the middle of the dialog box. The Backup wizard starts, which allows you to select the location that should hold your backup and to designate what files get backed up. The last step of the wizard is where you can specify what schedule should be used for your backups. (See Figure 2.)
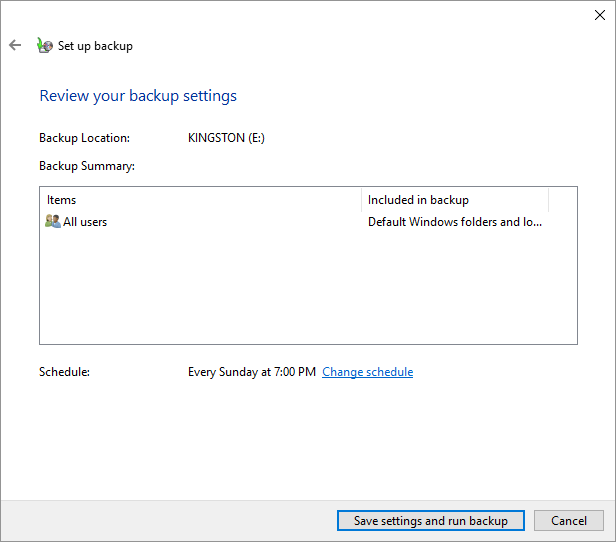
Figure 2. The last step of the Backup wizard.
Notice that my backups are on a schedule, to be run automatically every Sunday at 7:00 PM. If your backup is not on a schedule, or if you want to change the existing schedule, click the Change Schedule link. This takes you to a window where you can indicate whether you want to run the backup on a schedule and you can set the parameters of frequency, day, and time for when the automatic backup is to start. Once you've done that, click the OK button and then on the Save Settings and Exit option.
Note that Windows 8 and Windows 10 use a backup system called File History. File History doesn't create a full backup of your PC, but it does make sure your personal files are backed up regularly. File History is set up to back up your files to an external drive. To access File History type "backup settings" in the Search box and press Enter. Windows takes you to Backup. (See Figure 3.)
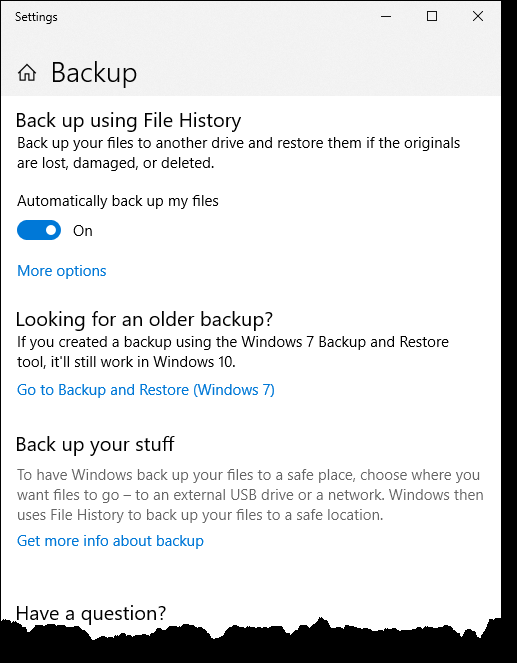
Figure 3. The Windows 10 Backup section of the Settings window.
File History automatically backs up your files every hour by default, but you can choose backups times from every 10 minutes, 15 minutes, 20 minutes, 20 minutes, 1 hour, 3 hours, 6 hours, 12 hours, or daily. To change the backup times, select More Options under Back Up Using File History and the choose a time listed in the drop-down list under Back Up my Files. Windows displays the Backup Options. (See Figure 4.)
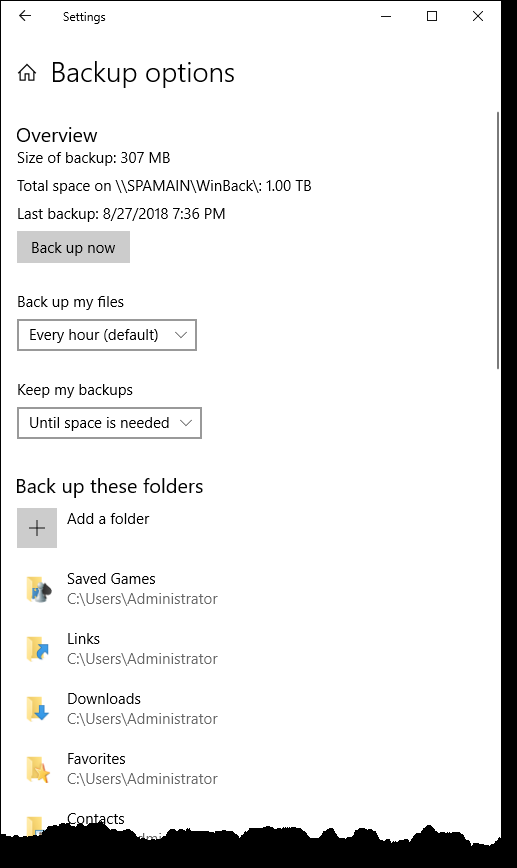
Figure 4. The Windows 10 Backup Options section of the Settings window.
Windows File History also allows you to determine how long you want to keep your backups. You can also choose which files and folders you would like to back up.
![]()
![]()
![]() This tip (12264) applies to Windows 7, 8, and 10.
This tip (12264) applies to Windows 7, 8, and 10.
If you ever want to copy user accounts, documents, pictures, etc., from one computer to another, you'll find that Windows ...
Discover MoreDownloading files from the Web is a pretty common occurrence. Keeping track of your downloads used to be a bit of a ...
Discover MoreRobocopy is a robust file copy utility built into Windows. The various switches built into the program provide very ...
Discover More2023-04-08 11:41:28
J. Woolley
@Qamar Jawaid
I use Windows 10. When I open the Home screen of Control Panel (type Control Panel in the search box on the taskbar), I see this dialog (see Figure 1 below)
Follow instructions after the Tip's Figure 1 and click Next until you see Figure 2, then you can change the schedule.
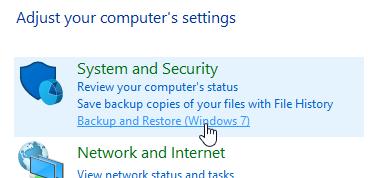
Figure 1.
2023-04-07 22:59:55
Qamar Jawaid
In have scheduled the backup to run daily but I am not sure what time of the day it will run. Can I schedule it to run late in the night at 2:00 AM, for example? This is on WINDOWS 10 and I don't see any option to use "WINDOWS 7 Backup"
Copyright © 2025 Sharon Parq Associates, Inc.

Comments