Recently, two new file formats have started to become prominent within the world of computers and smart devices. These two file formats, HEVC and HEIF, allow for better compression while improving the quality of the file. If you've never heard of these formats you're not alone. Unless you follow a lot of tech news or announcements, you could easily have missed information about them. What are these file formats, and why should you care?
HEVC is short for High Efficiency Video Codec. This relates to a video being encoded using H.265, again allowing essentially for the video to look better when you play them on your device. They also take up less space than previous file formats.
HEIF is short for High Efficiency Image File format. Similar to HEVC, this format allows your image to take up less storage space. It is not uncommon for an HEIF file to take up roughly half the storage space of a similar-sized JPG file.
So, why do you need to know about these formats? These formats are becoming more and more popular with smartphones. The iPhone from Apple started using the formats as recently as iOS 11, and now Android devices have begun to use them. This can be problematic if you take a photo or video using your phone (or a family member sends you a file) and then you're unable to view it on your computer.
Luckily, you can add support for these formats by installing the proper codec on your computer. Installing the codec or extension is simple and straight forward—just follow these steps for both formats:
HEVC Extension Installation
If you simply search the Microsoft store for "HEVC Video Extensions" you will get the "HEVC Video Extension" page from Microsoft that charges $0.99 for the codec extension. If you follow the steps below you can get the extension from Microsoft for free.
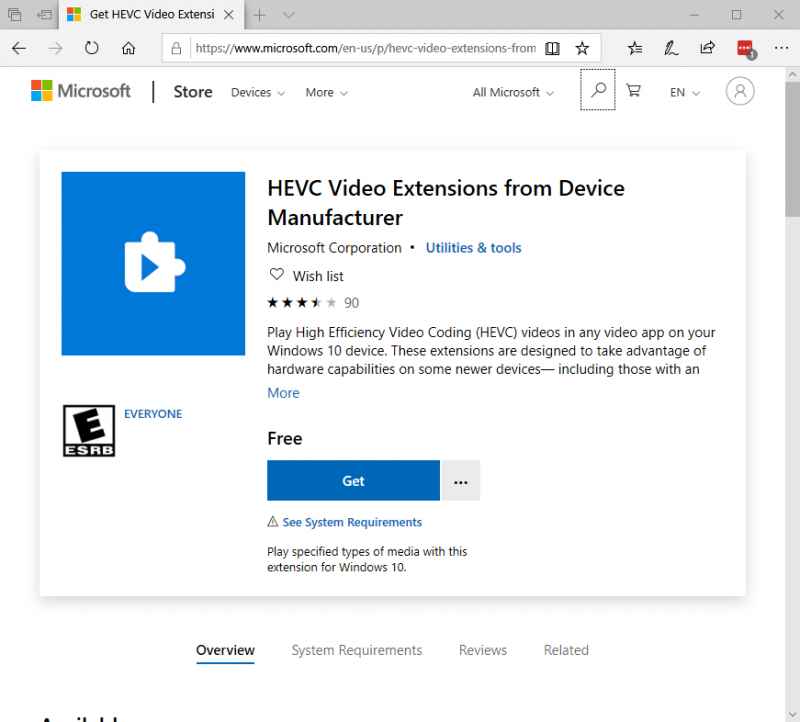
Figure 1. The HEVC Video Extensions from Device Manufacturer page on the Windows store website.
HEIF Image Extension Installation
Windows began including native support HEIF with the release of the October 2018 Windows 10 update. If you have not updated to Windows 10, version 1809 or later, you may need to manually install the HEIF extension.
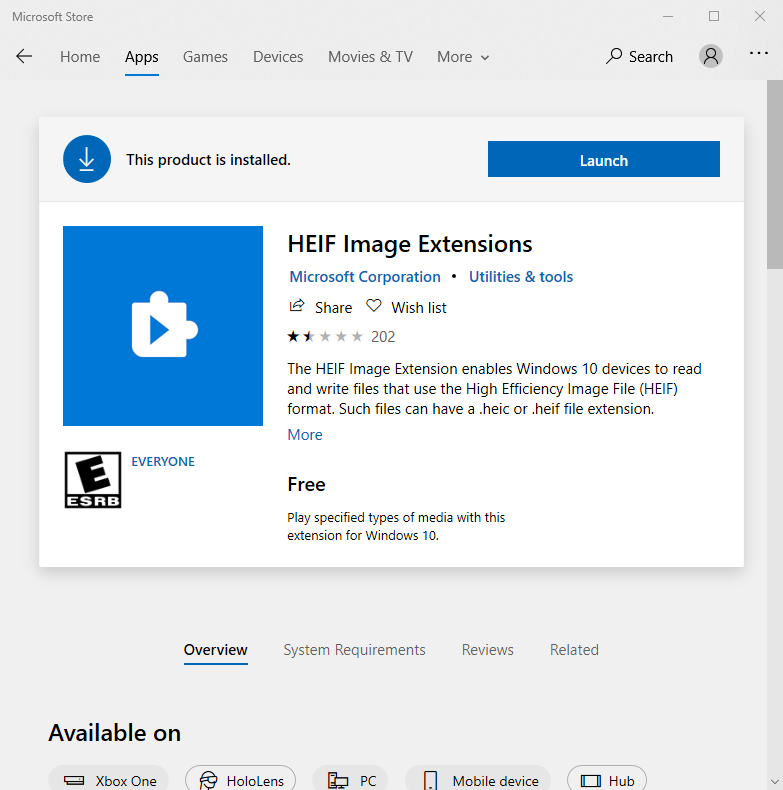
Figure 2. The HEIF Image Extensions page in the Windows store.
Now with the HEVC and HEIF extensions installed, you will be able to enjoy these file formats on your computer without missing out on the photos your relative sent you.
![]() This tip (13676) applies to Windows 10.
This tip (13676) applies to Windows 10.
The later updates to Windows 10 introduced blurred background images on the sign-in screen. If you prefer to have the ...
Discover MoreWhen you work on your computer late at night the glow from your computer monitor can affect your sleep. Why not setup ...
Discover MoreWhen you have multiple displays attached to your computer you might want to change how the Taskbar looks on your extra ...
Discover MoreThere are currently no comments for this tip. (Be the first to leave your comment—just use the simple form above!)
Copyright © 2024 Sharon Parq Associates, Inc.
Comments